 Reed desk
Countless hours of work are spent here tediously scraping and preparing cane and reeds. The proper height is crucial to your overall feeling of well being. Due to the relatively small size of the oboe reed, finding the ideal work space may prove to be a bit of a challenge! Fortunately there are options out there. The key is to not hunch over when working…
Lighting
Those who have attempted to scrape reeds in a poorly lit opera pit know the benefits of illumination. It is also best to have multiple sources of light to remove shadows. Another great convenience comes in the form of a light with a built in magnifying glass, to observe the smallest of imperfections.
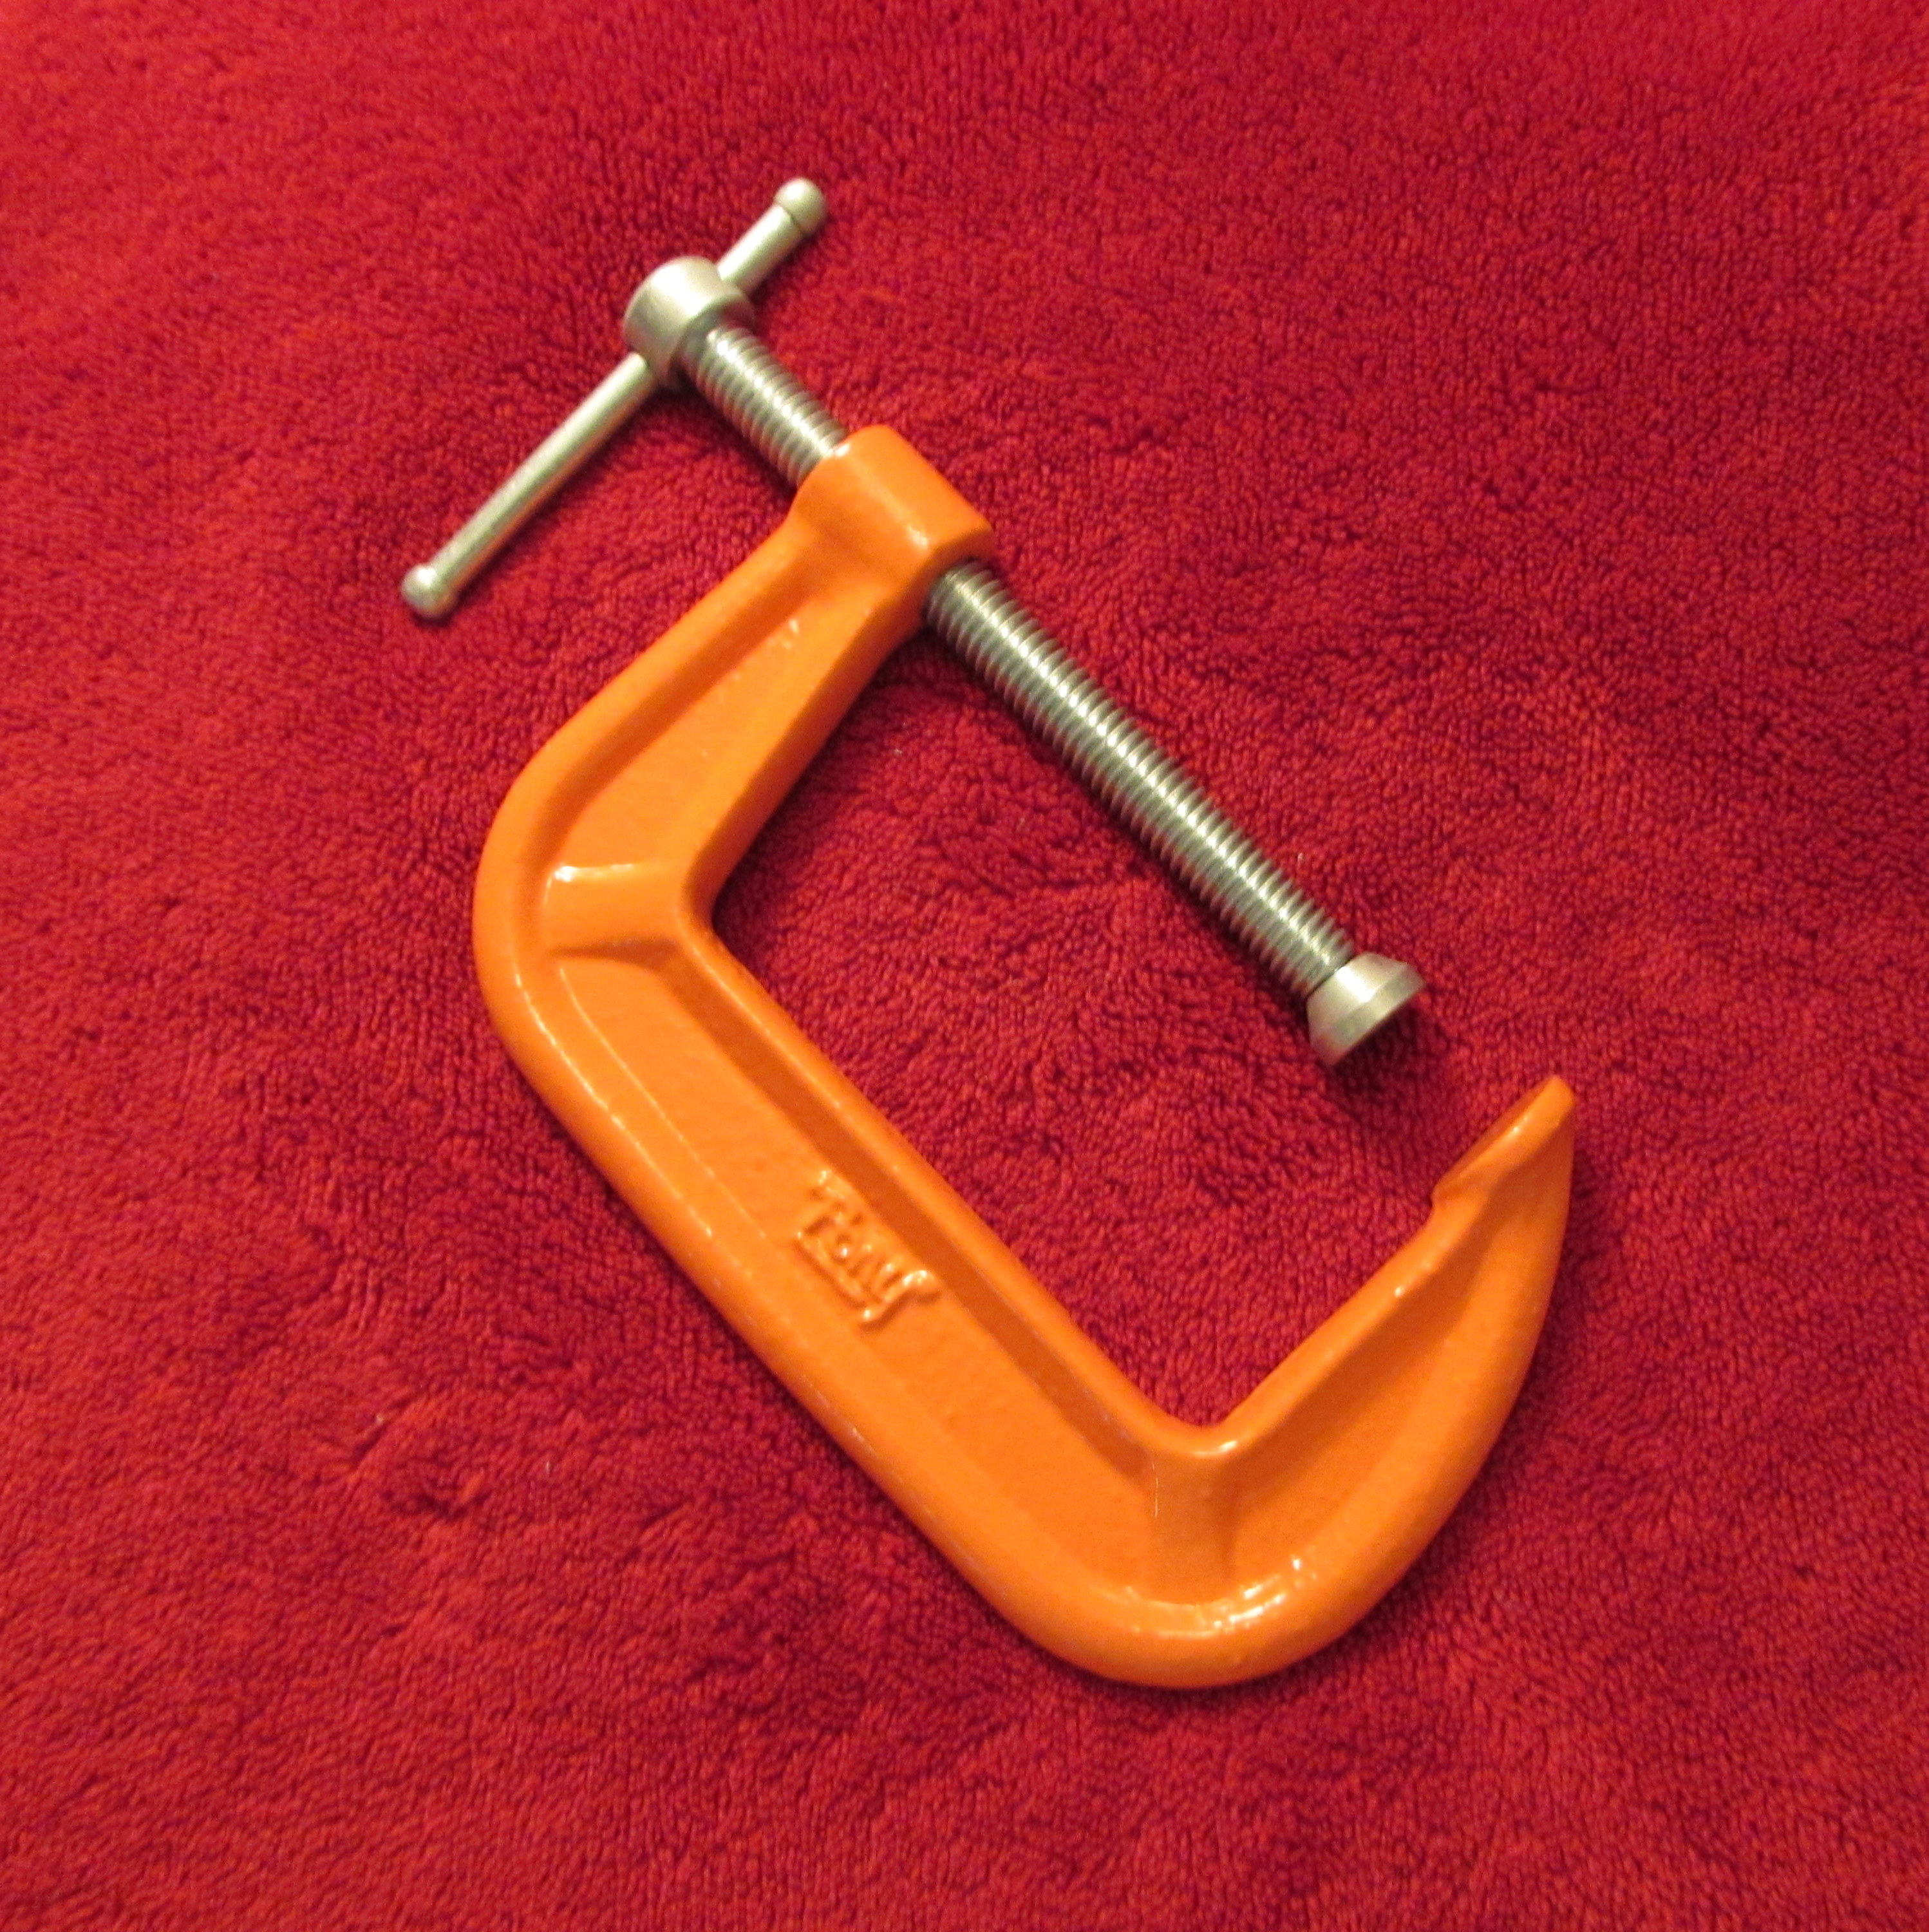 Clamp
Clamp
I have been known to tie reeds on many table legs and chair posts, however nothing quite matches the comfort and accessibility a clamp may bring to the process. Having the reed at the correct height and having the tying anchor close to the body greatly increases your accuracy and stability during the tying process.
Cane soaking containers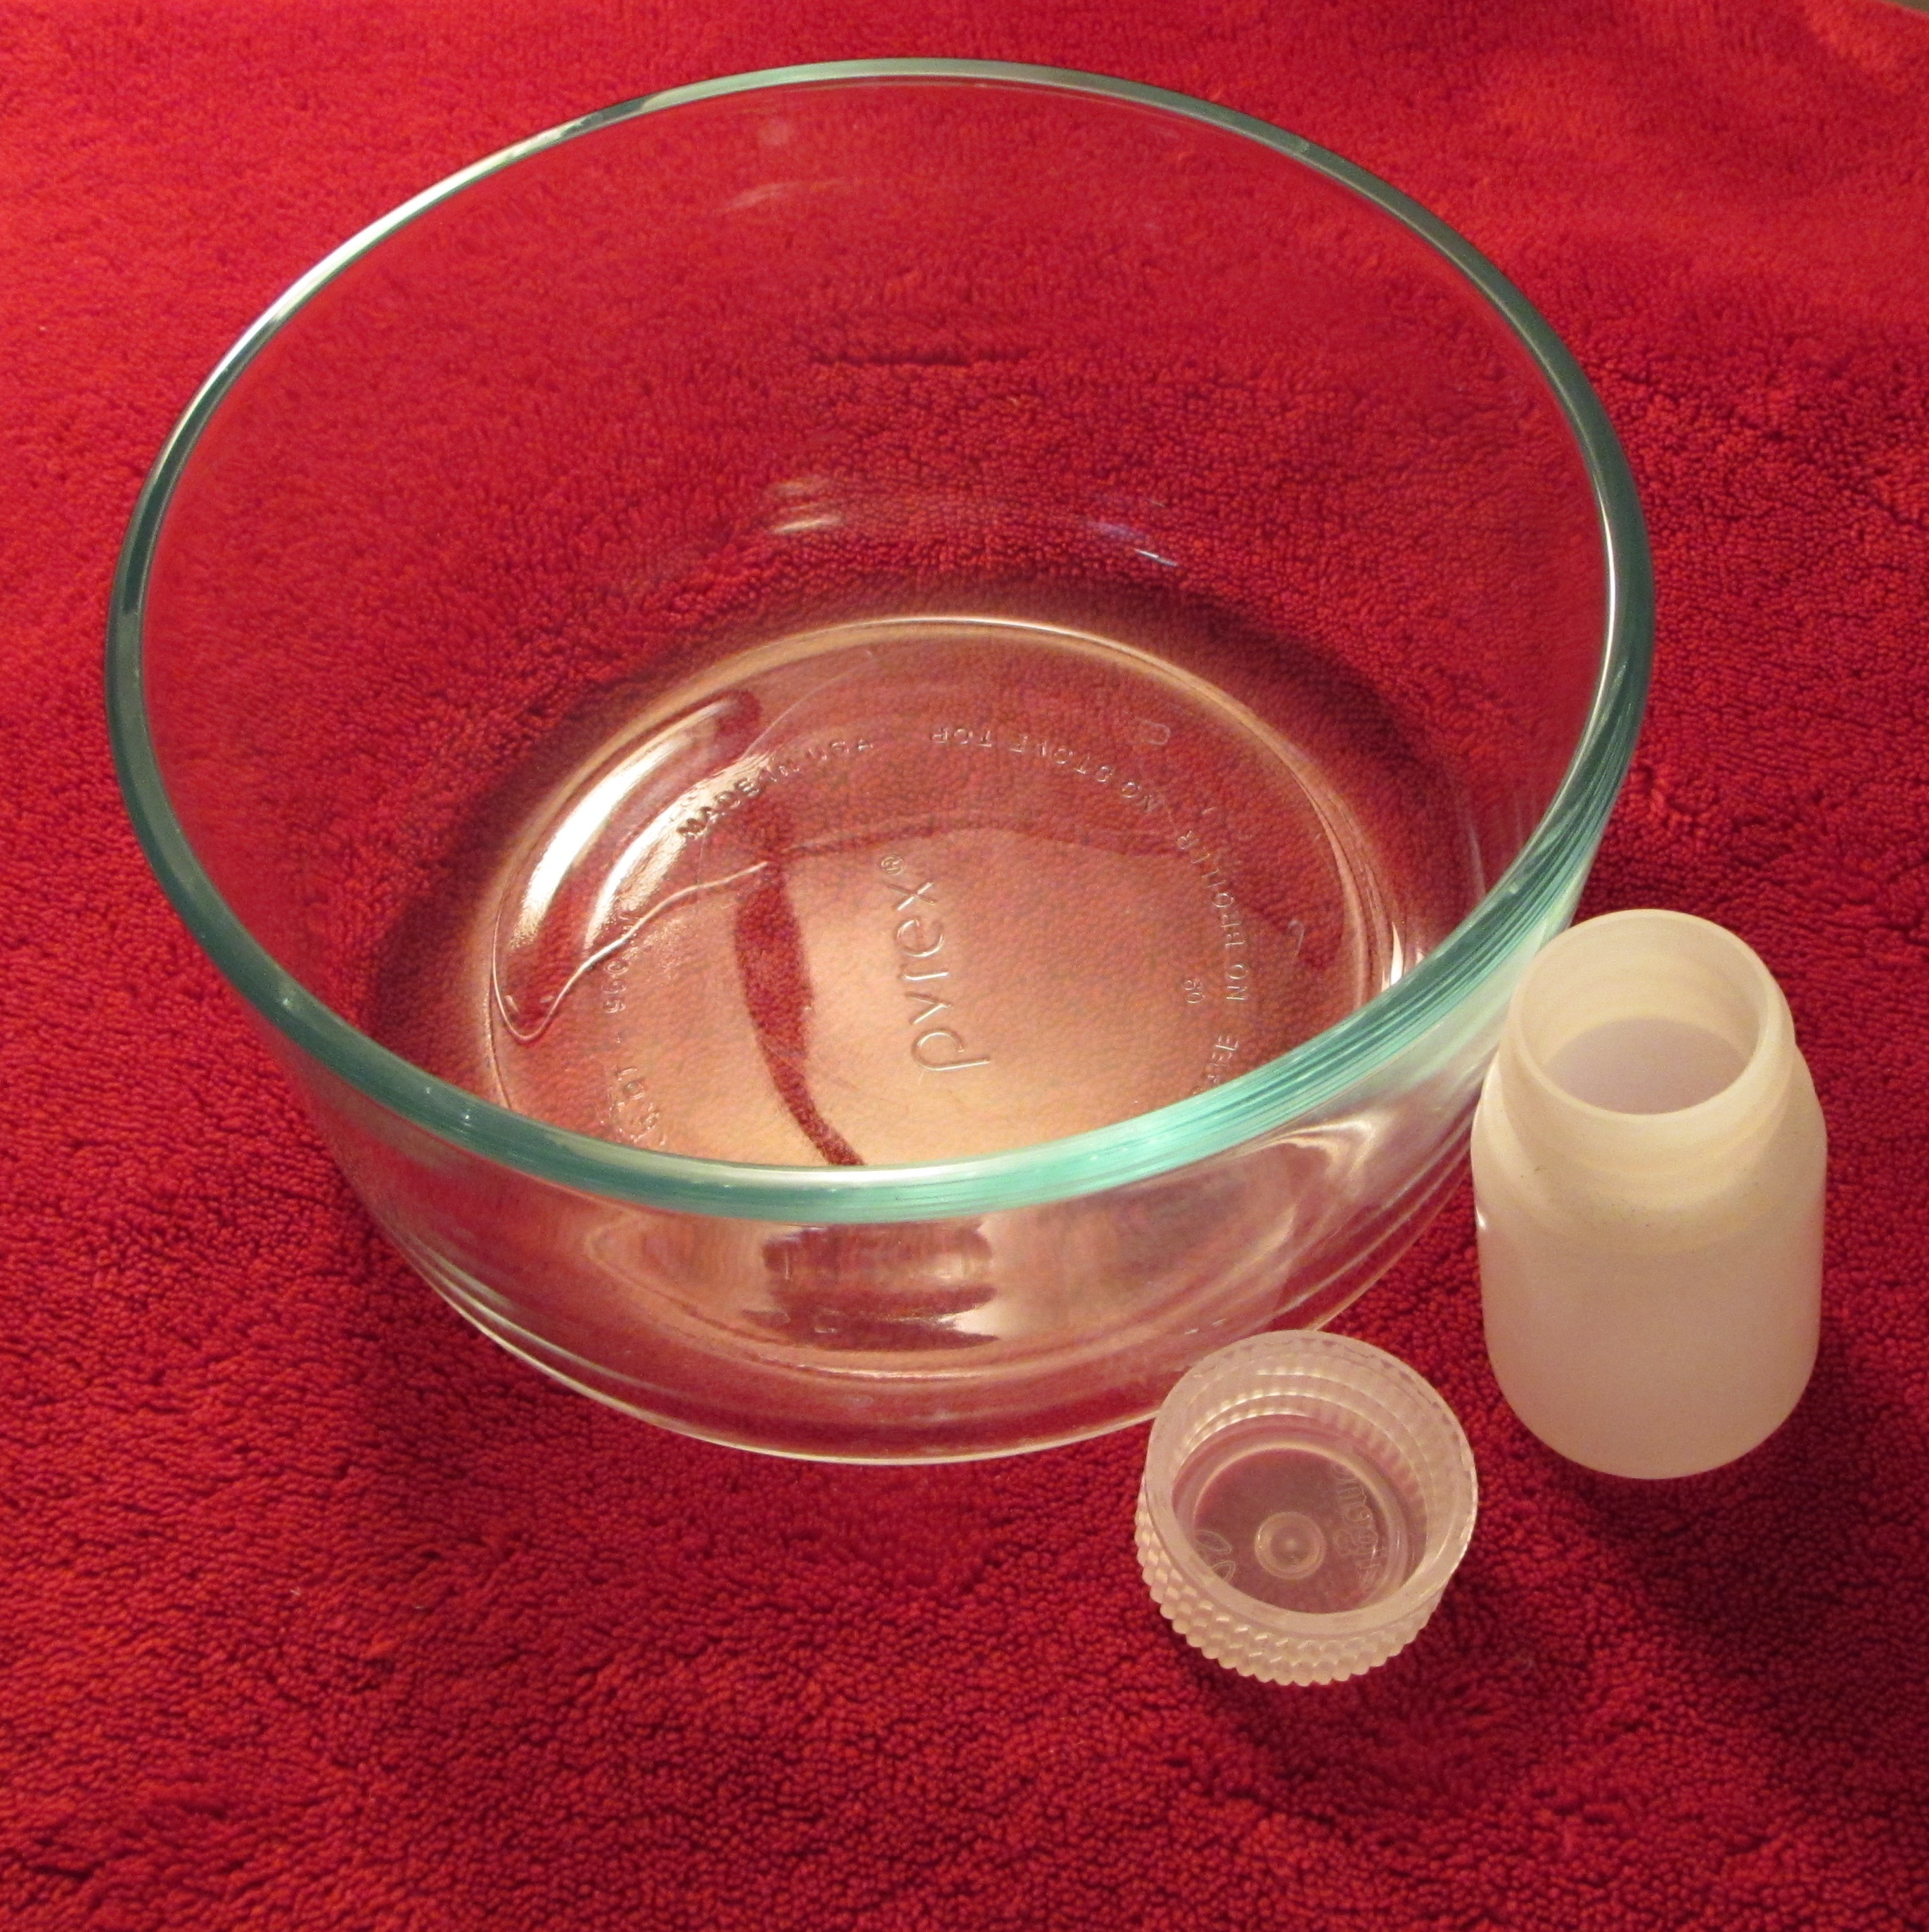
Finding containers for soaking cane reminds me of the tale of Goldilocks and the Three Bears. Perhaps that is because I find I need three different sizes. I use one larger container for soaking tube cane, a medium sized container for gouged cane, and a small reed soaking container for the tied reeds. One of those sizes is always “just right” for its purpose! I also find it necessary to empty them of water immediately after use, and keep them empty until they are needed again. For some reason cane is really dirty… and standing water tends to grow things.
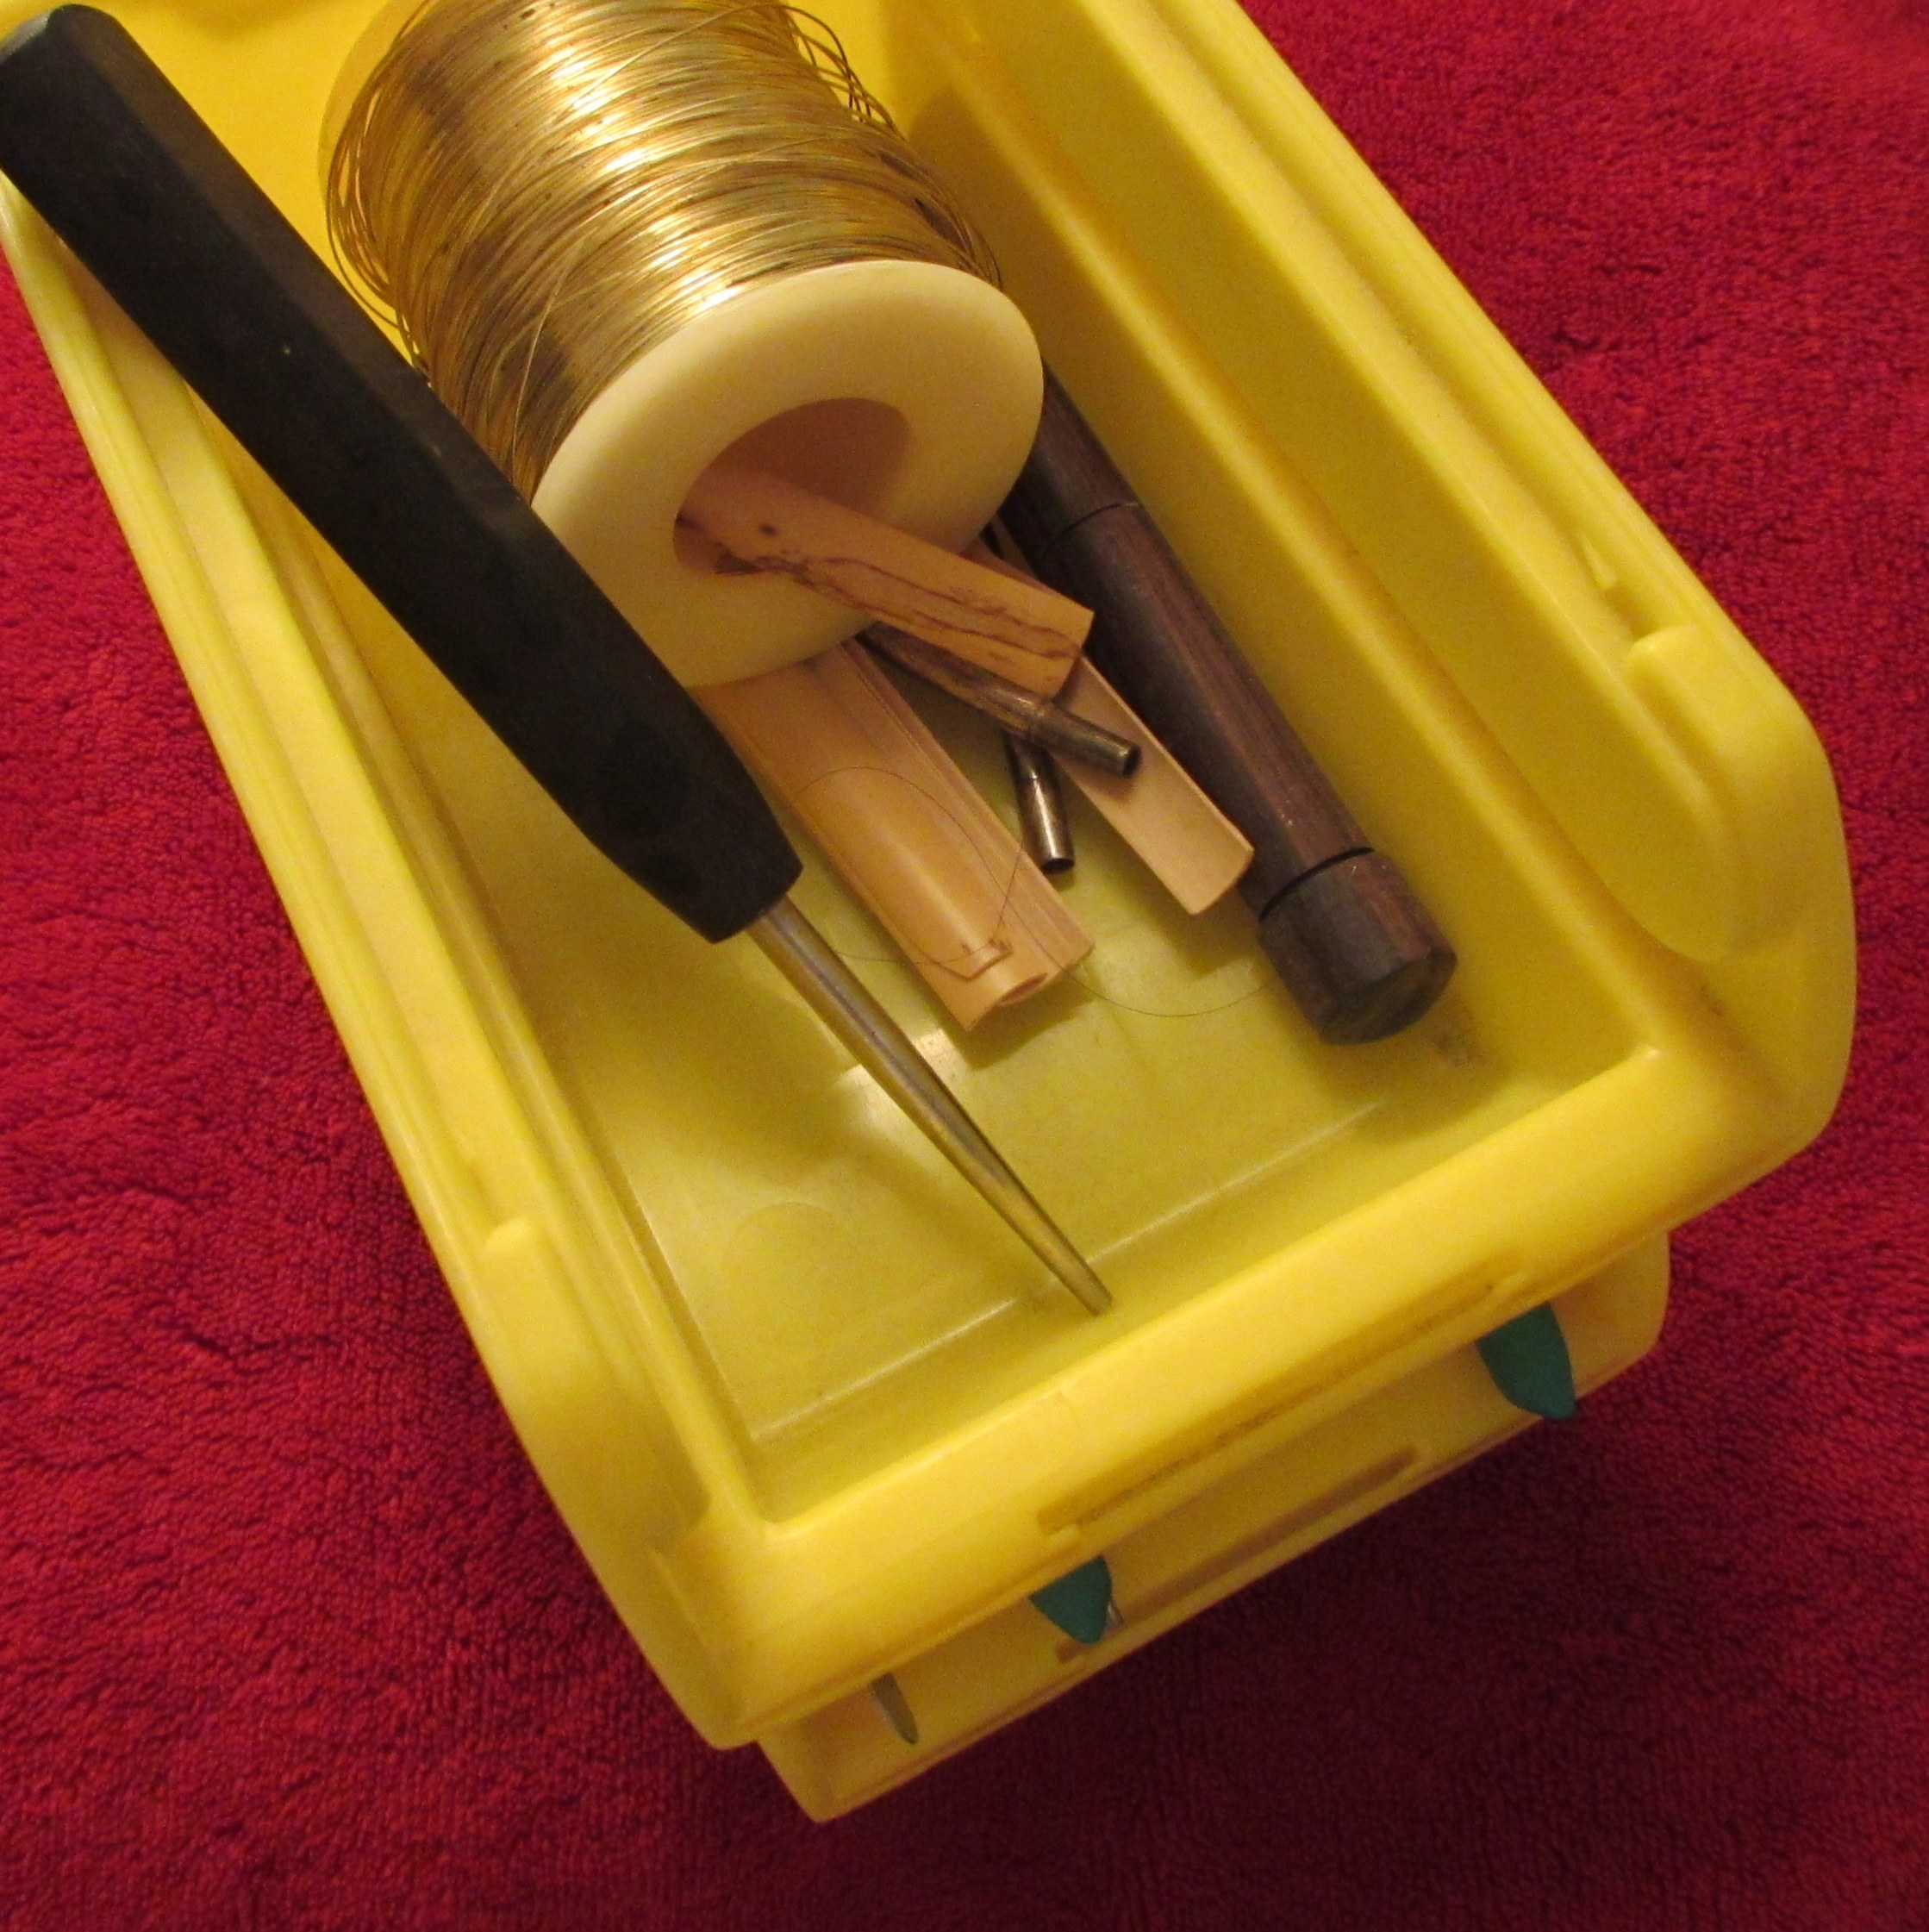
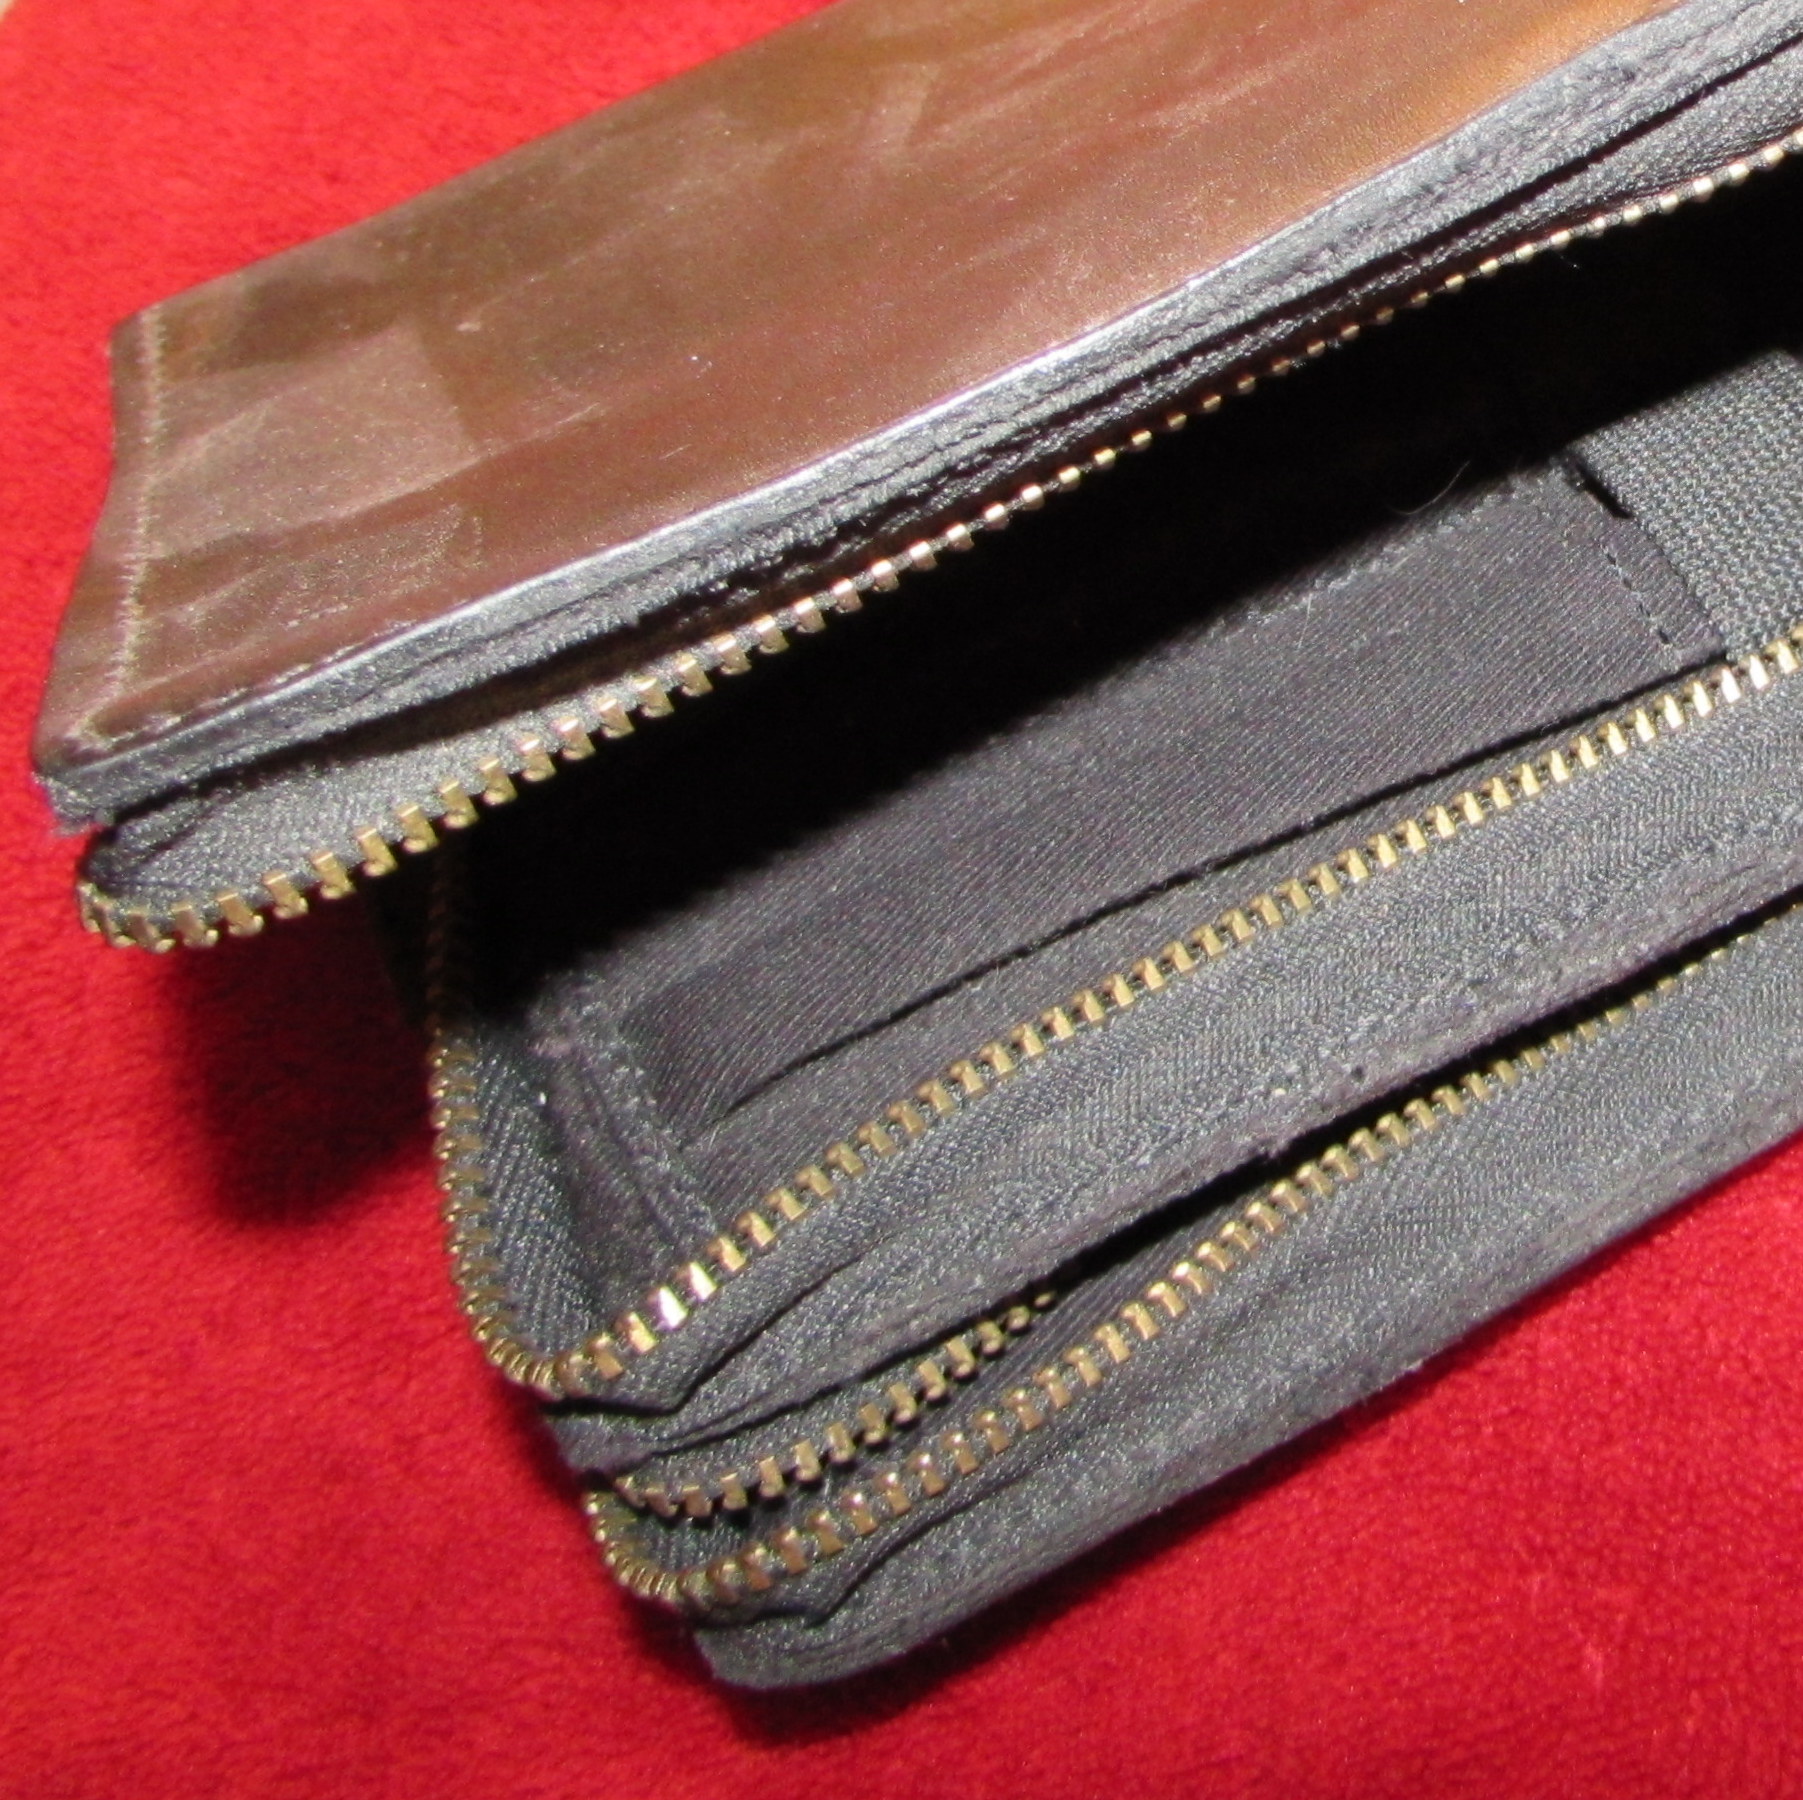 Tool pouch
A standard double zipper leather tool case is enough for my entire set of reedmaking tools, plus my oboe adjustment tools. Place your cutting block in the top corner of the side in the tool bag that contains your smaller tools, and place your knives and mandrels in the opposite side. This will allow you to have space for a cutting block which comes in many different sizes.
Sharpening stones
The number one problem during reed making is a dull knife. Stones of various materials and grits are available to solve your specific knife sharpening needs. Grits tell you the size of the abrasive particle within the stone. Generally speaking, smaller grit numbers equal larger particles which are more abrasive, and larger grit numbers equal smaller particles which will refine and polish an edge. Diamond stones, as the name would suggest, contain diamonds on the surface of the plate to serve as an abrasive. Higher quality stones contain monocrystalline particles which are not fractured. Cheaper stones contain fractured polycrystalline particles. The stones containing fractured diamonds will not last as long. A worn stone will not produce scratches when rubbed on glass. Diamond stones use a small amount of water lubrication to wash away the metal filings that are created. 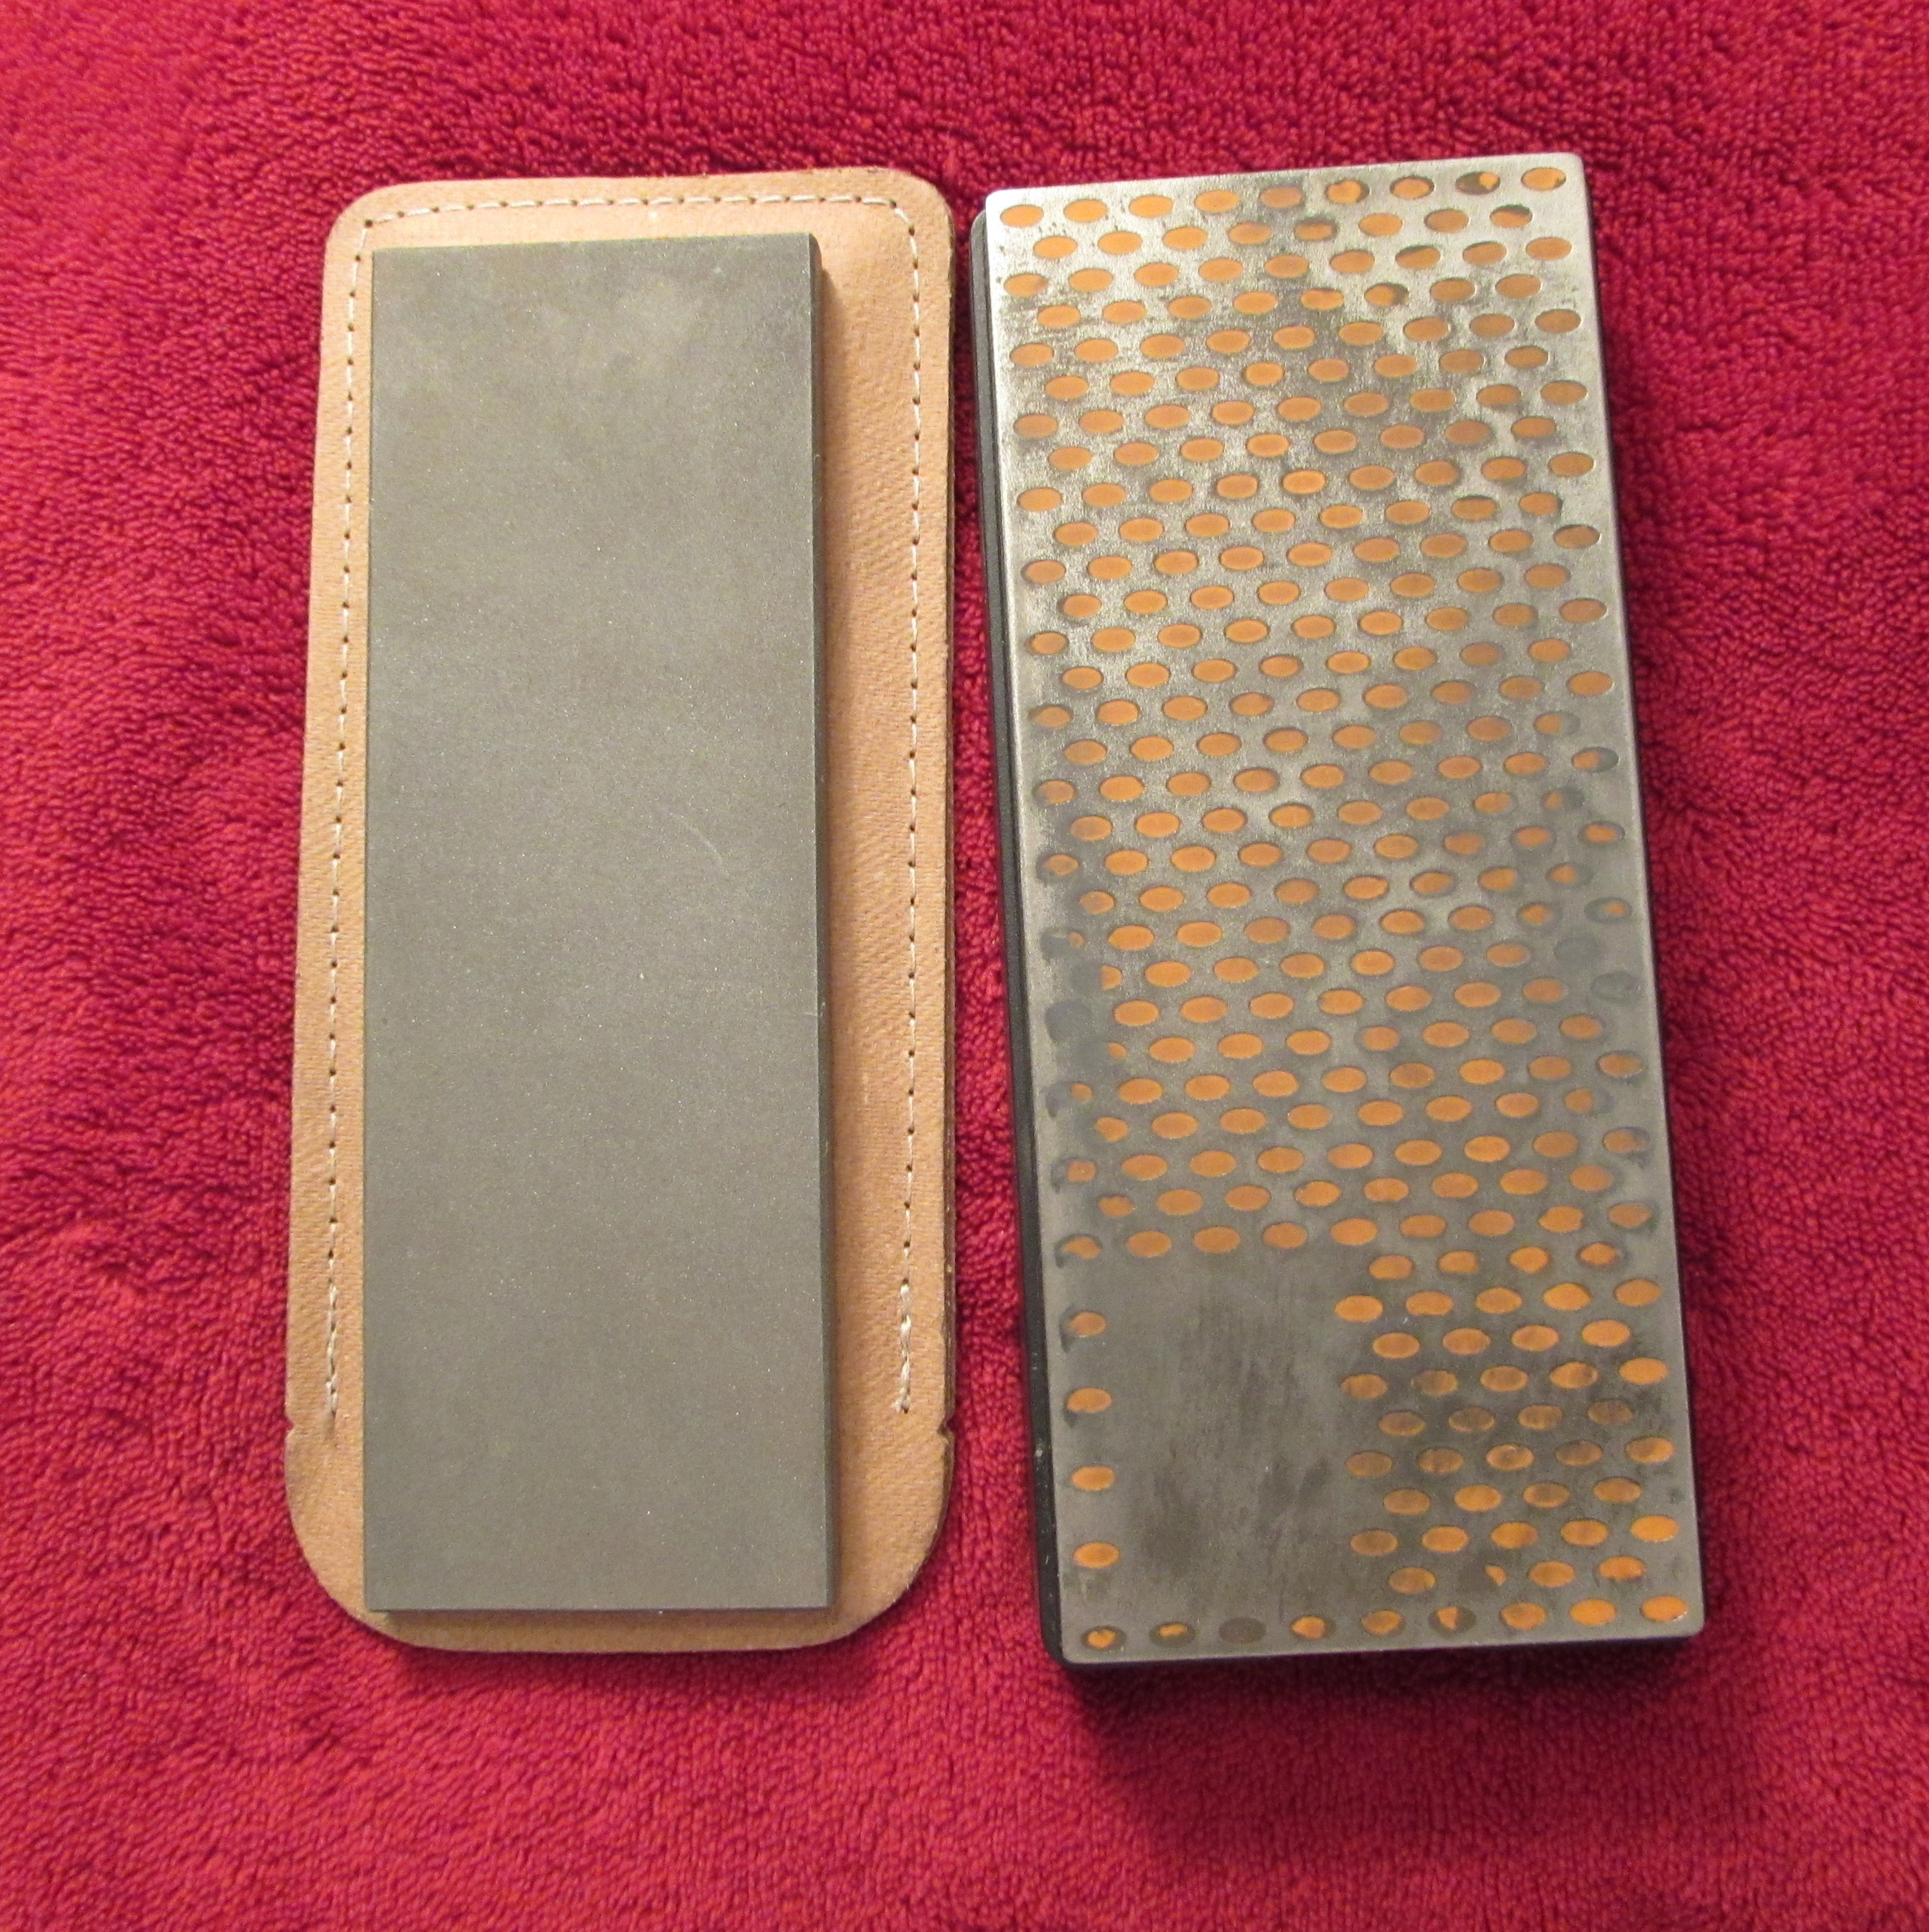 Typically, if you see them graded, the grades will be ranged from extra coarse to very fine. For the purposes of a reed knife, unless you chip the blade, you will never need anything more abrasive than a fine grade which contains diamond particles that are 25 microns in size (approximately 600 grit). Diamond stones also come in plates with holes in them, which are useful for sharpening a beveled style gouger blade and they can also be used to flatten water stones. Again, for this purpose, a fine grade will work, however use care if sharpening your reed knives on these as the point of the knife may catch in the holes. To get a keener, finer edge, one must use finer and finer grits. Diamond stones are only able to go to a certain point beyond which other stone types must be considered. Natural and synthetic oil stones are available, and are an economical choice, however I avoid them because they are slow to sharpen, the oil creates a mess which is difficult to clean, and there are not as many grit options to choose from. It is possible to use them without oil, however I find this means it takes even longer for them to sharpen a knife.
Synthetic stones
Water stones and ceramic stones fall into this category. Centuries ago, all sharpening was done with natural water stones, however a quality natural stone equivalent to the synthetic stones available is extremely expensive, and may still contain grits of unequal size. The synthetic water stones available today are a fine substitute for the highest quality natural water stone. As the name would suggest, water is also used as a lubricant for these stones, and the water stones must actually be soaked for about 10 minutes before use in order to produce a proper abrasive slurry. Due to the expense, it may be tempting to purchase only one stone at the final desired grit level. Try to avoid this! It is unlikely that you will take the time necessary to bring the knife to the sharpness implied by the grit rating. It will take significantly longer, depending on the distance skipped between grits, and the stone will wear much faster. As the grit levels increase, the expense increases, so the perceived economical benefit is really no benefit at all! As we began the process with a 600 grit diamond stone, the next step should begin with a stone between 1,000 and 2,000 grit. The following stone should have a grit rating of around 5,000. This is the point at which your average reed knife will cease becoming sharper. While they may be sharpened using higher level grits, the metal of the knife may not be able to hold together at the cellular level and will break apart, never attaining a sharper edge. The more expensive knives available are formed with alloys specifically designed to hold together at these higher grit levels. It is best to check with the knife manufacturer before purchasing the more expensive stones. If your knife is capable of holding a finer edge, the next stone in the sequence would be 8,000 and then finally 15,000. You will notice that as the grit levels become increasingly fine, the jumps between the grit levels used increase dramatically. Fortunately for us, (and our wallets!), as the grit becomes finer less effort is required to sharpen further, making larger jumps possible.
 Leather strop
Sharpening properly with sharpening stones takes time, and if the edge only needs a quick realignment or honing, leather strops are perfect for the job. You will probably want a strop that is mounted to a piece of wood. With the height advantage, you won’t have the painfully unfortunate problem of bumping your knife or your knuckles into a solid table. More importantly, the leather will also remain flat. Believe it or not, leather is made from the skin of animals and it will change shape. Creepy I know, but it is no longer alive, you have my word. By itself, the leather strop is not very useful, however when combined with an abrasive, it is almost as effective as a stone. In my experience, the most accessible and economical abrasive is jeweler’s rouge.
Jeweler’s rouge
As you might expect, just like the sharpening stones, jeweler’s rouge is also graded according to its abrasive properties and it is color coded too. The name is a bit of a misnomer as it is the french word for red. Only one of the abrasives is red, and can accurately be called by that name. Unfortunately, none of the manufacturers list the grit size of their compounds, and the grit varies widely between manufacturers. Depending on the manufacturer, the graded color scheme may be rendered completely useless. Whatever polishing compound you decide to rub on your leather strop, demand to know the verified accurate grit size. This may take some time, however, once you find a company willing to inform you of their grit rating, the search is over. Assuming of course, that you will still want to use it once you know. Assuming that the company is able to produce the compound at that grit rating consistently. Is it worth the hassle, or is it easier to simply use your water stones for every sharpening? The choice is yours. I have used the white compound with some success.
 Organizational containers
When there are so many small parts to work with, a little organization goes a long way. A few stackable containers for your staples, string, and miscellaneous items allow for quick and easy clean up.
Radius gauge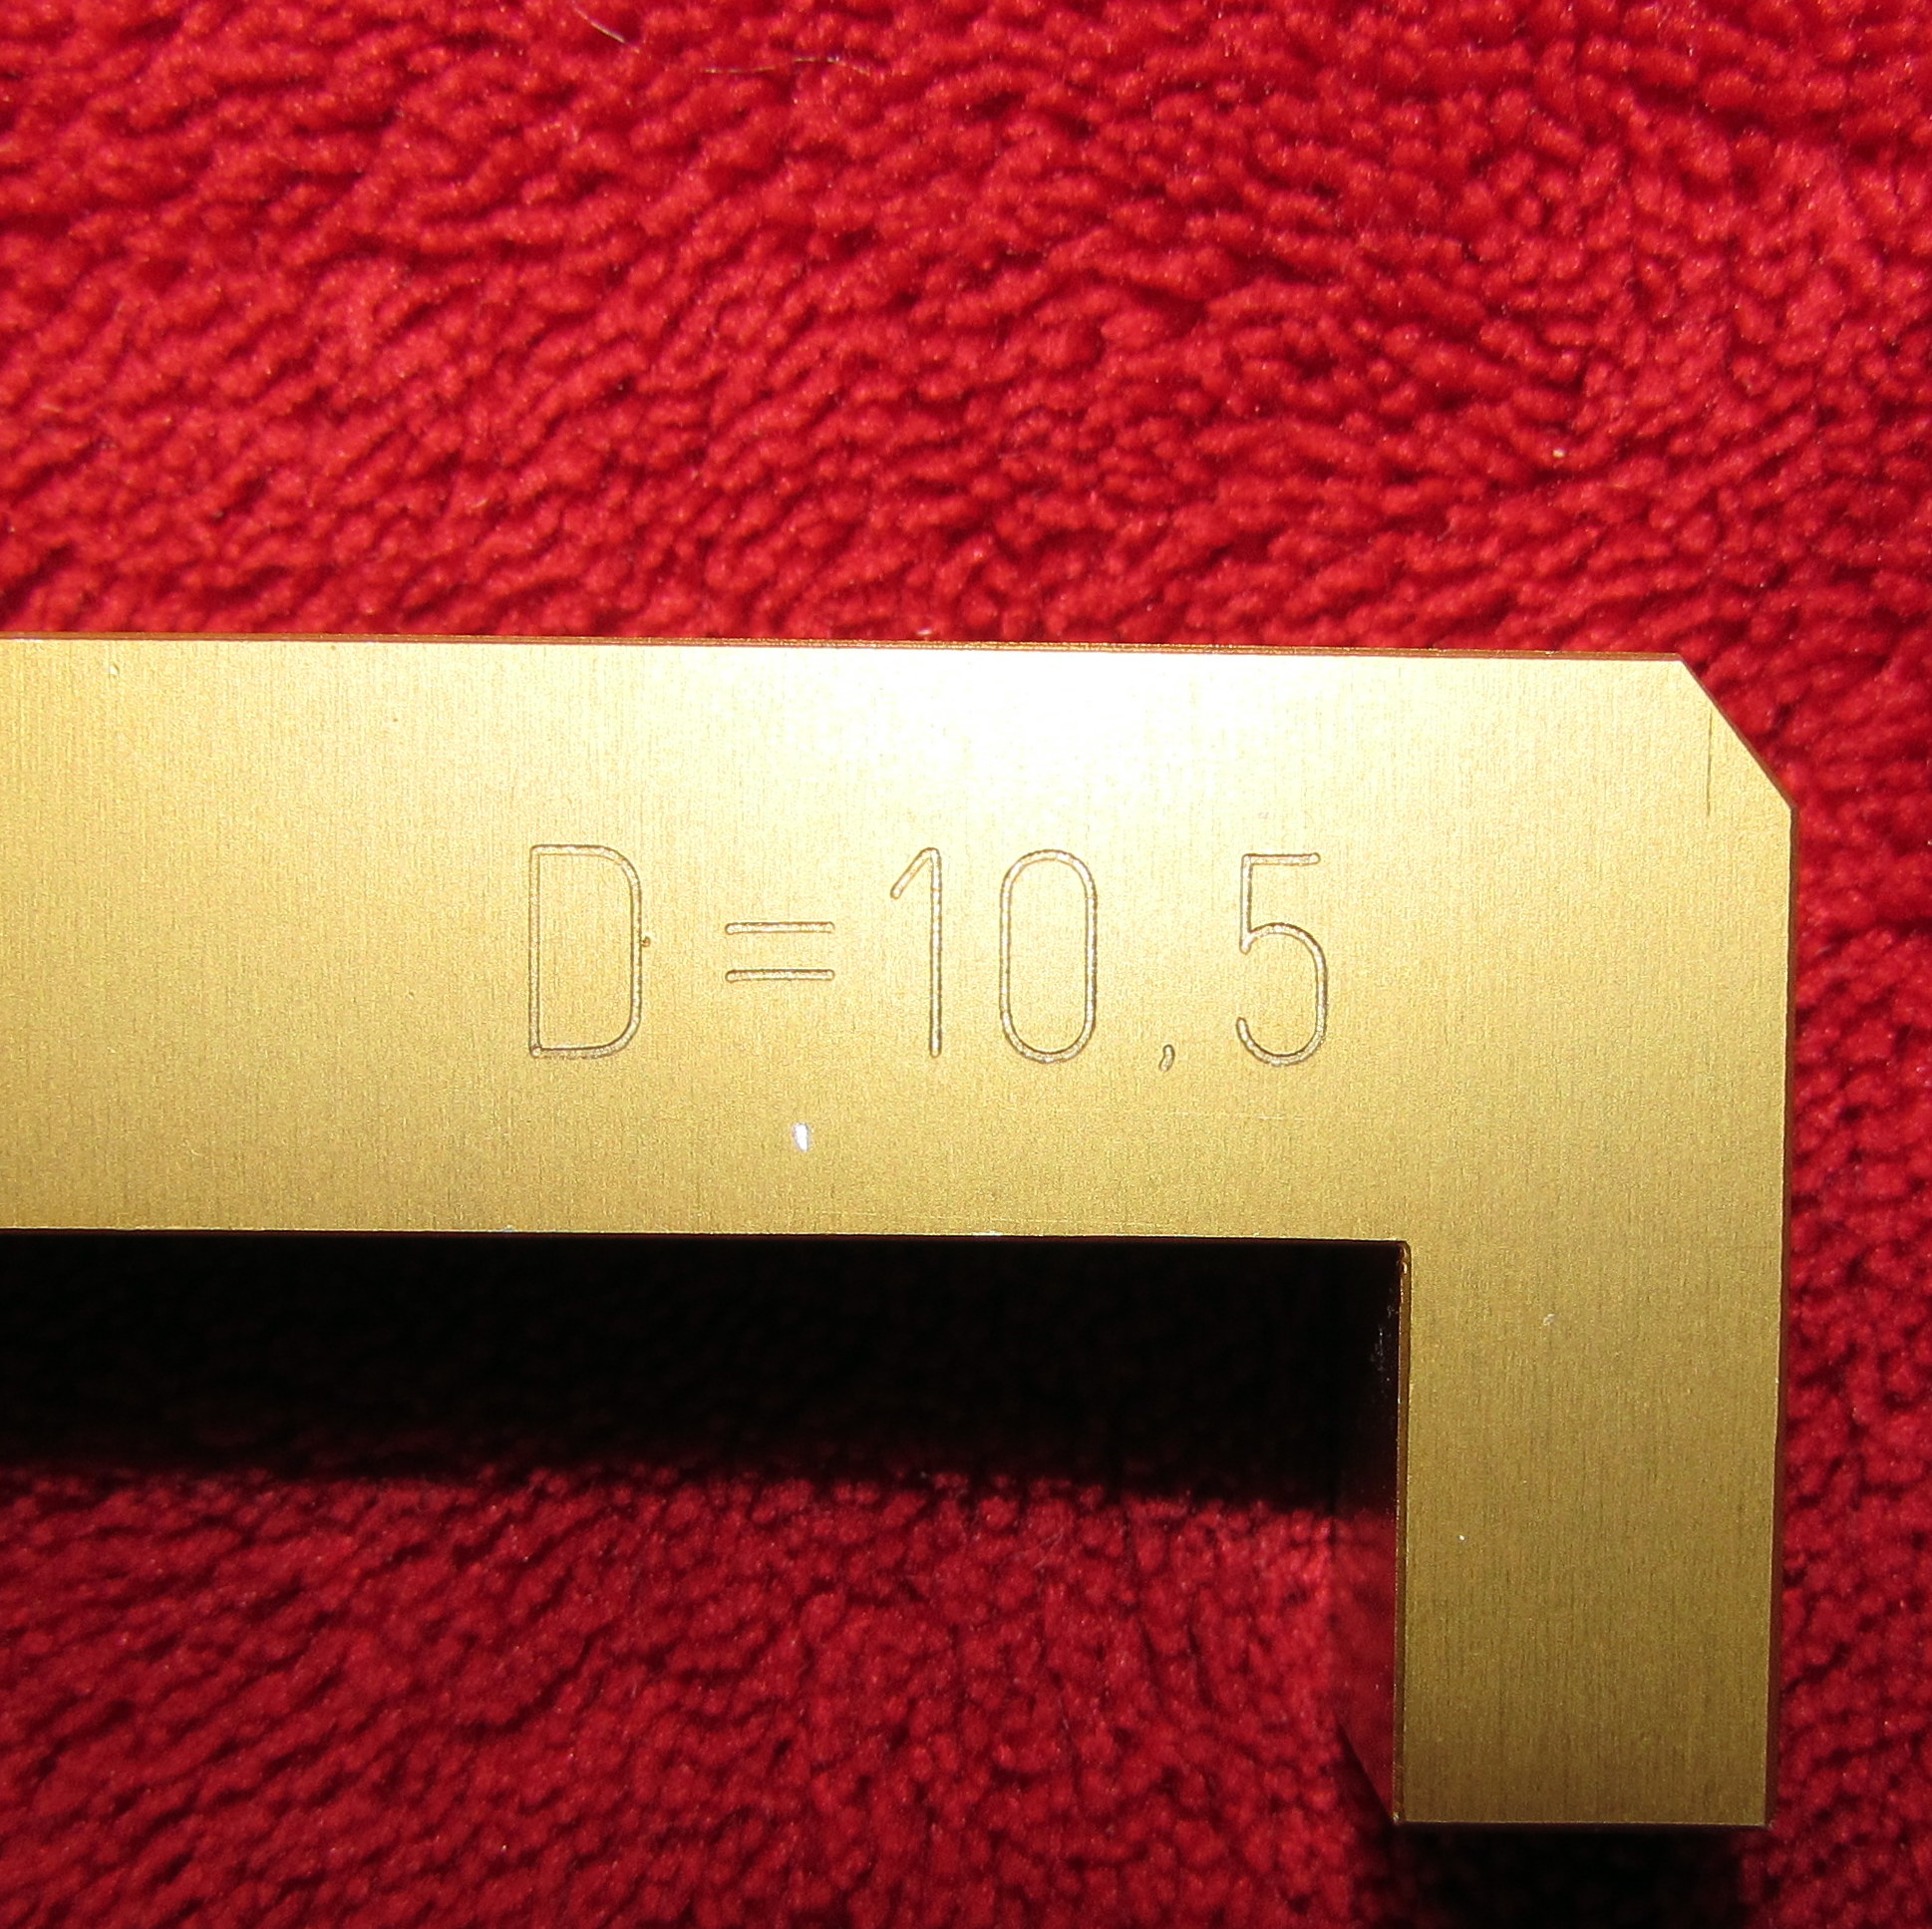
The cane known as Arundo Donax has never depended on a consistent reed friendly diameter for its survival. The proper diameter must be cultivated and selected by those who supply our never ending need for those beautiful golden tubes. All gougers are designed with a particular diameter in mind. Larger or smaller pieces of cane will not gouge to the proper thickness, and thus any attempts to gouge them will only result in waste and a slightly duller blade. A radius gauge helps to achieve a level of consistency and quality of your finished gouged cane, and it prolongs the life of an expensive blade. I use my pregouger as a radius gauge which saves me about $40. My personal preference is 10.5mm.
 Pencils
A musician’s best friend. During the reed making process, to maintain consistency, certain measurements are always marked with a pencil directly onto the cane itself. My personal preference is to mark the tie point between the cane and the staple, the start of the back scrape, the bottom of the heart, and the top of the heart. I also put cutting marks on raw tube cane sections with a Sharpie. Experienced reedmakers may omit these markings, but the engineering (paranoid? ocd?) part of my brain will not allow me this trust in myself. I will always mark my reeds.
Cane splitter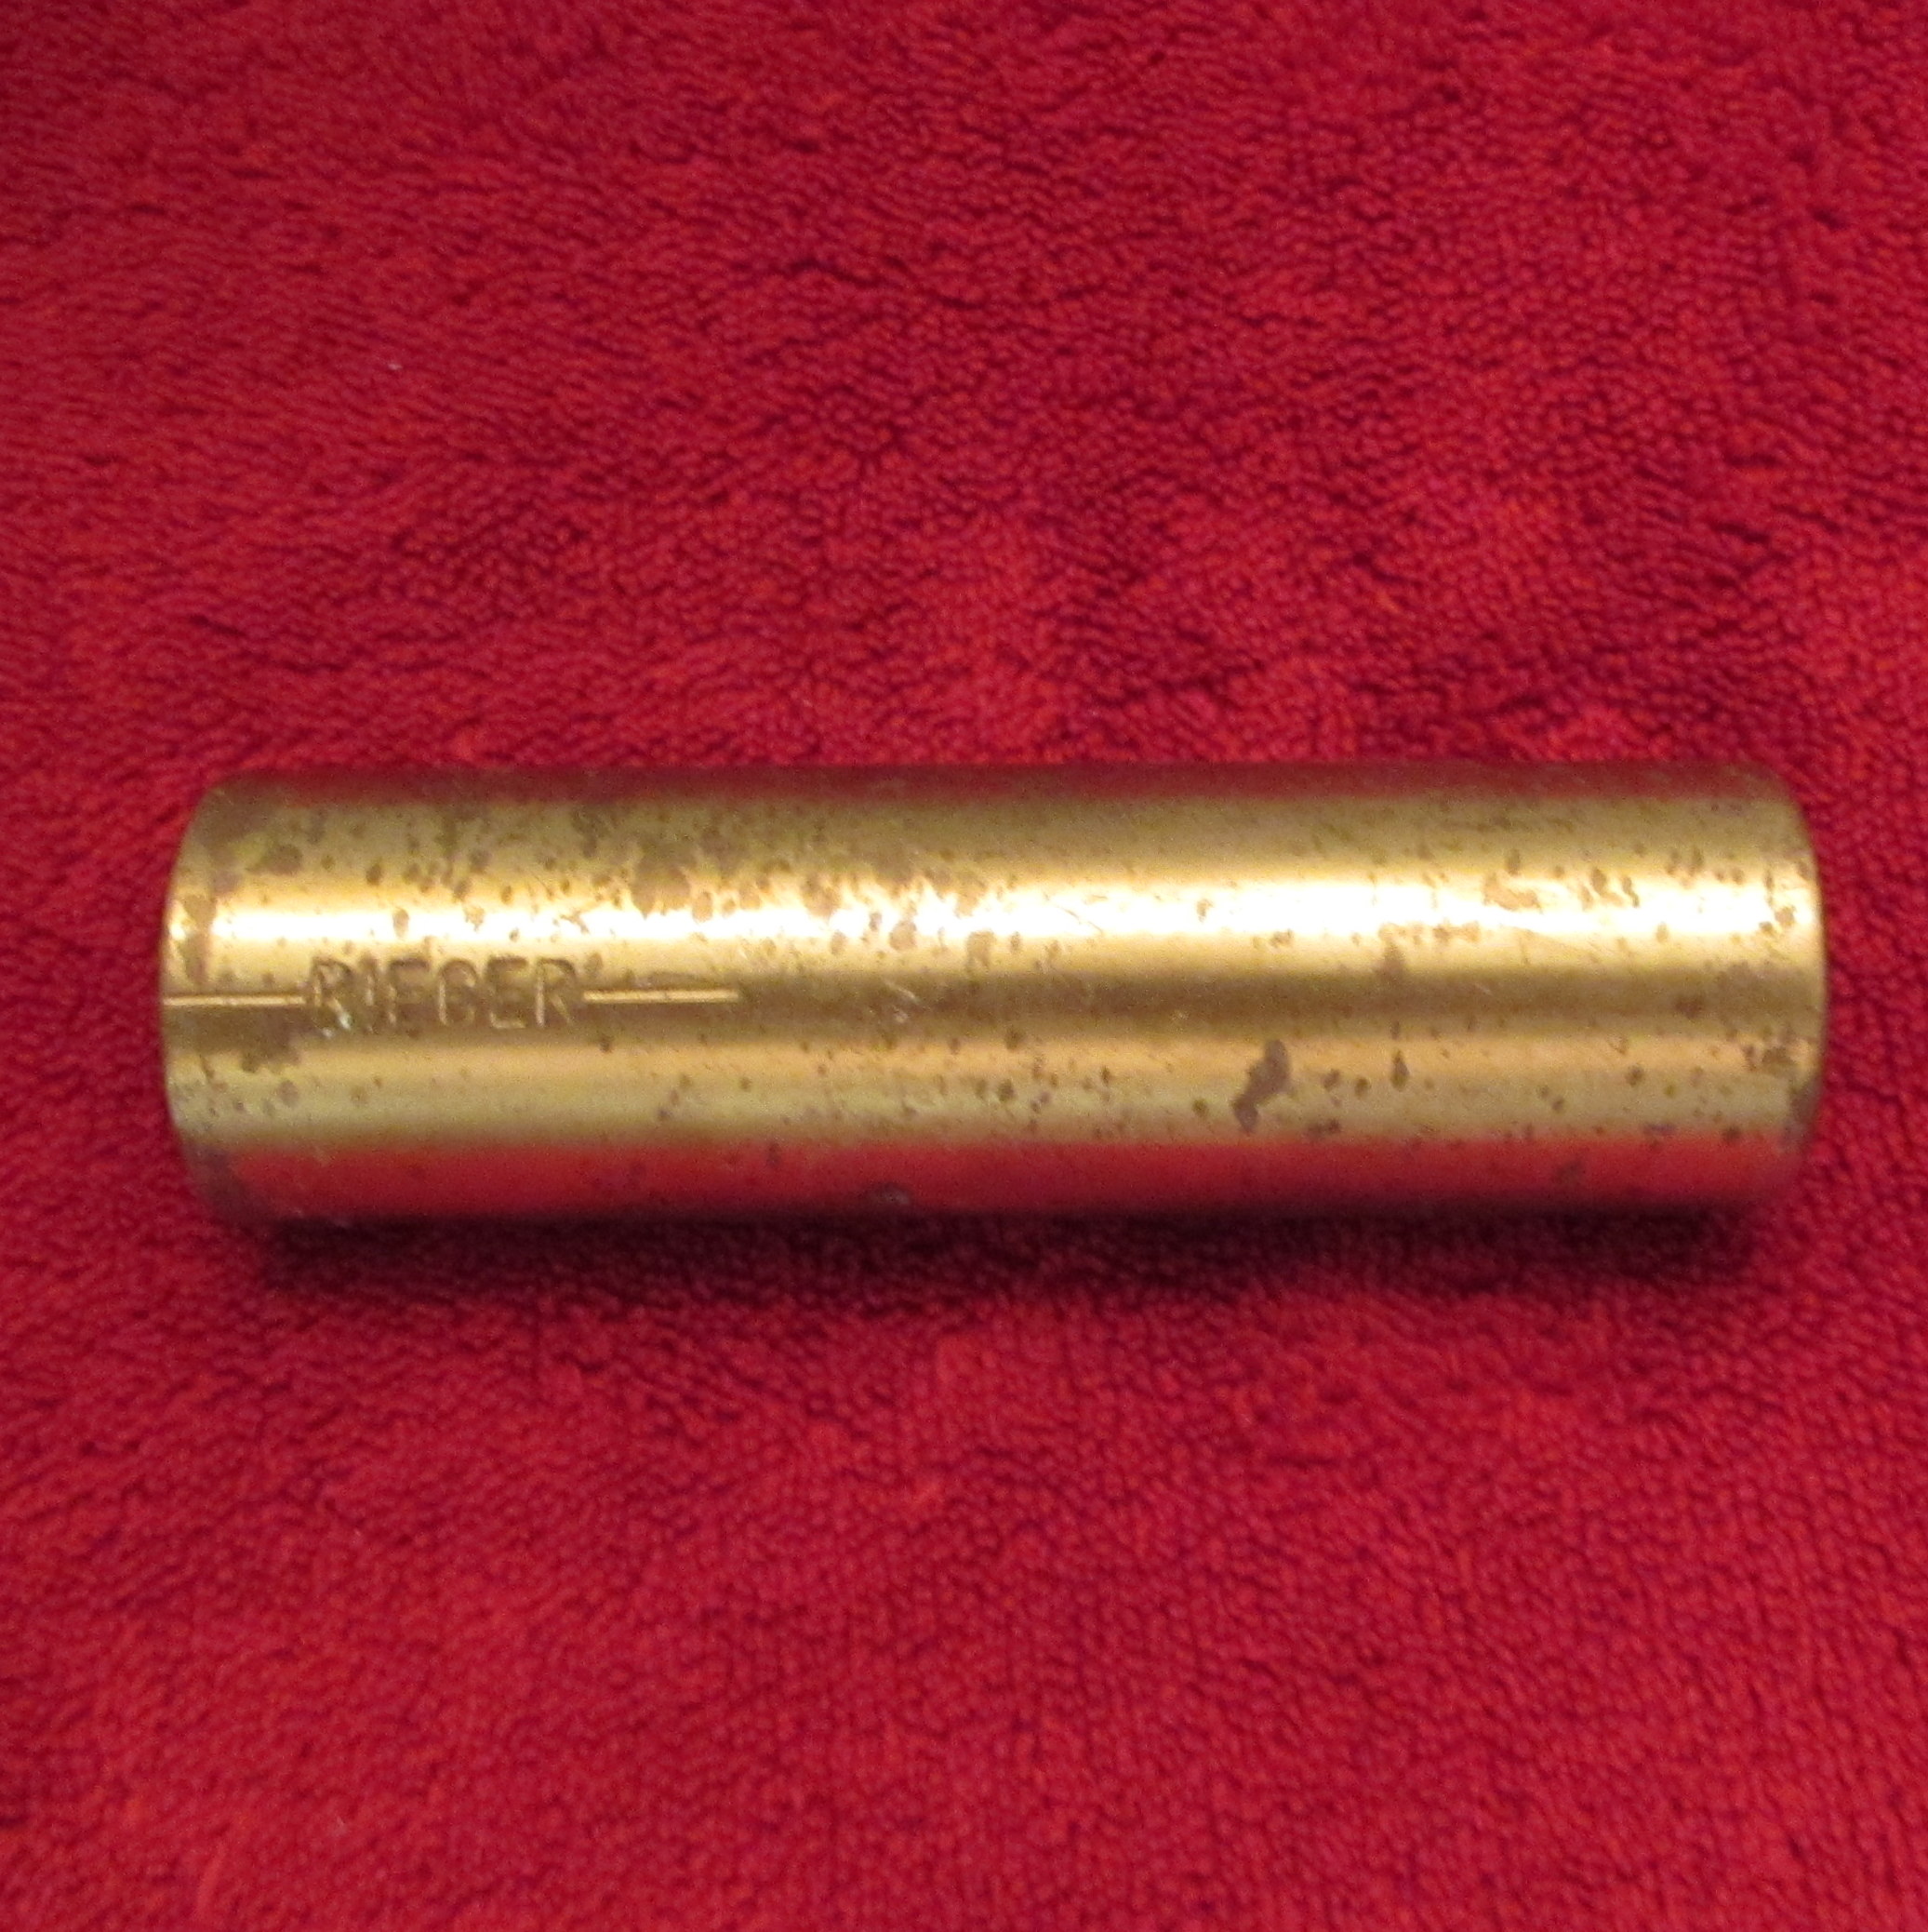
These wonderful tools will divide a piece of tube cane into three pieces. The design of a blade attached to the inside of a hefty metal cylinder is appealing to me as it allows for more control through the easy transference of force. As the blades are never fully exposed it is also the safest design.
Guillotine
Off with your head! Your cane must fit in your gouging bed. The guillotine will ensure you have the proper length for your machine and your shape. Some are included as part of the gouging machine, and others are sold separately. I prefer to use a bandsaw instead. Guillotines are designed with a pointed blade attached to a lever. The pointed blade will sometimes cause the cane to split down the middle, rendering it useless. The guillotines will also cost over $100, and are usually seen in the $150 range. A bandsaw will cost less than $100, and avoids the problem of split cane by making hundreds of tiny cuts. It provides a freedom to tailor and remove sections of cane that are undesirable. It does create a safety issue with the exposed blade, so an alert mind is also necessary for success. Please keep your fingertips. They are useful.
 Pregouger
This wonderful tool removes a layer of cane and planes it, saving wear on your gouging blade. It also brings the cane to the exact width necessary for the gouging bed. Of course it never hurts to double check with the manufacturer of your gouger before purchasing a pregouger. The more cane that you safely remove with pregougers, the longer your gouger will function without expensive maintenance costs. It is also typical to remove the four corners of the cane with a razor blade as part of this blade saving process.
Gouger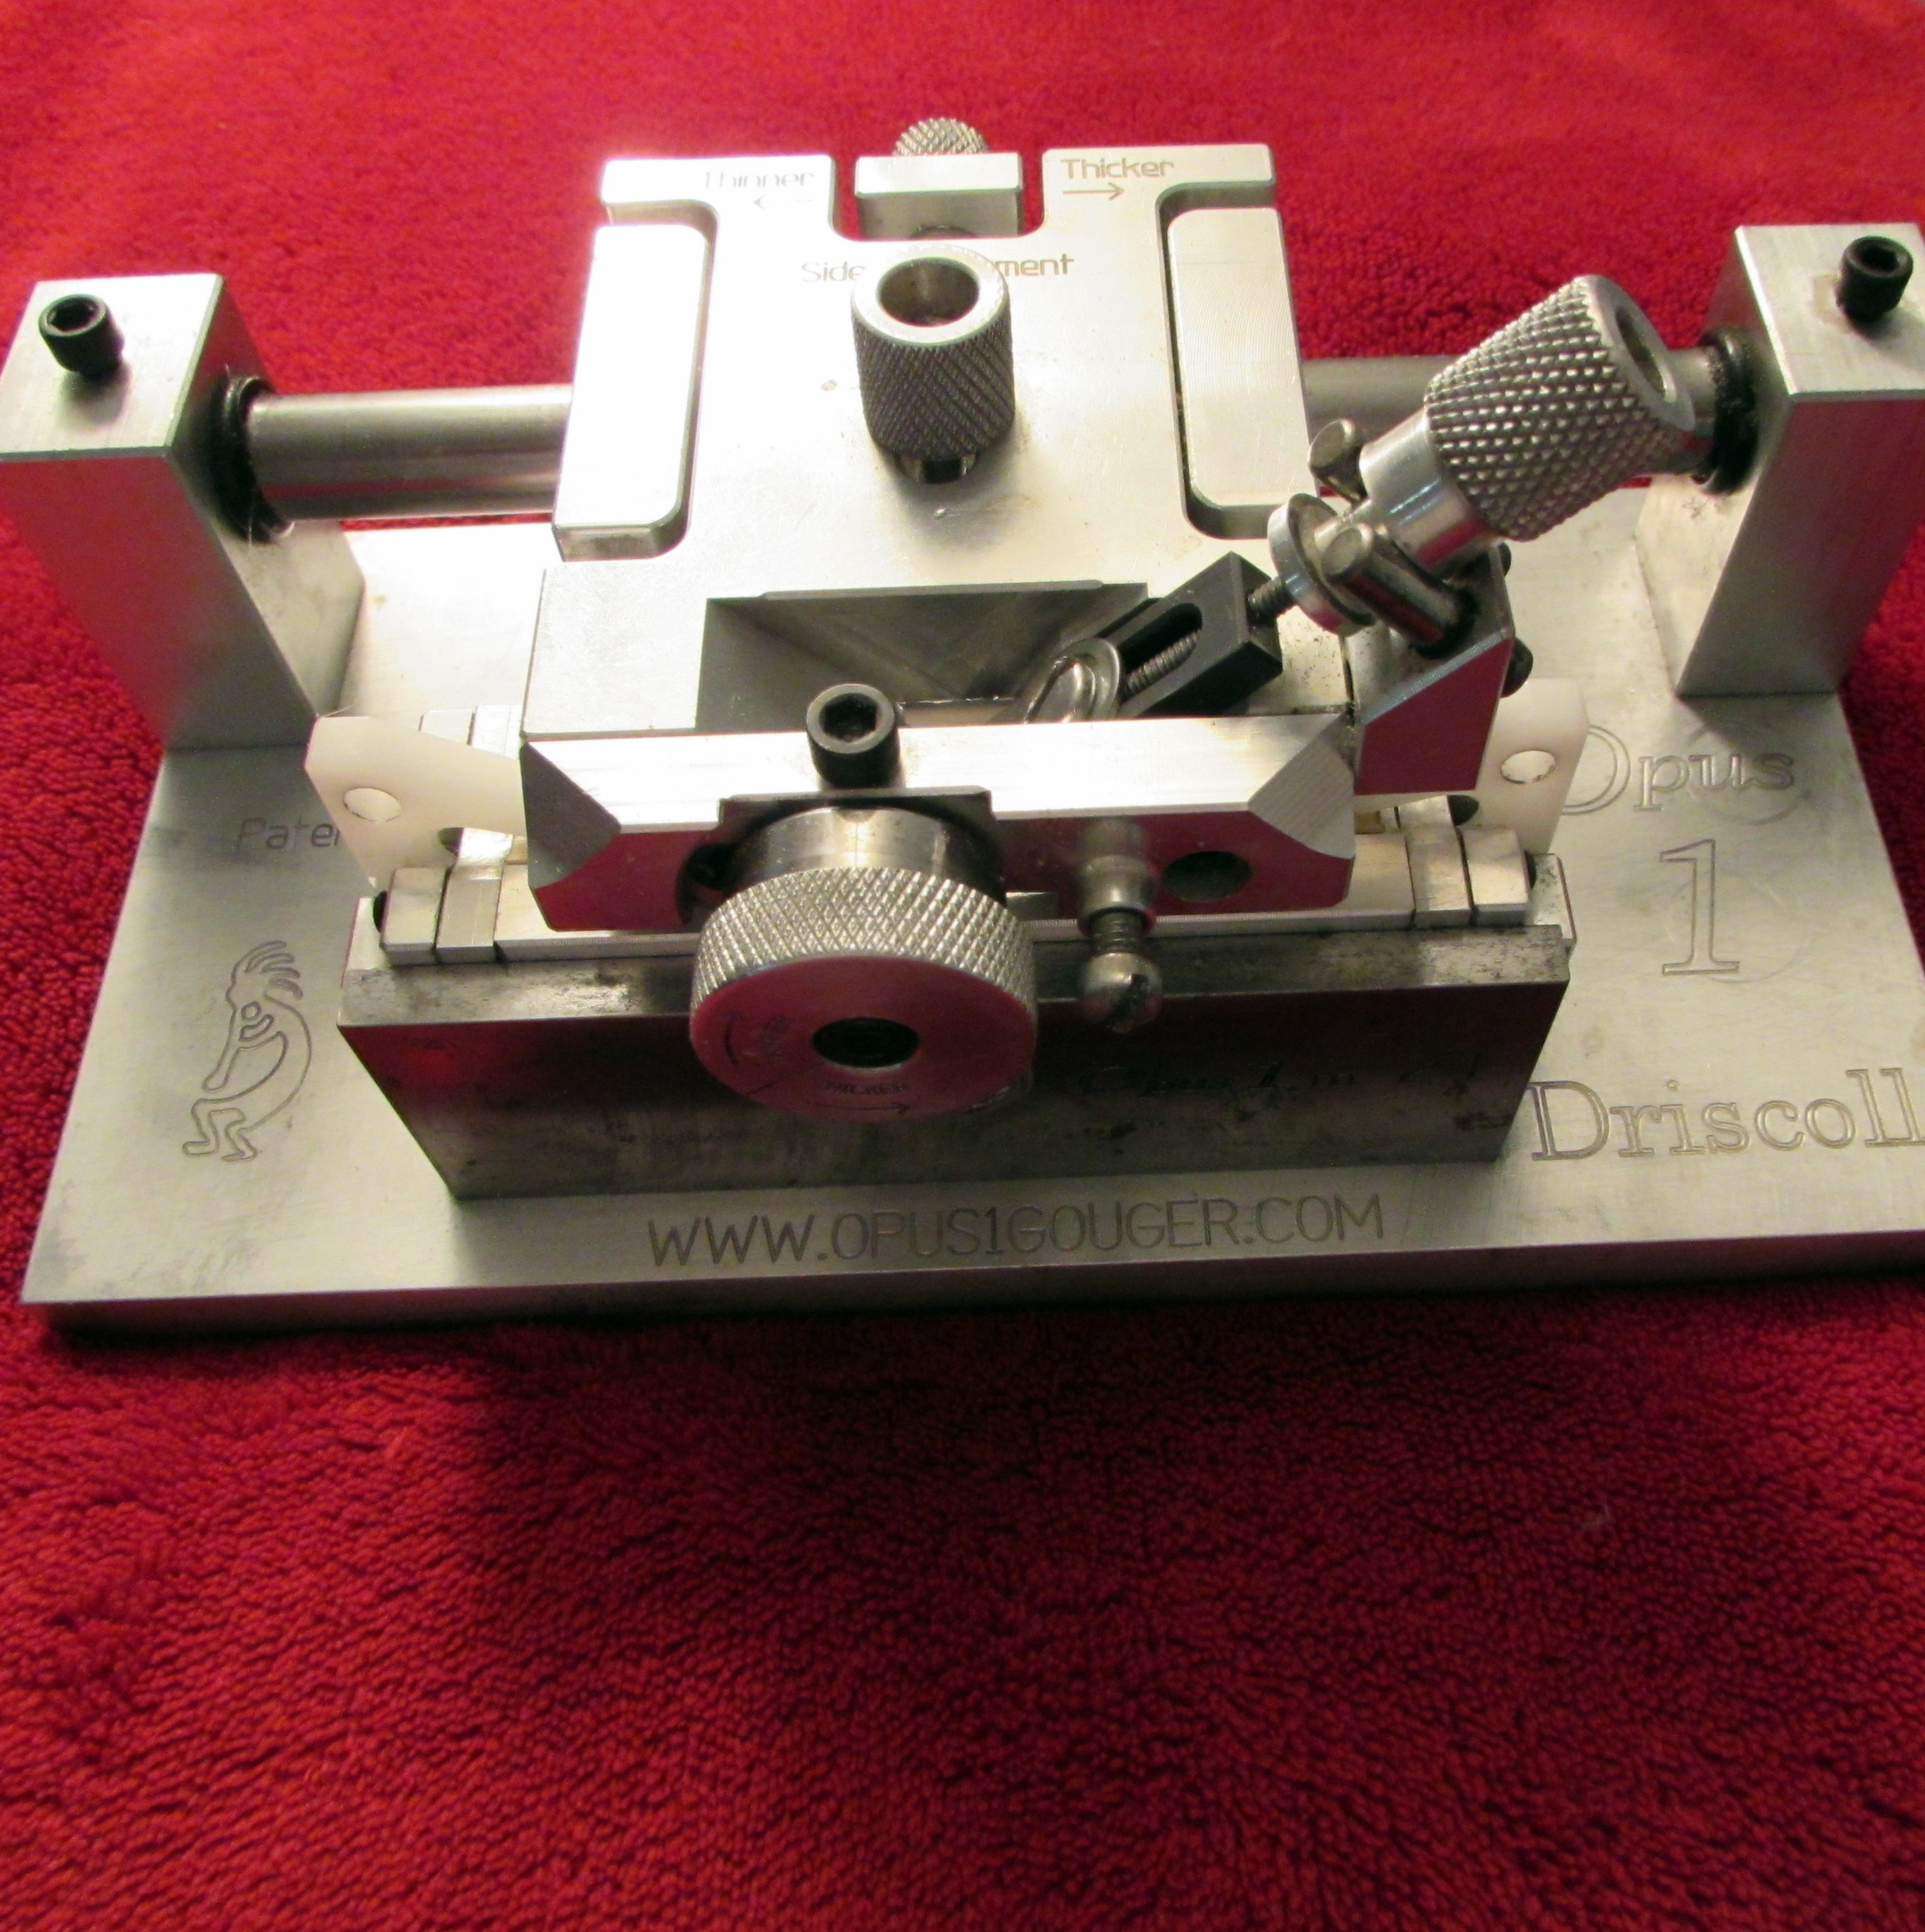
A gouger is a machine that is crucial in the process of producing a beautiful well-functioning responsive reed. Oboe reeds are quite specific and demanding in the thickness of the piece of cane used to create them. The tolerance lies within a very small window of two one hundredths of a millimeter, and therefore the machine required for this precision is one of the most expensive pieces of reed-making equipment an oboist may acquire. The machine removes extremely thin layers of cane until the desired thickness is reached. The best machines will remain in adjustment for extended periods of use and will give consistent measurements over time.
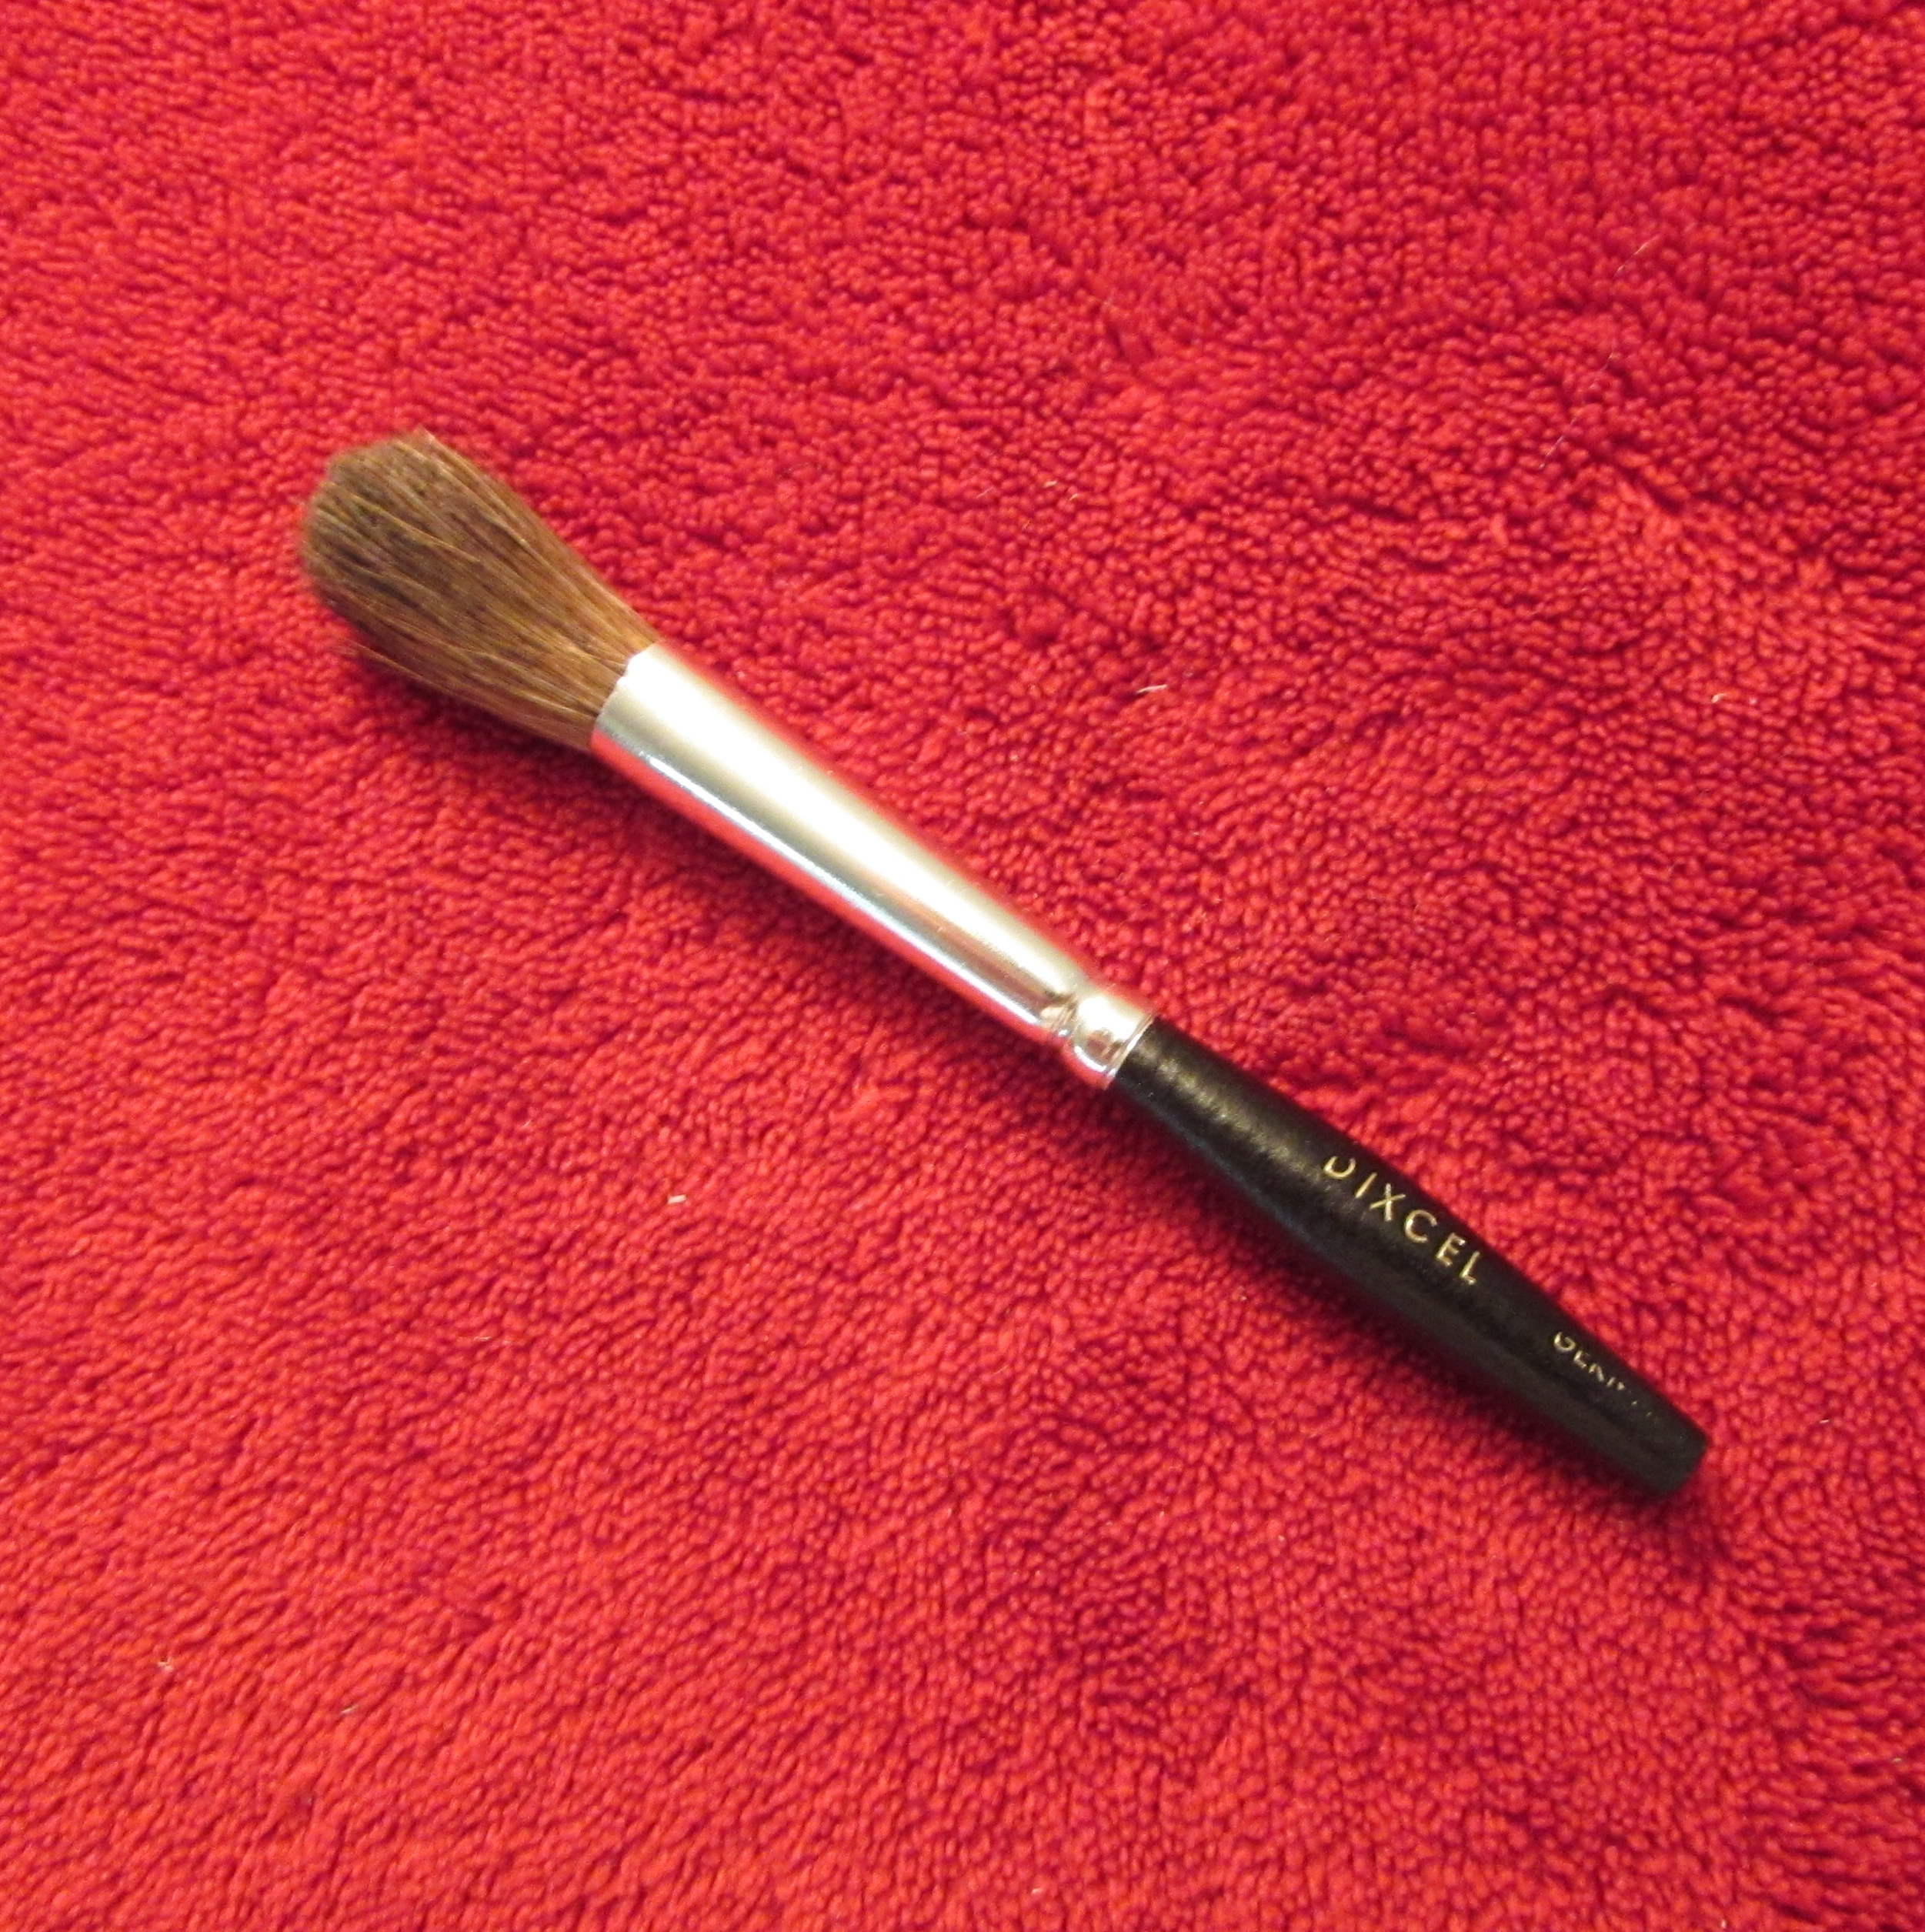 Cleaning brush
Remove reed shavings from your machines to prevent rust and blade clogging. Any brush of convenient size will do. It must be able to fit within the blade well of your gouger.
Oil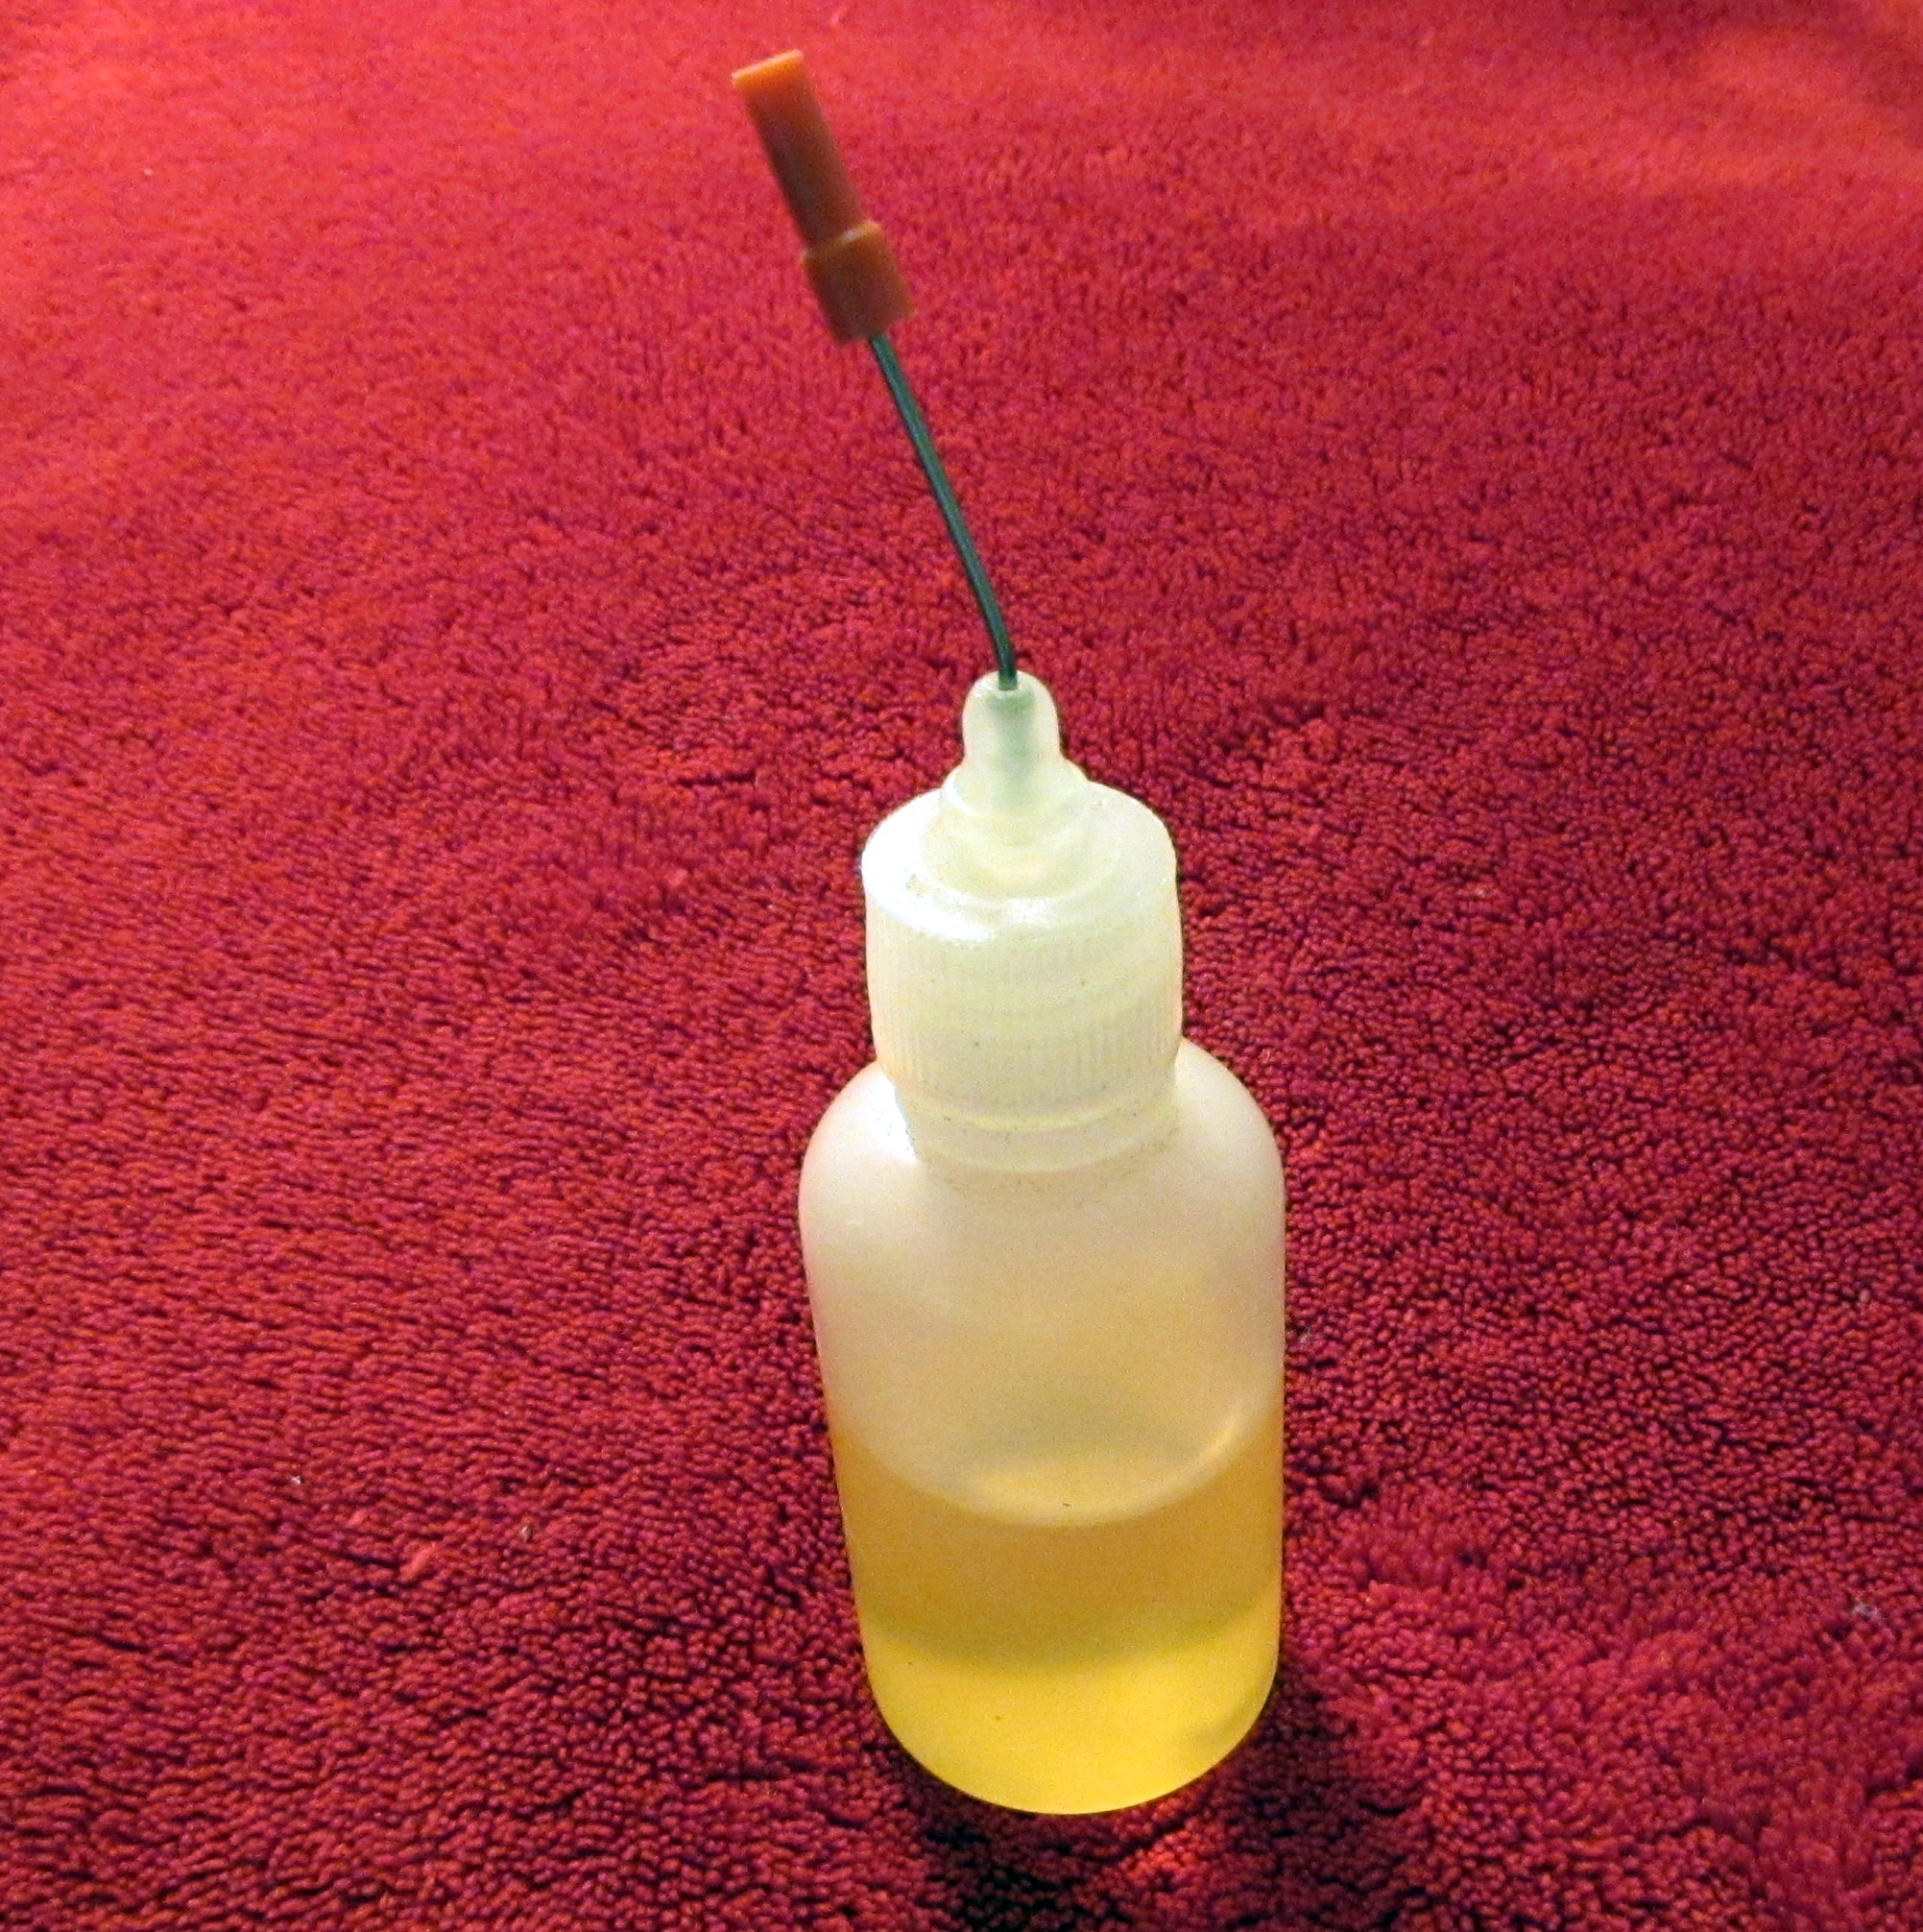
All moving parts need lubrication. Blades need protection from rust. I oil the carriage rod and blade of my gouger before every use. I oil and wipe down my reed knives after I sharpen them. I oil the keys of my oboe every six months. Once a year, I completely remove the rods from my oboe, clean them, wipe off the old oil, and apply new oil, and while the keys are off I will polish them and clean the tone holes. These simple maintenance tasks will keep your machines and instruments functioning well for a long time.
 Micrometer
The thickness of your cane must be verified. Yes, size matters. Micrometers are the tool of choice as they are able to measure the smallest increments required. They are also quite handy for adjusting a gouger. Not only could you use one to measure the gouged cane, you could measure the gouged shavings too.
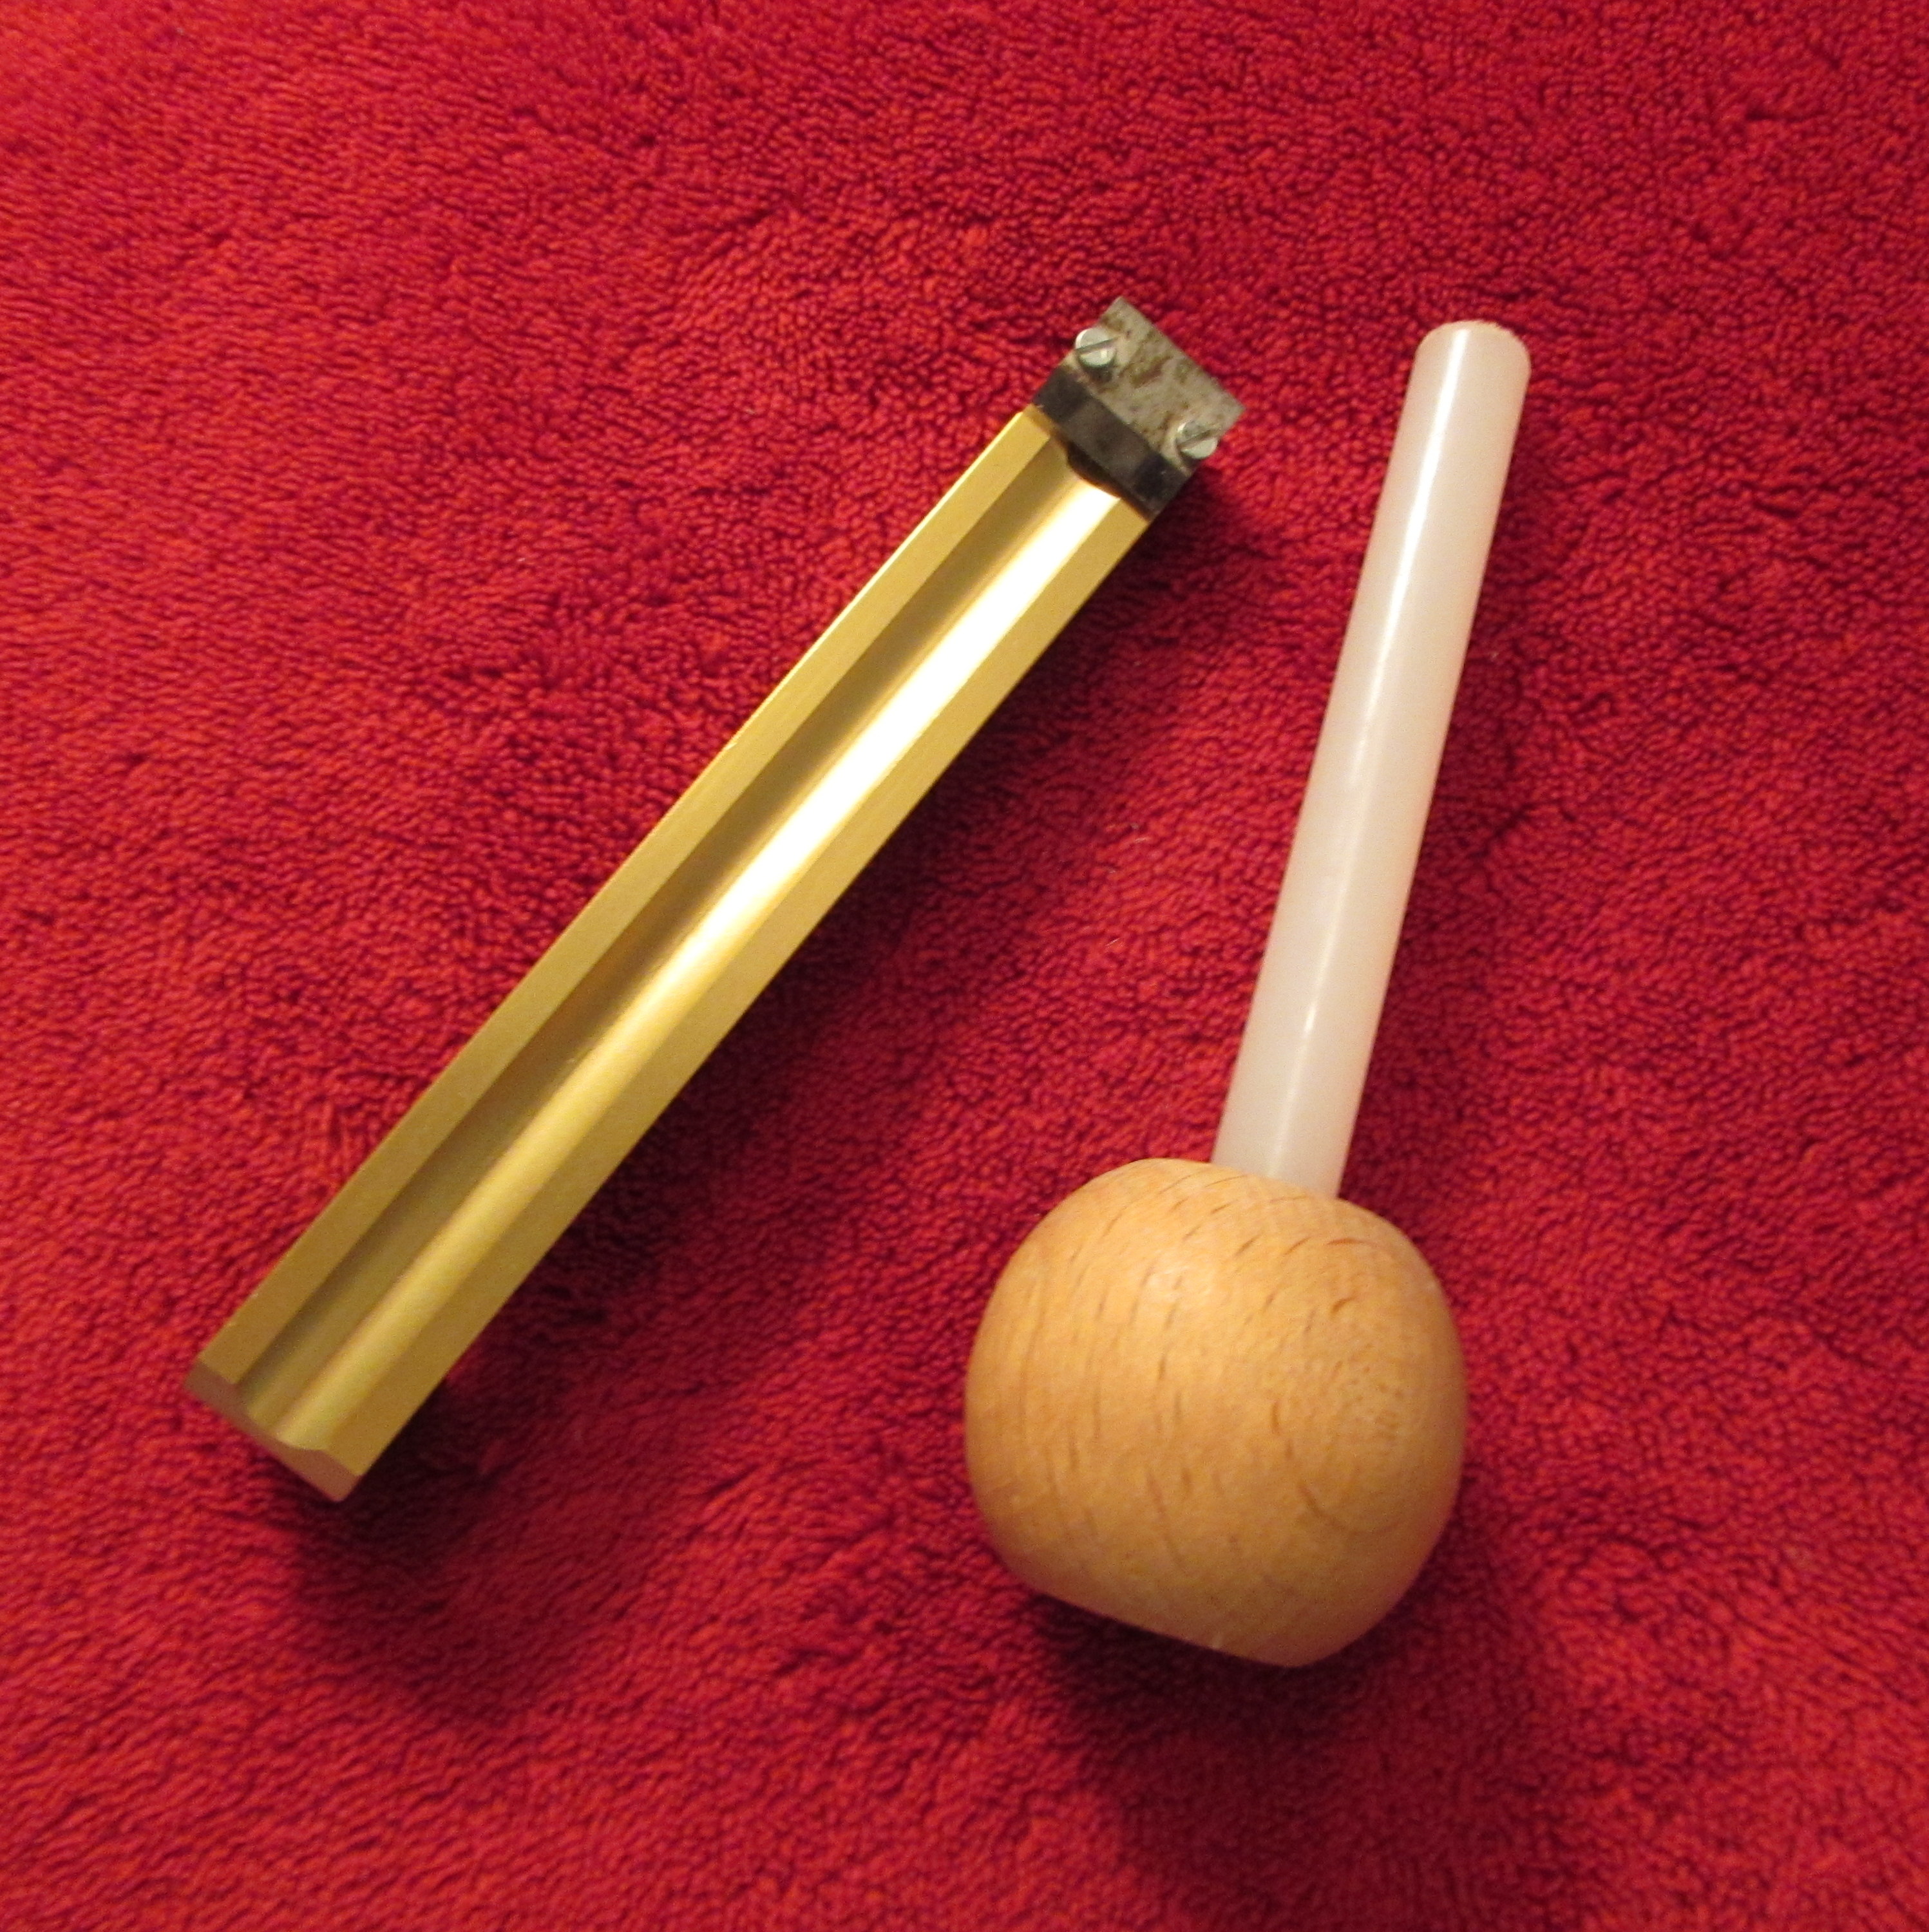
Shaper handle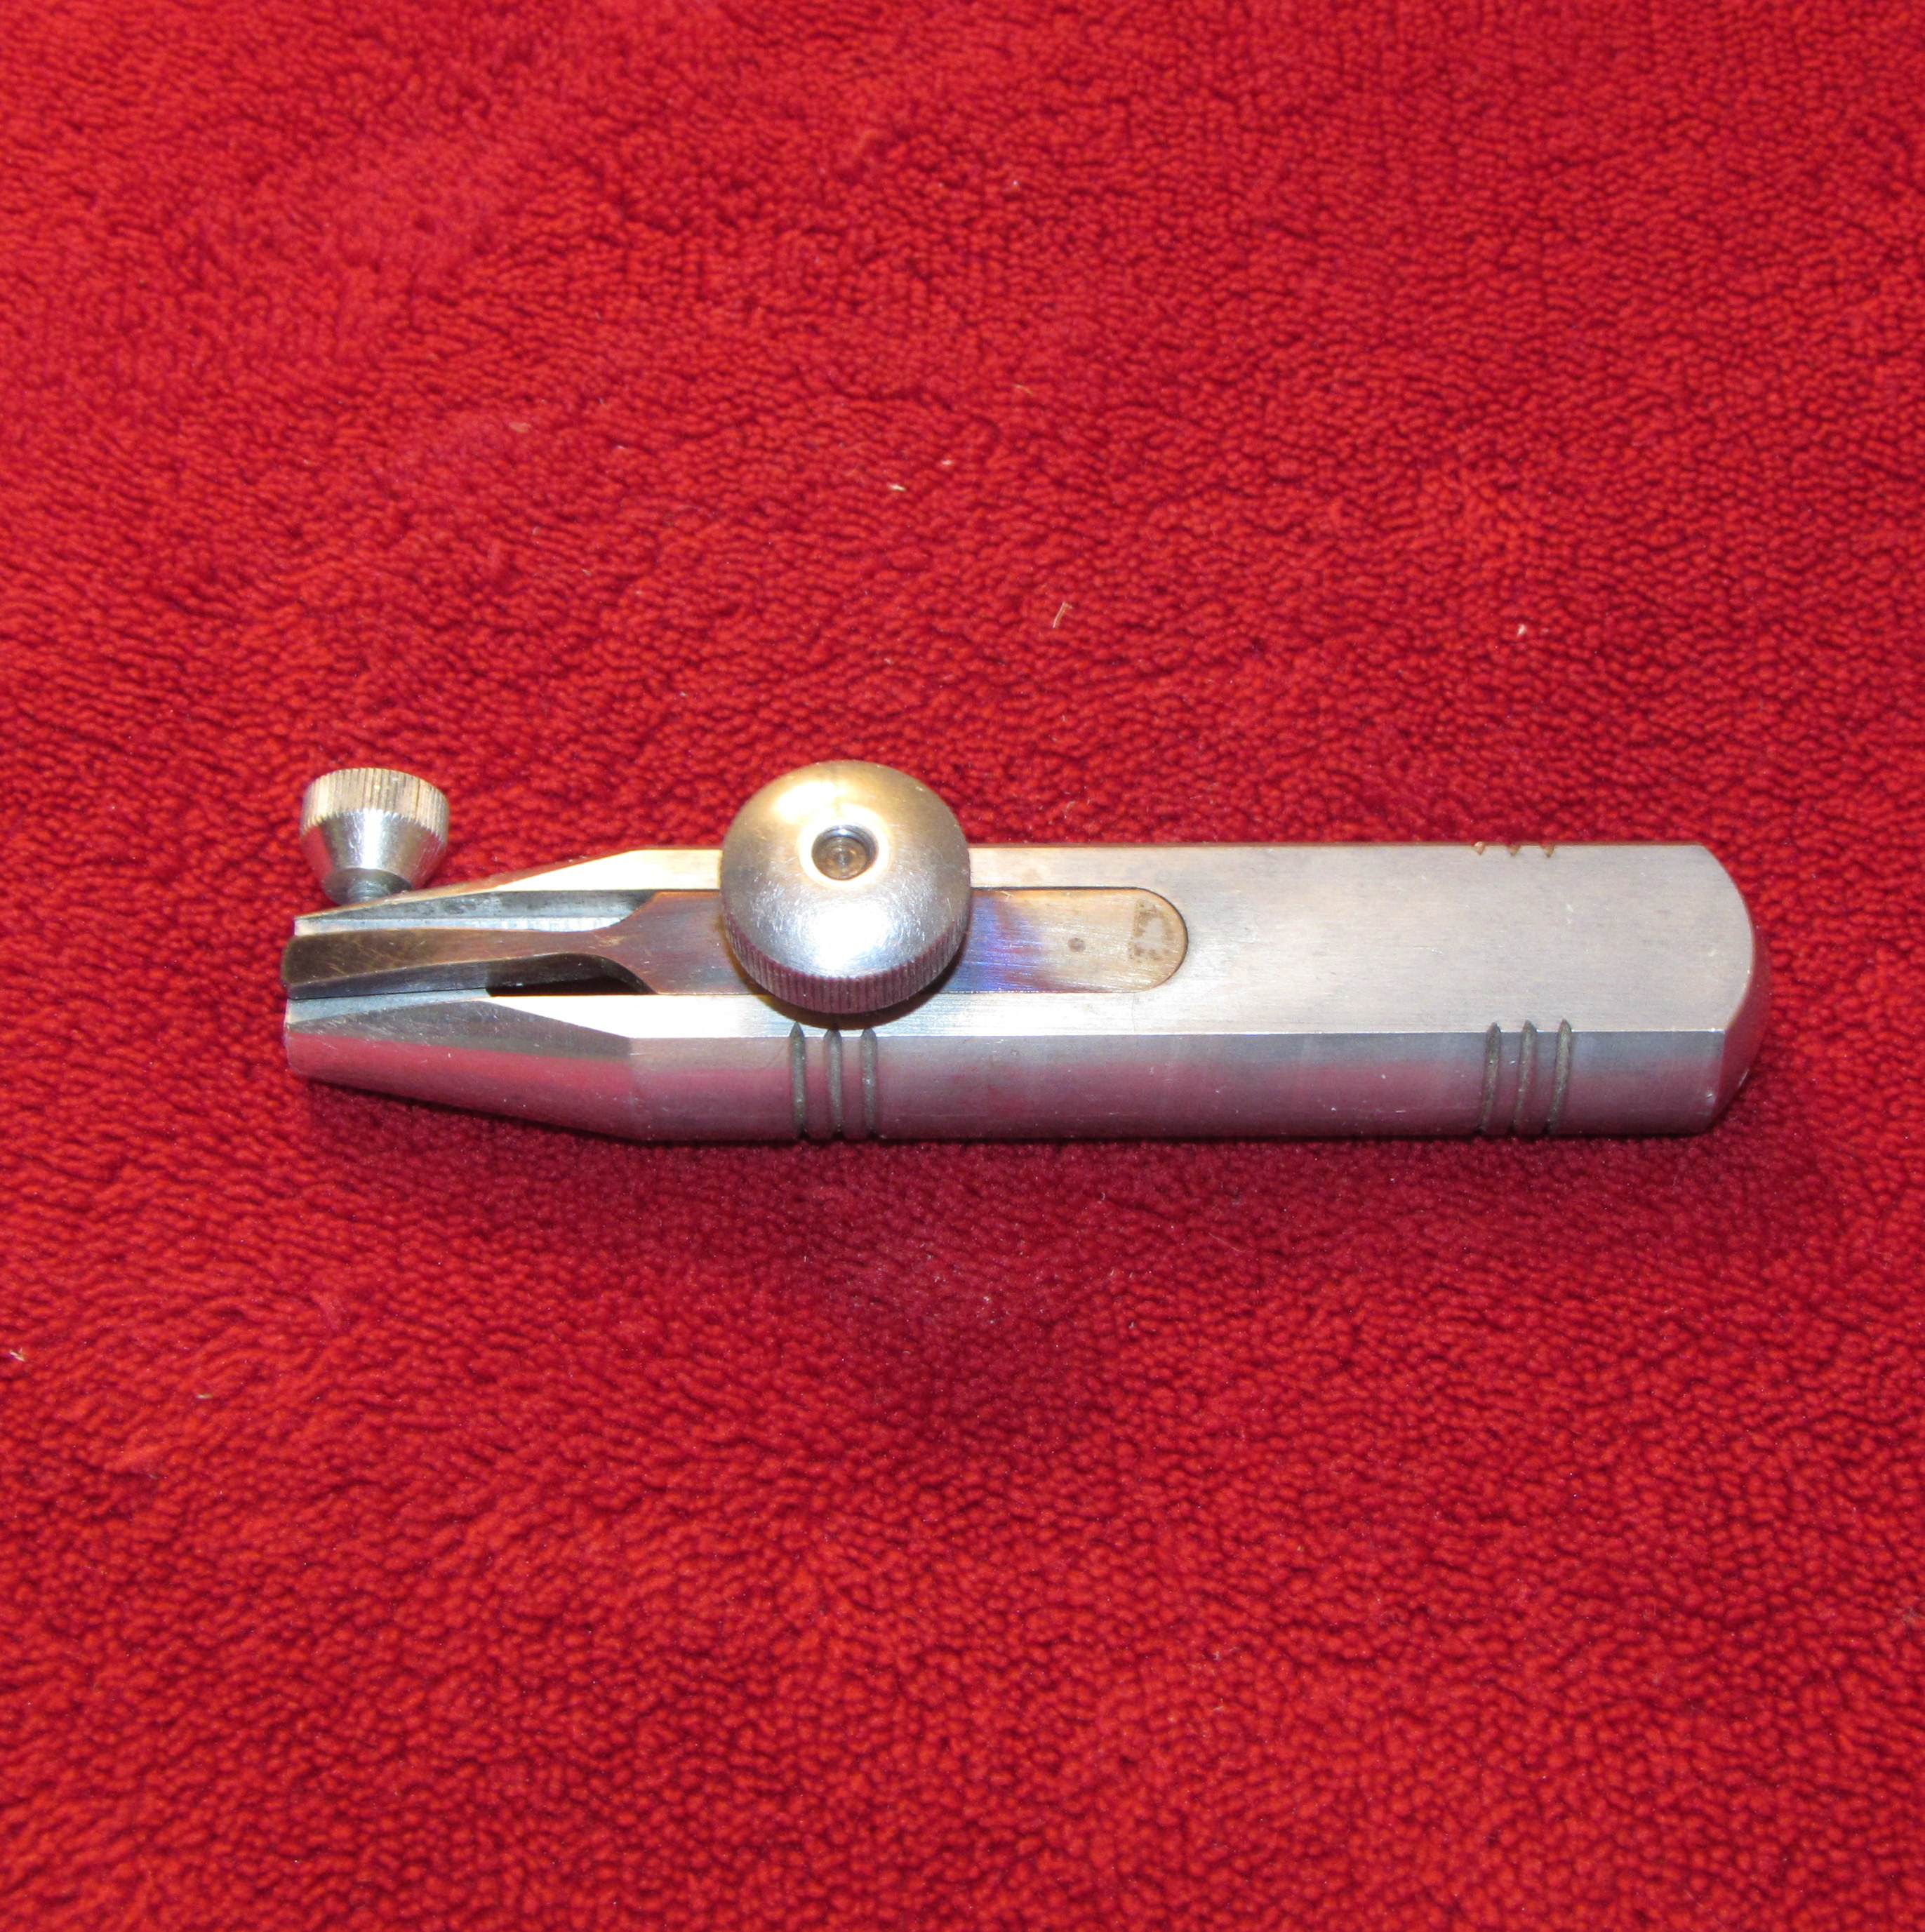
The title here is pretty self explanatory. The most important function the shaper handle provides is the ability to hold a piece of cane in place while it is being shaped, as well as the chosen shaper tip. Ideally, the mechanisms of the handle will not hinder the process.
 Shaper tip
People come in many different shapes and sizes, and so do the shapes for their reeds. My favorite shaper tip, the Gilbert -1, happens to be one of the more standard sizes.
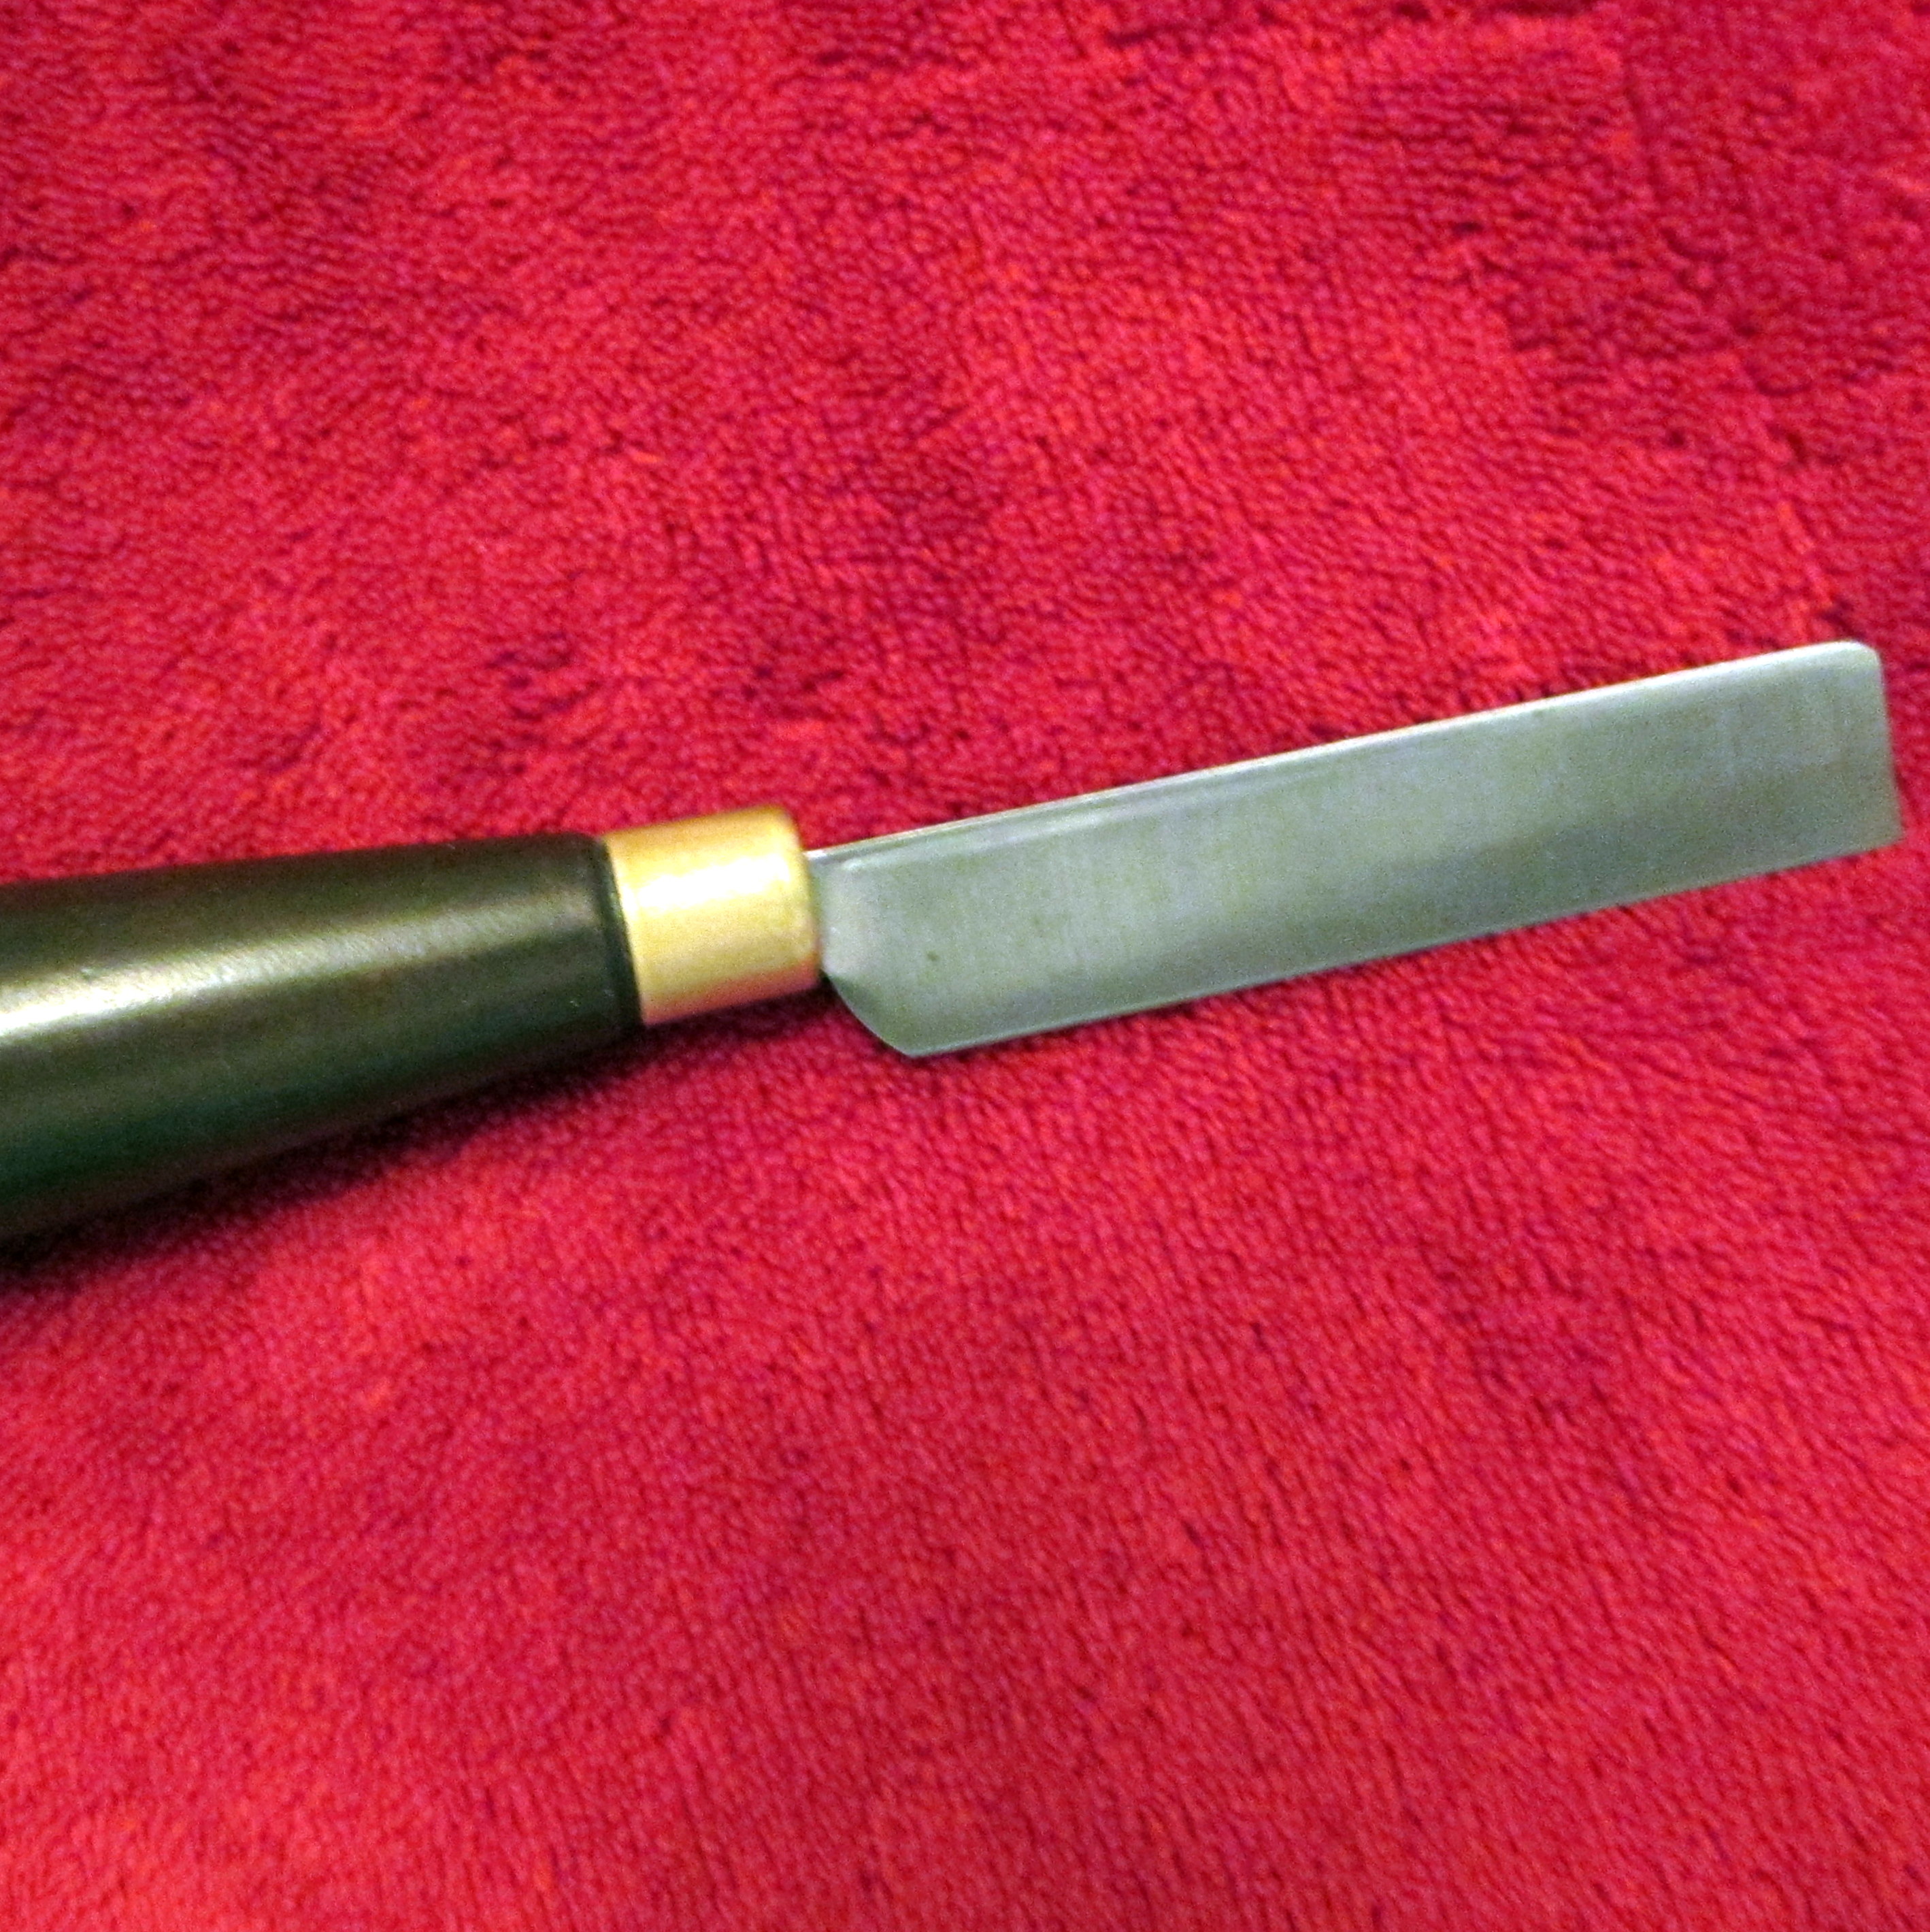
Razor blade
The most important function your razor blade will perform is the act of shaping cane, and perhaps tip clipping. They are useful for cutting string and removing those pesky ears too. Since razor blades can be found in packs of 100 at the local hardware store, I don’t fuss with them much. One blade will last me two shapes, so a pack of 100 will yield approximately 190 tied reed blanks give or take. I feel that I have more control and stability over my tip clipping with my “blue collar” reed knife, however it is certainly possible to get excellent clips with the right razor blades.
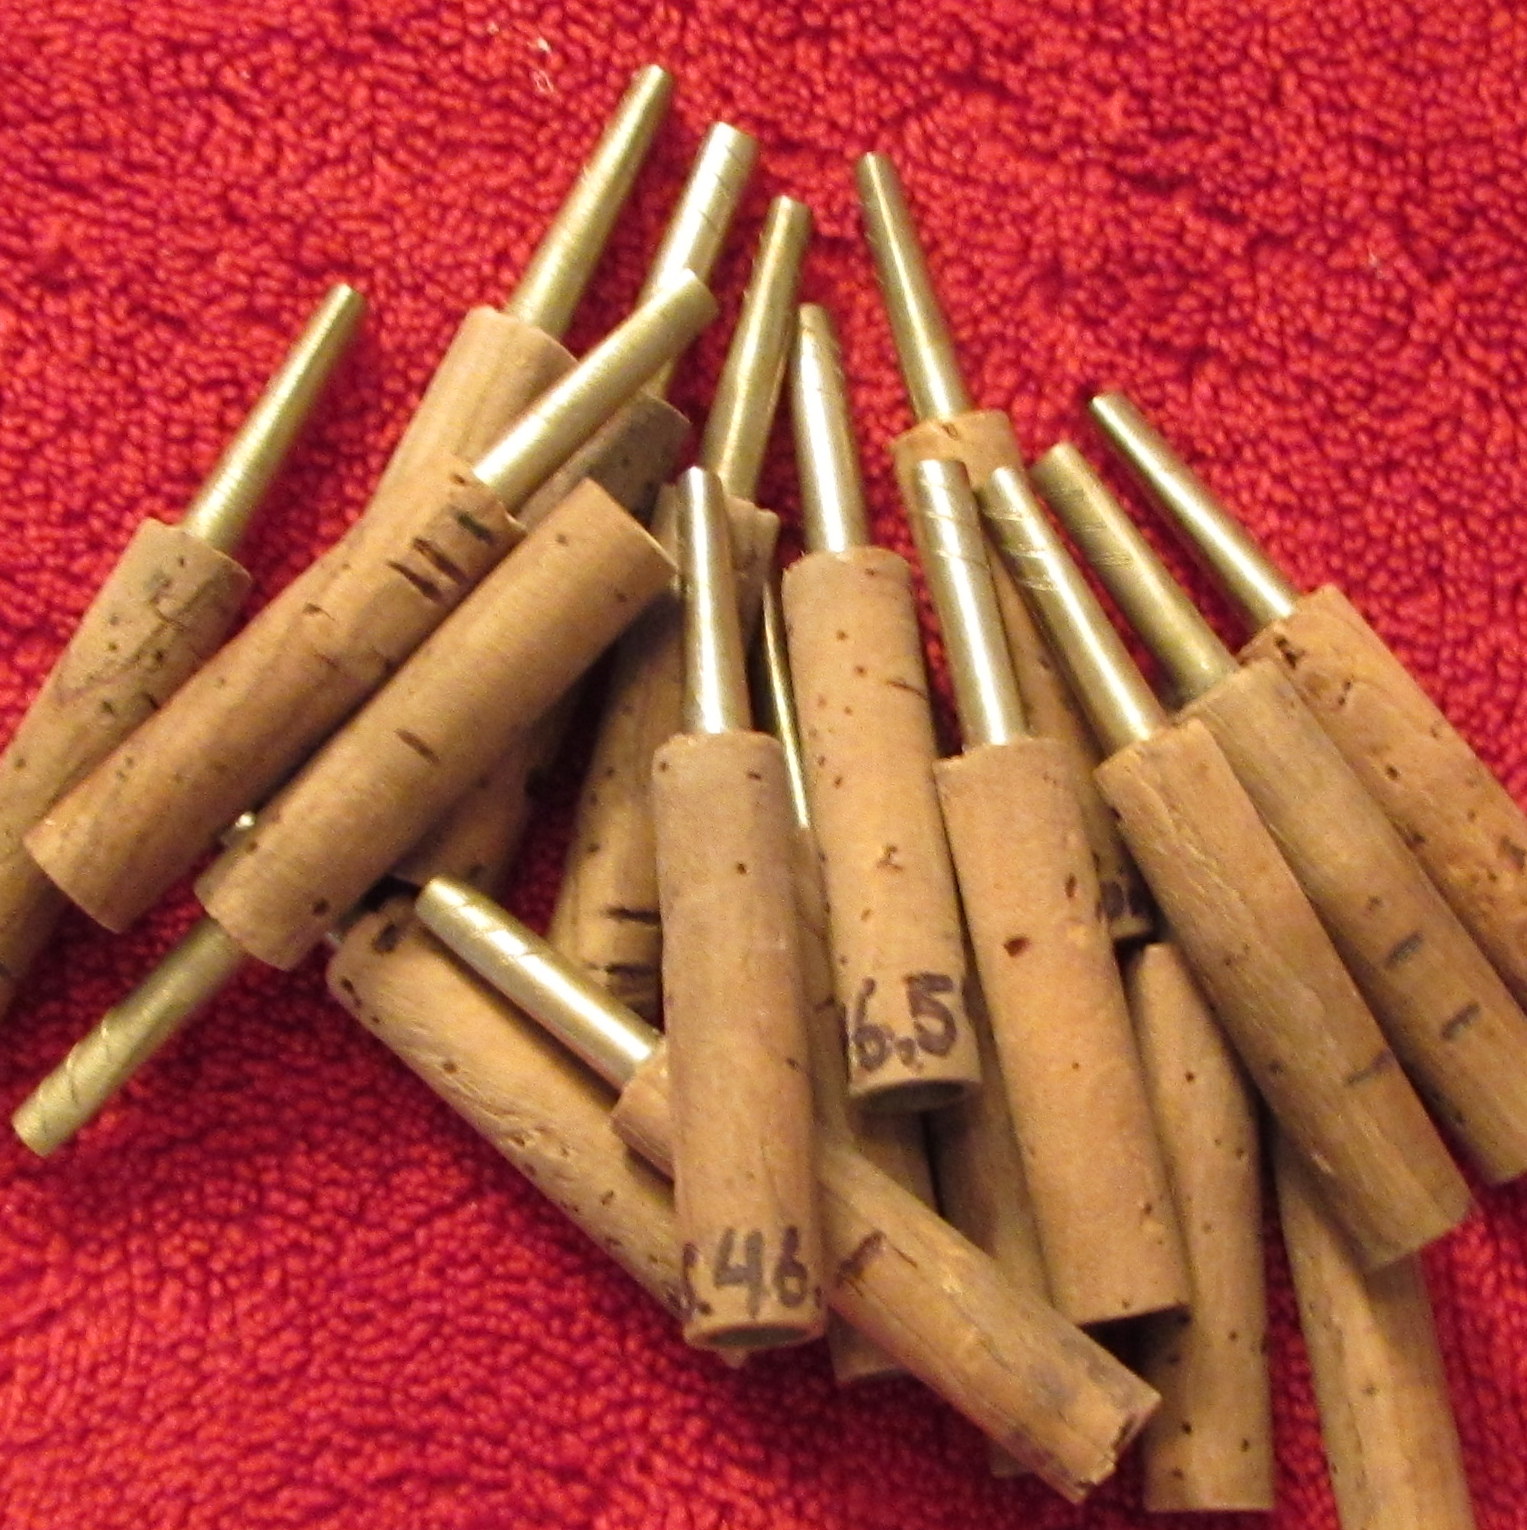 Staple
Brass, silver, gold, nickel… If the metal vibrates well you can probably find a staple created or plated with it. Your standard staple comes with variations in metal, metal thickness, and the dimensions of the tube cone. Almost all of them are surrounded by a cork blanket for insertion into the reed well, however there are innovators out there who use other methods such as rubber gaskets.
Mandrel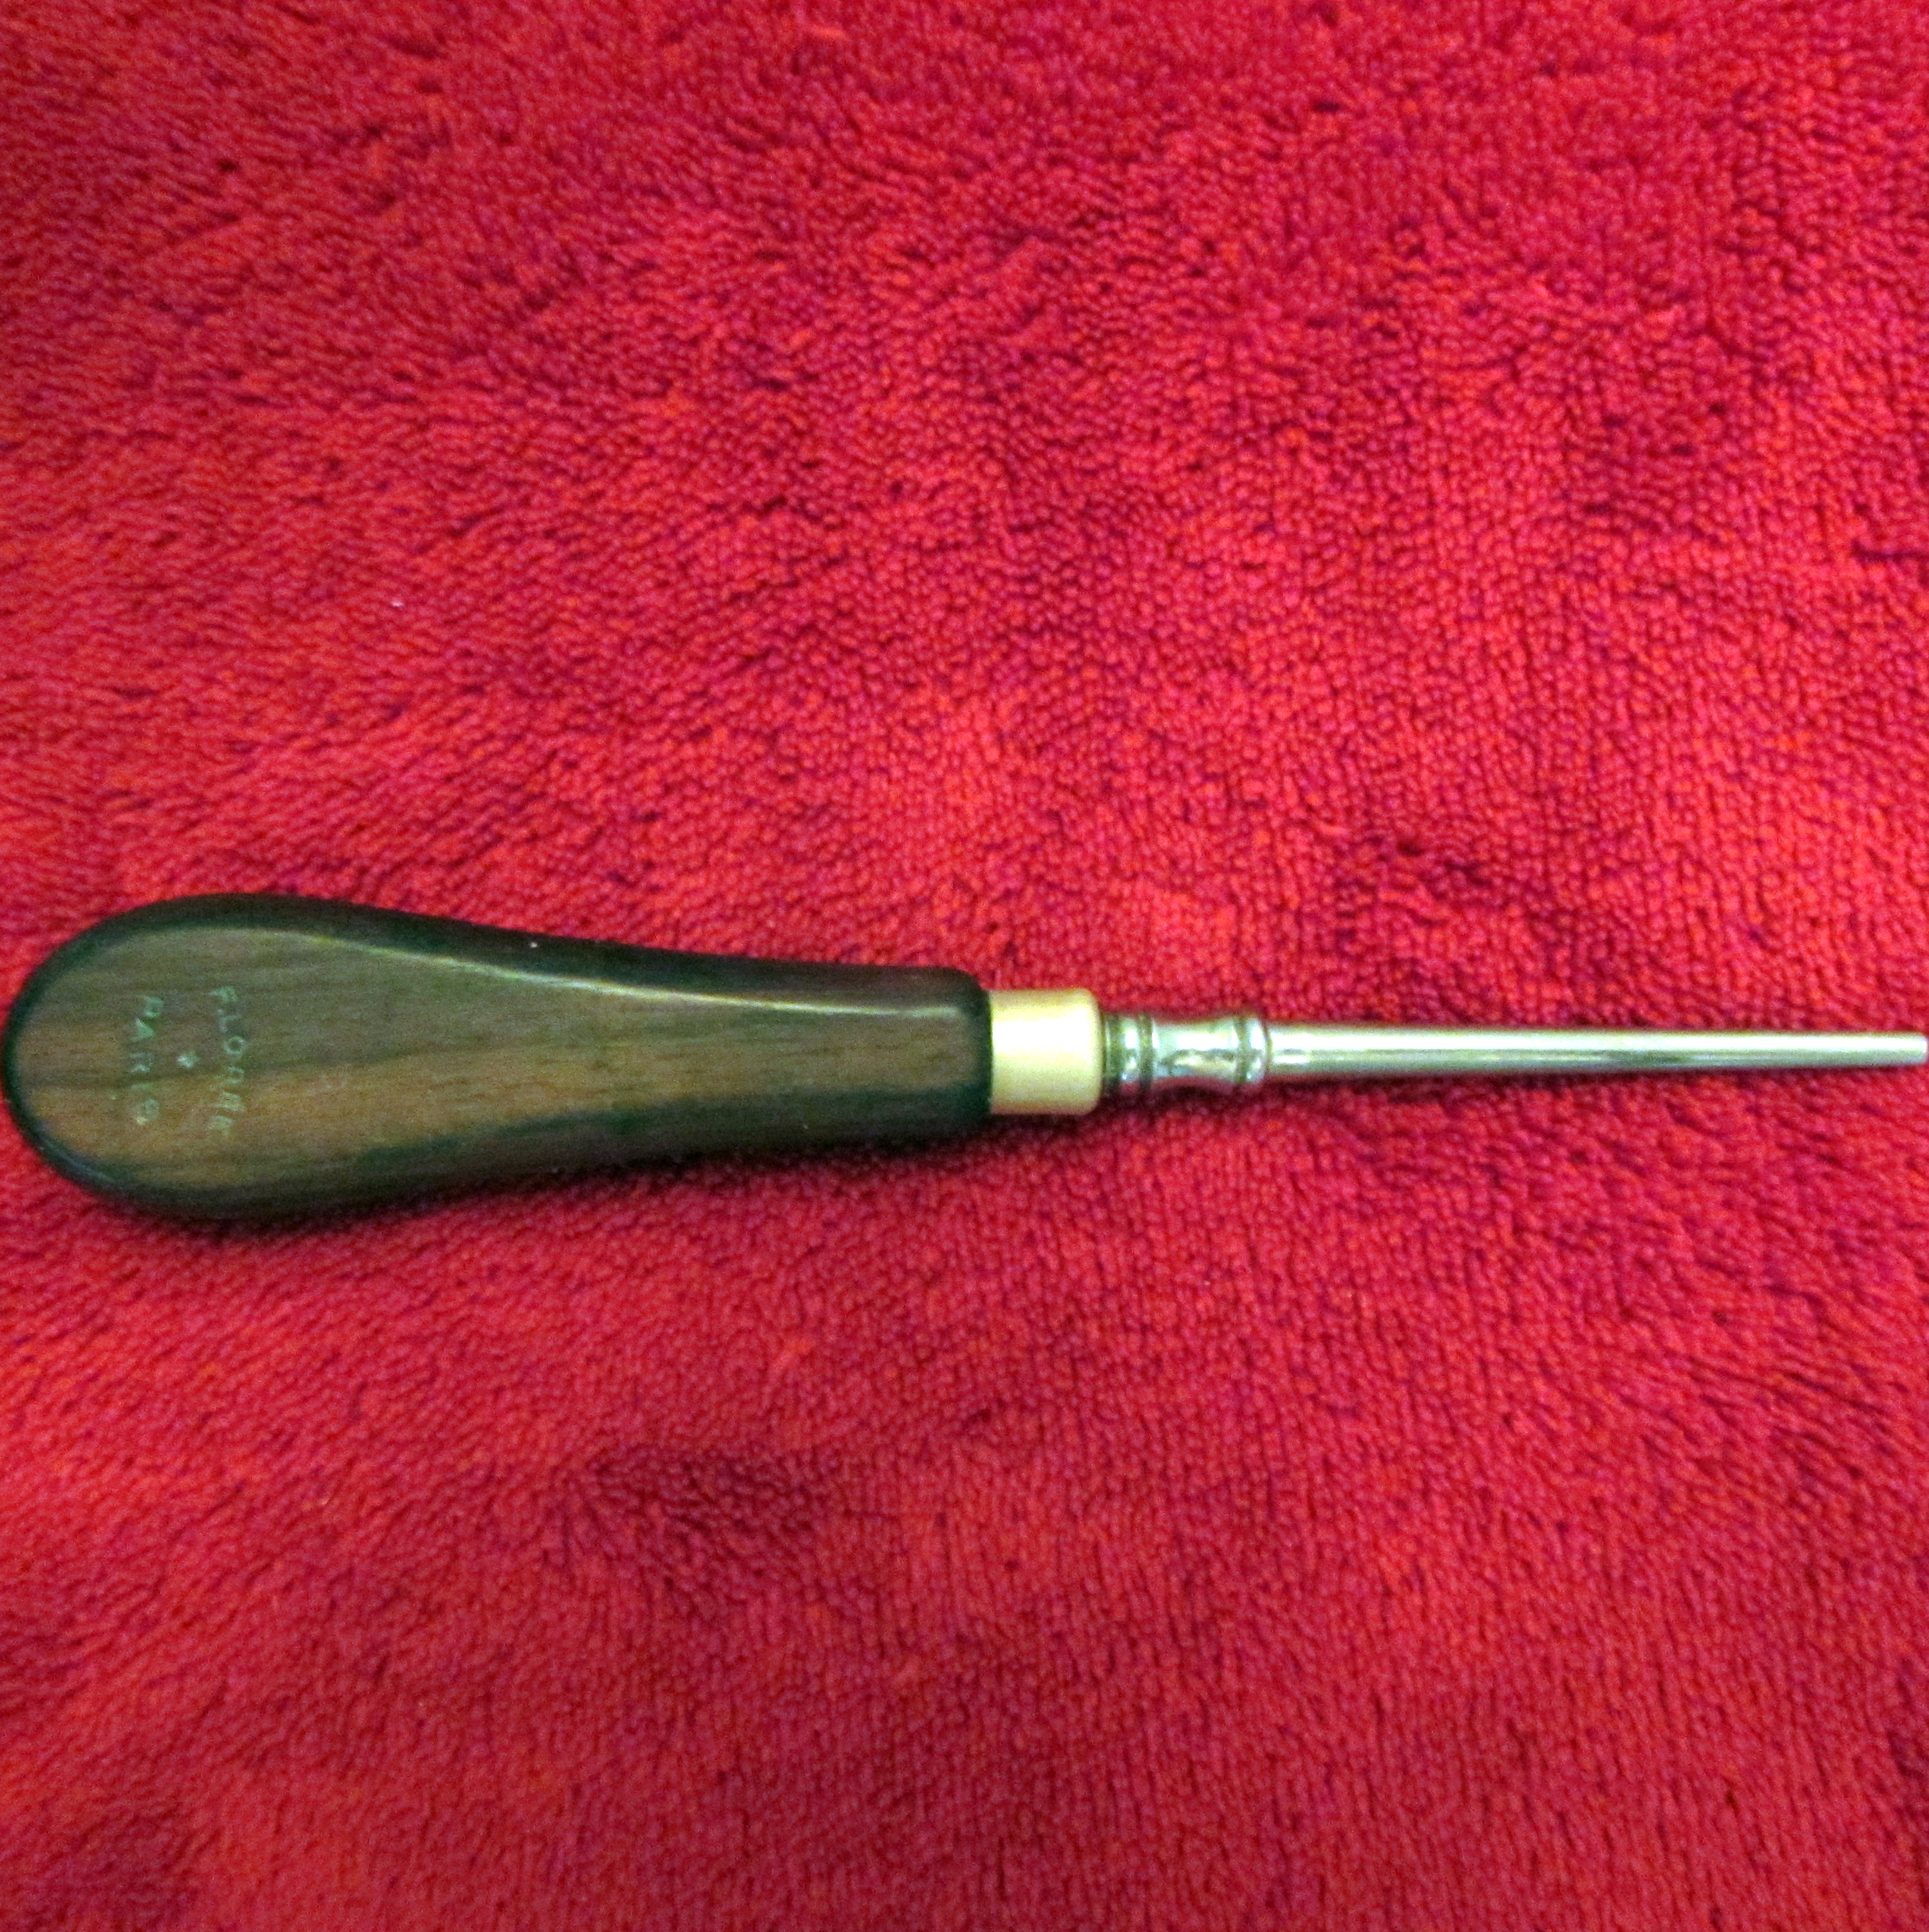
The mandrel must fit the staple. It must be constructed such that the two primary planes of the handle will be parallel to the tied planes of the reed cane. Do not accept compromise in this area, and do not be afraid to return defective products, or to demand excellence. Ask that the staple be fitted to the mandrel prior to shipping, and perhaps even a few test ties, as some mandrels tend to shift during the first few reeds. Especially those with wooden handles. To this day, I still wish to find one poured and created out of a single piece of metal. I am willing to pay extra to avoid the hassle of a defective mandrel. Trust me, it is worth the trouble.
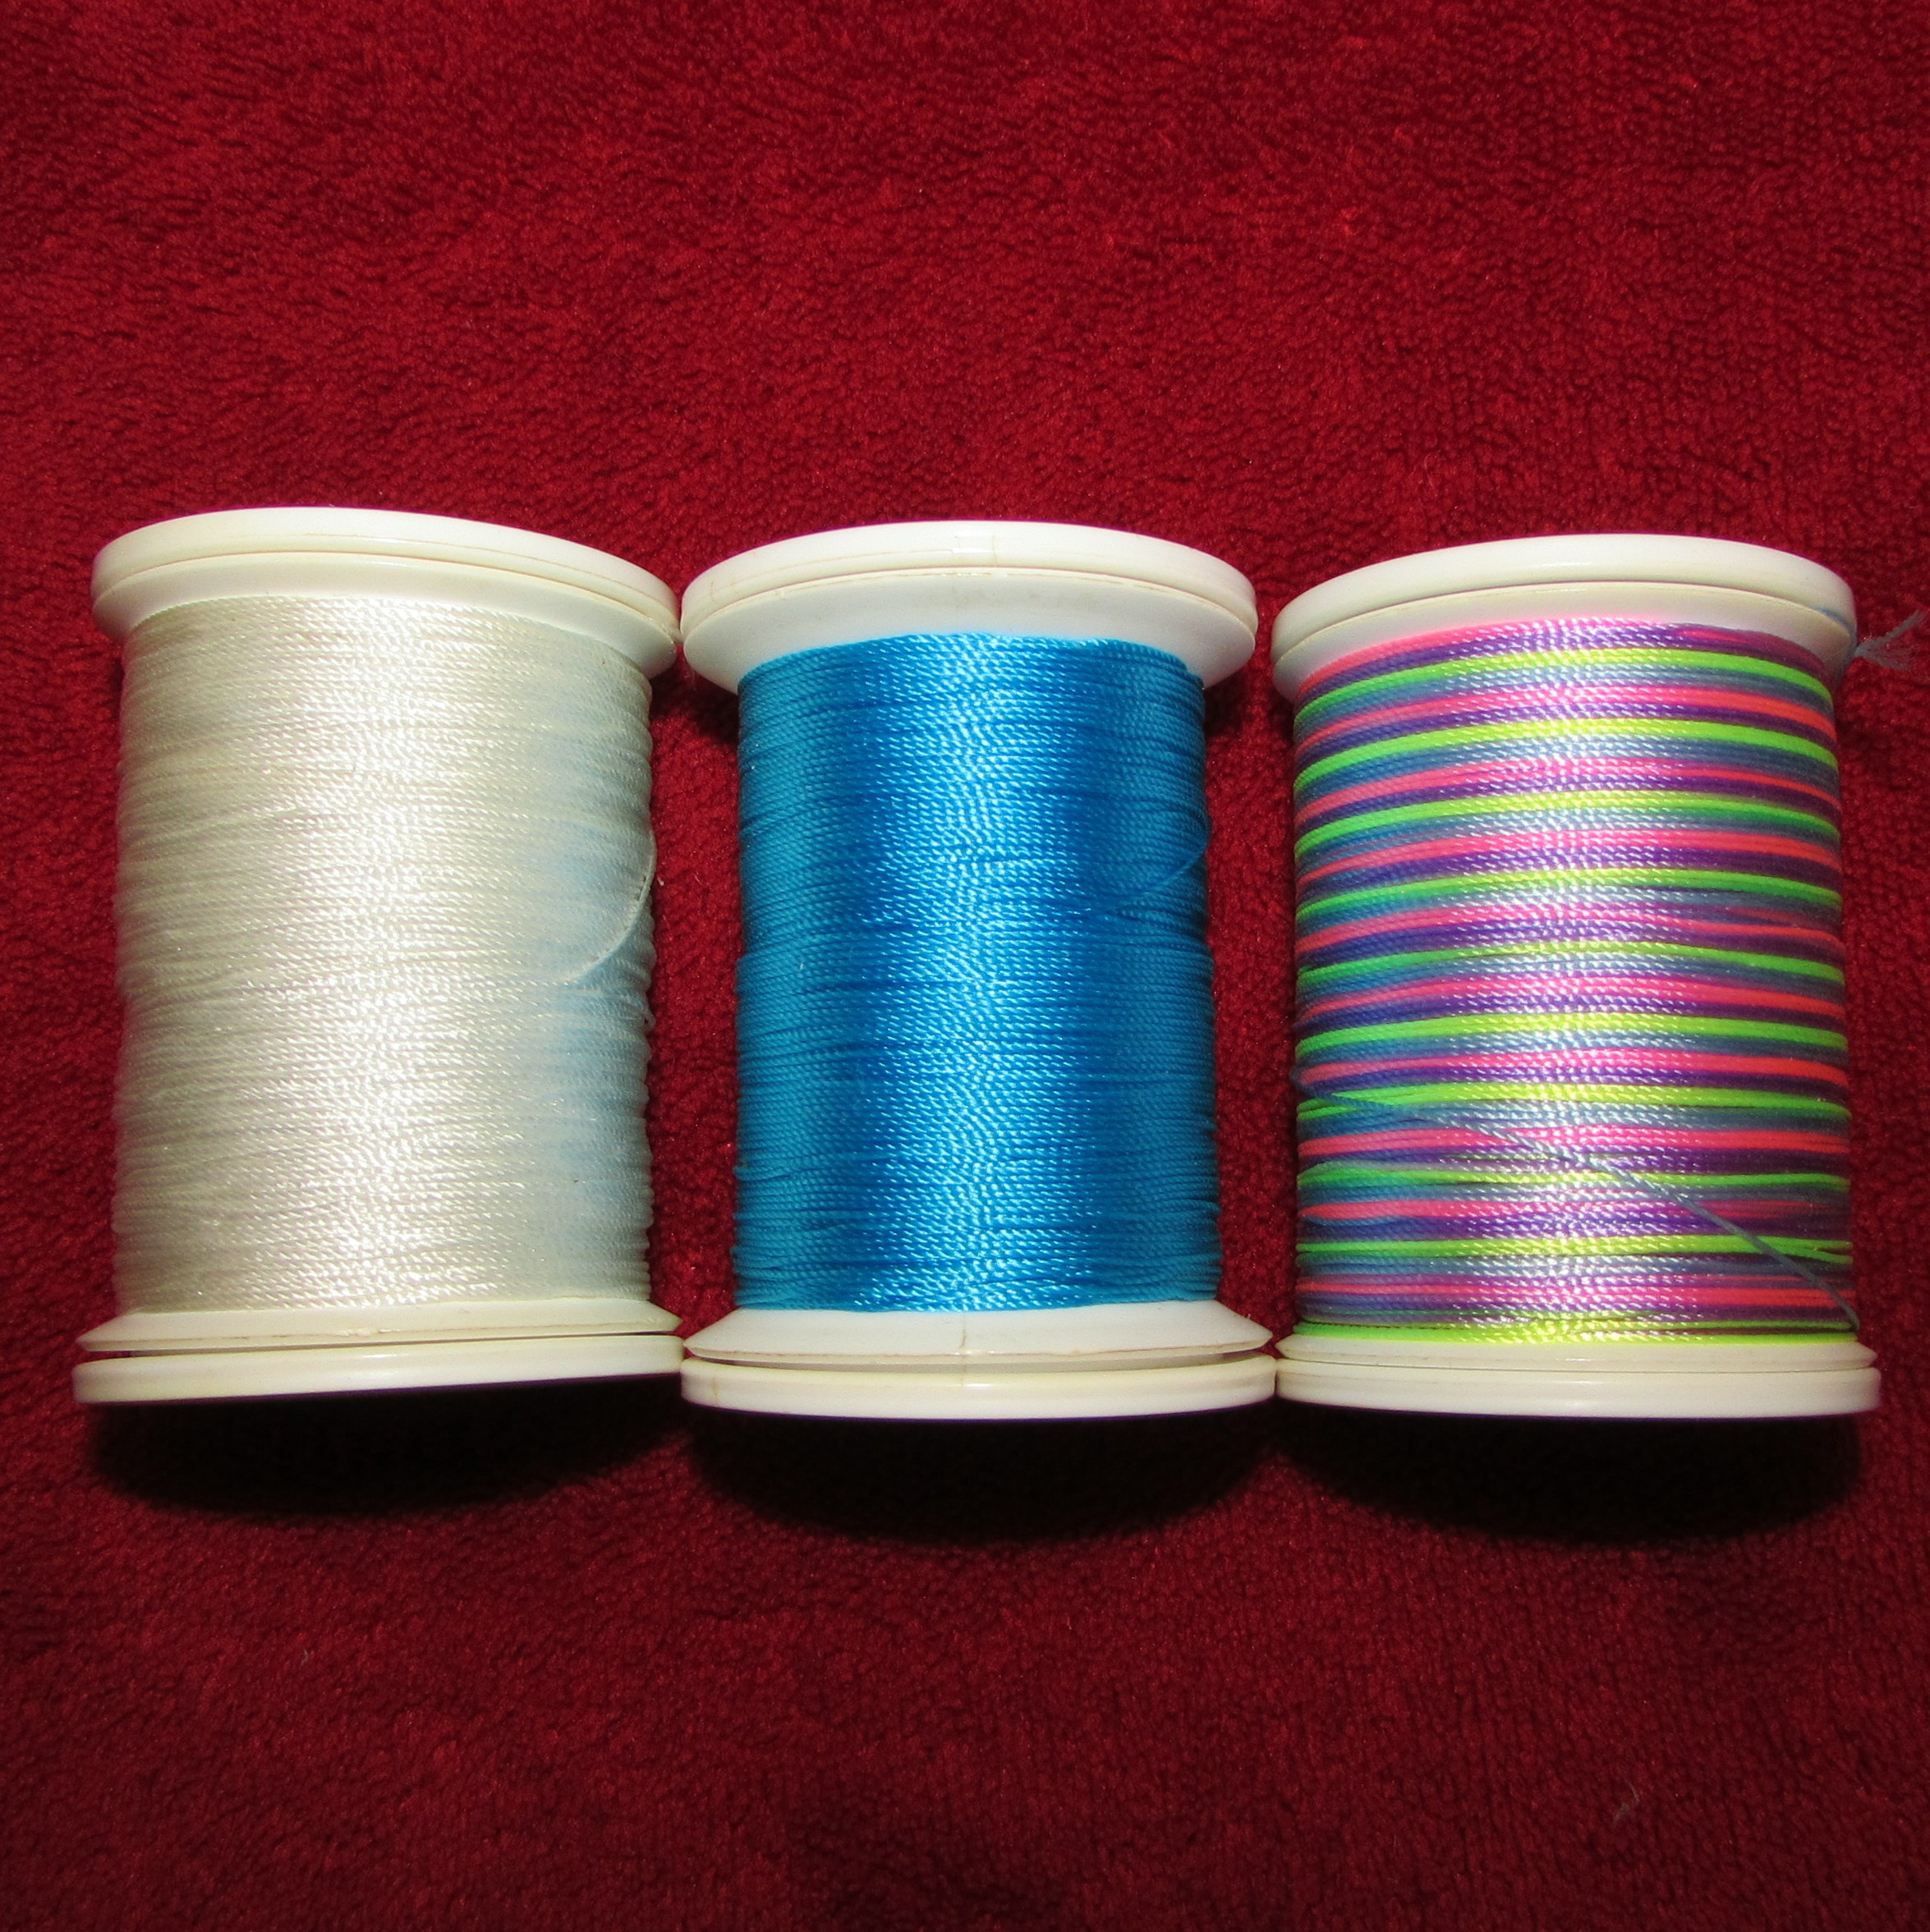 String
Reeds require thread thick enough to tie with and prevent leaks, yet thin enough to avoid dampening cane vibrations excessively. The nylon thread used by most players is marked with an FF. This is a unit of measurement in the government marking system for both strength and weight. Weight measurements are taken per pound of string, which in our case is 3,000 yards per pound. This produces a string diameter of 0.0163 inches. String diameter however, is not the most important quality when tying a reed. What is important is the strength or breaking point, as the string has to be strong enough to pull the sides of the cane together to create a good seal. FF thread takes 22 pounds of force to break. If you were to hold a 20 pound barbell in one hand without moving, the amount of strength in your hand and arm preventing it from falling to the floor is a good way to approximate the feel of this breaking point. The thread we use is made of nylon, so it has the added benefit of stretching up to 26%. I see this as an advantage as stretching occurs during the tying process. This still leaves some flexibility in the string as the cane expands and contracts from the soaking and playing process. It is nice to avoid another potential source of cracking.
Nail Polish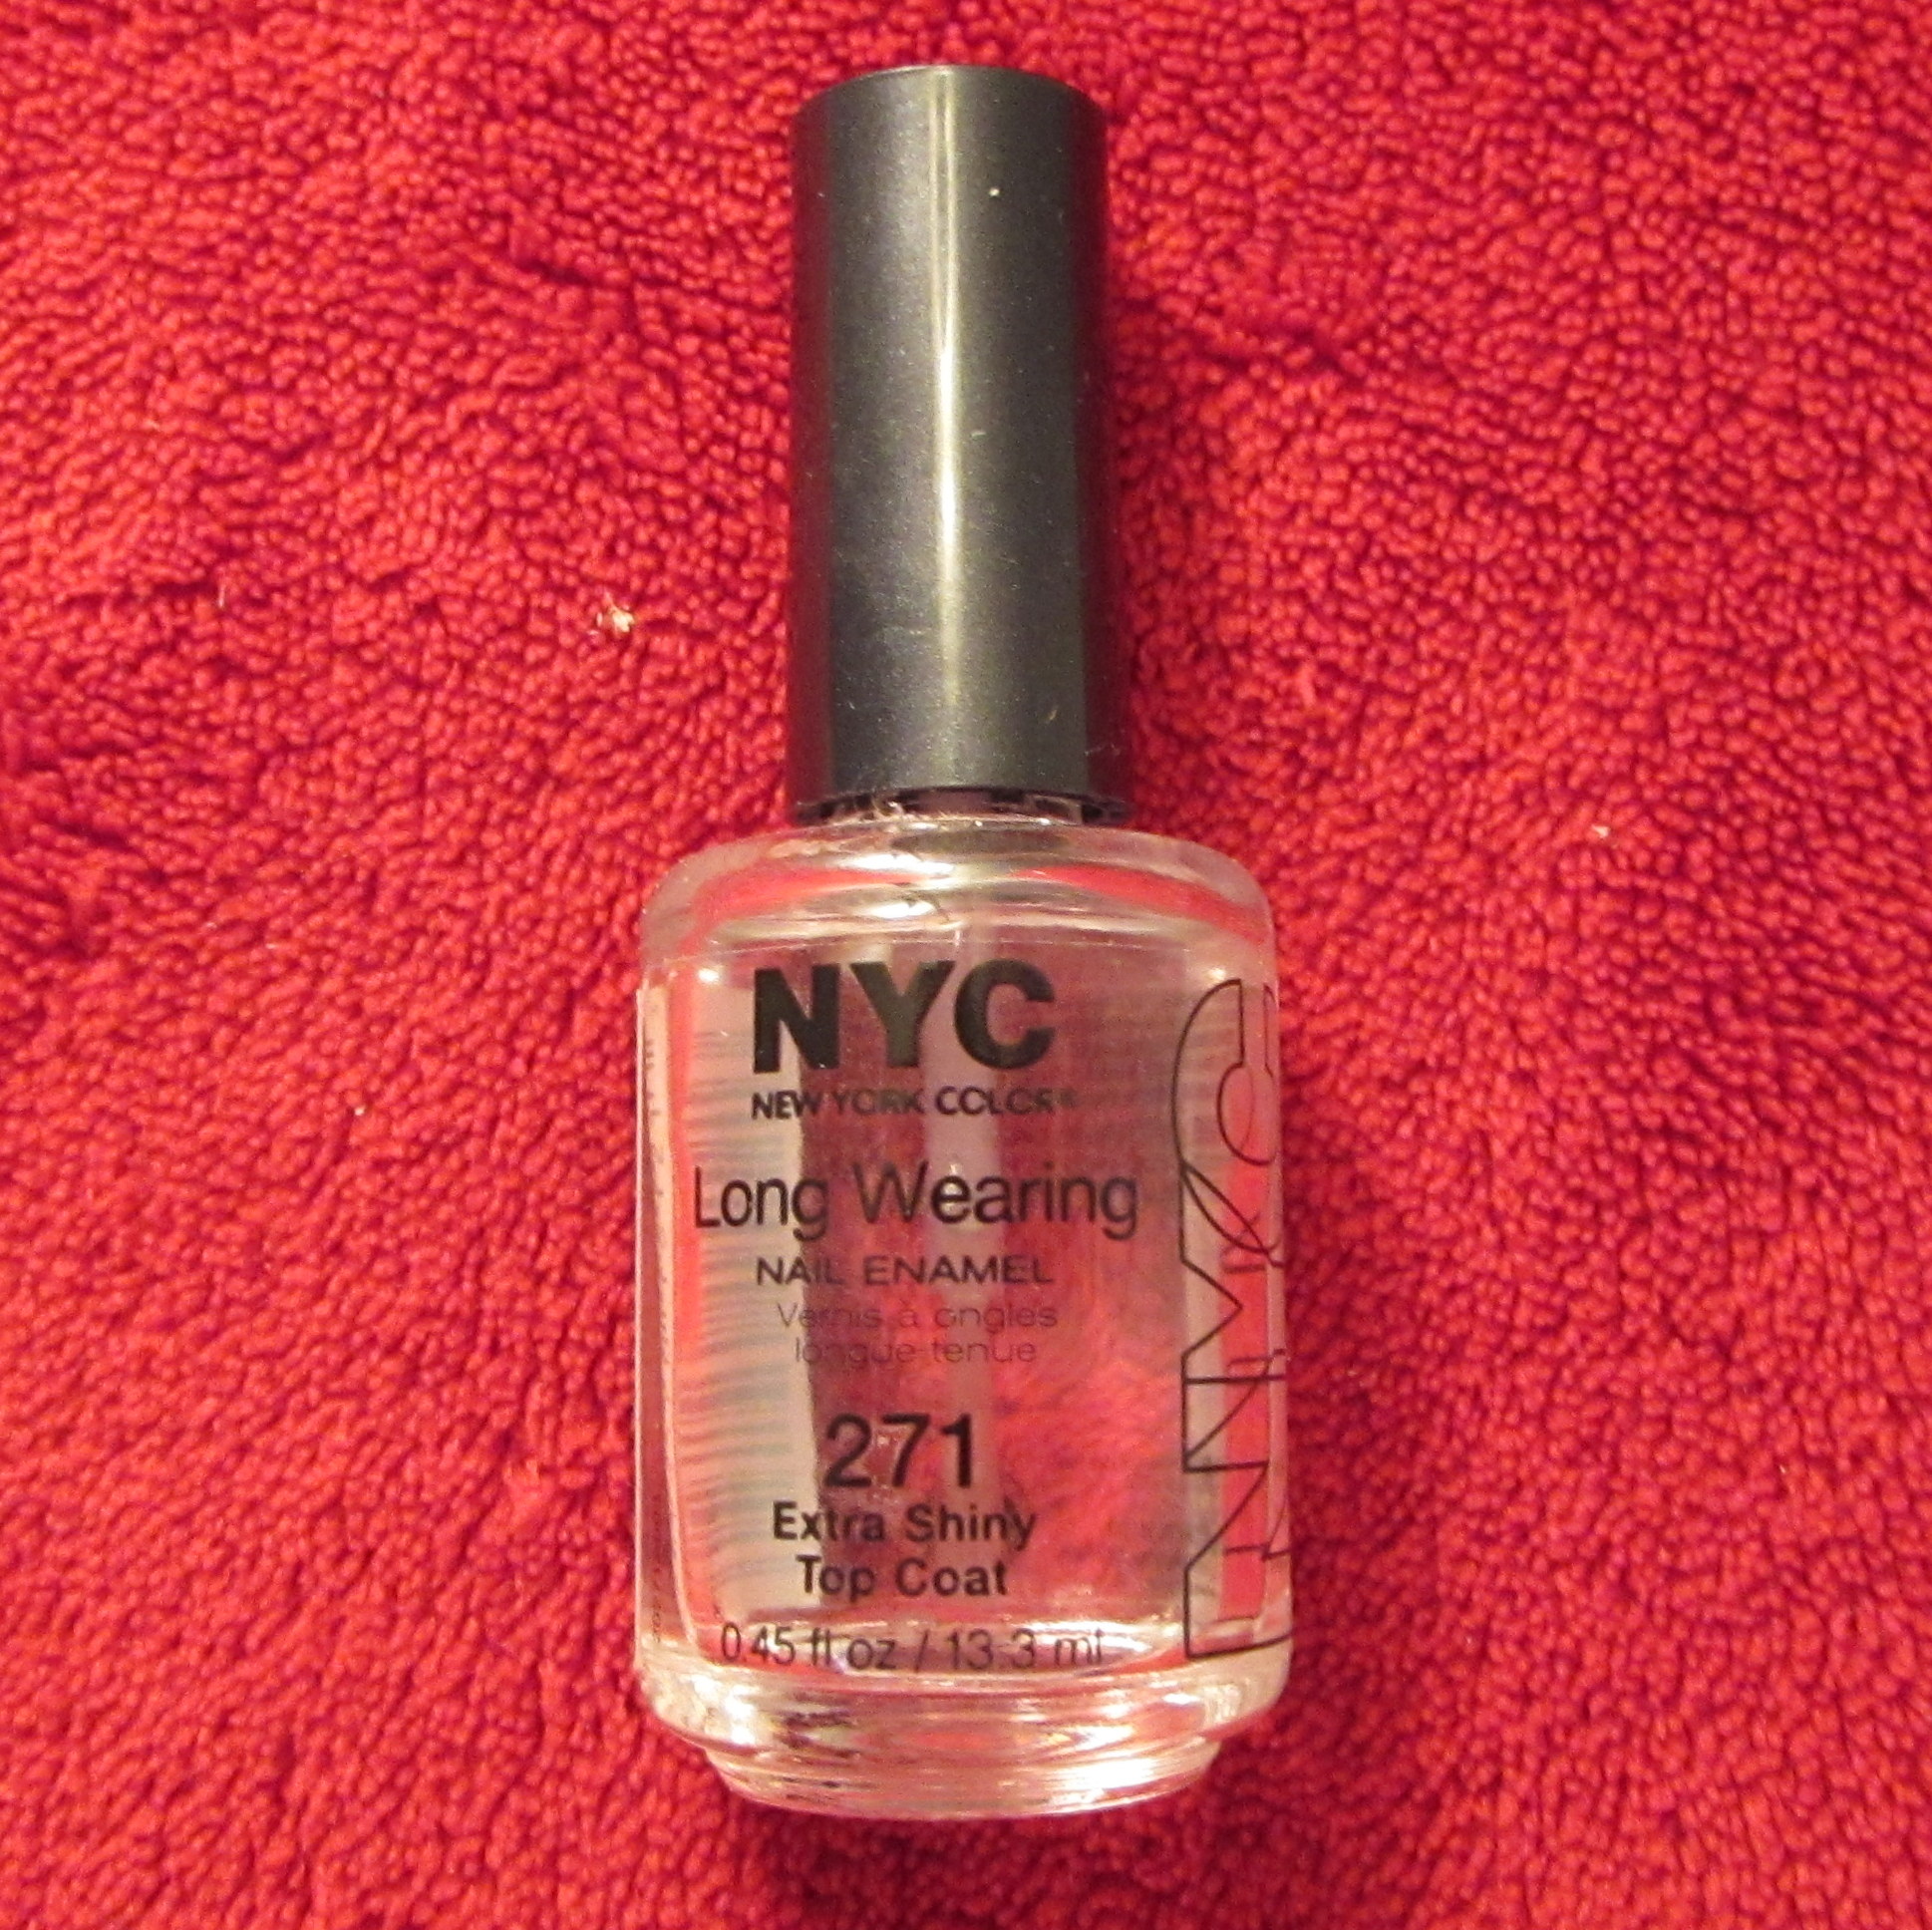
Some oboists wax their string, but I polish mine. I believe both methods are capable of creating a good seal, however I was first taught to make reeds with nail polish and I never really stopped. I always use a clear coat, although there is ample room for creativity here…
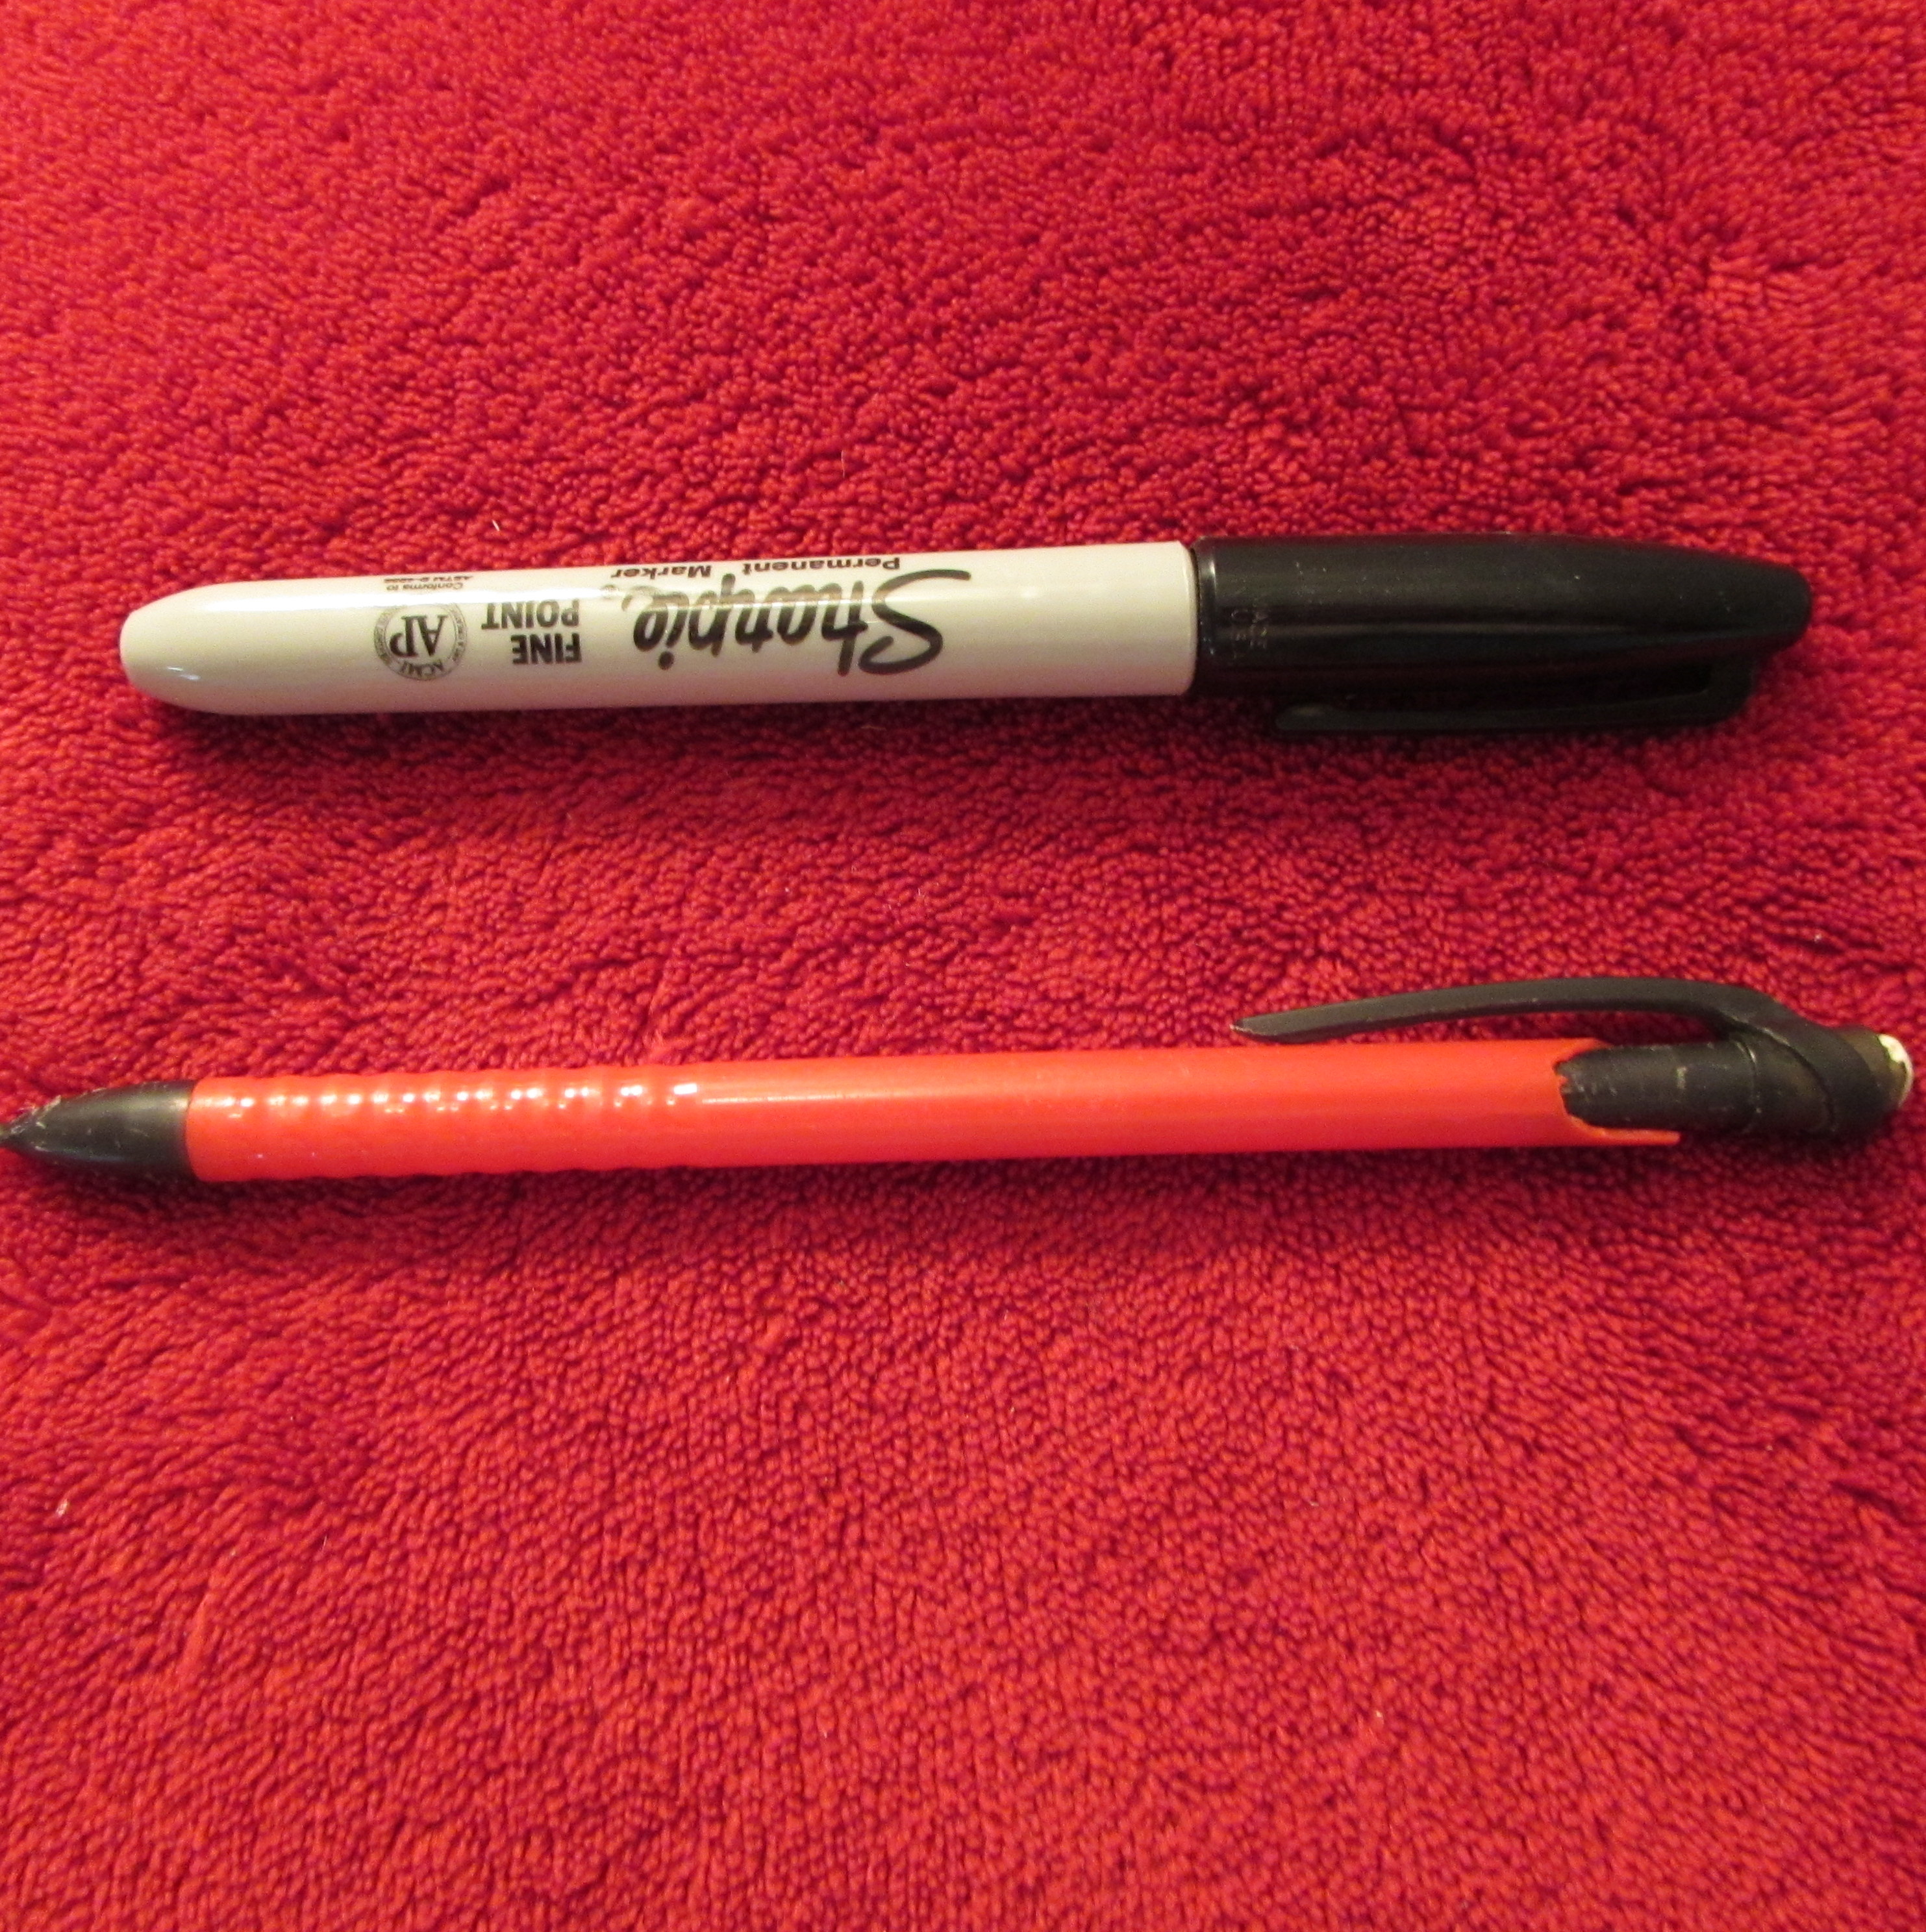
 Knives
Most musicians create music with a musical instrument. Oboists create music with their instruments, but especially with their reed knives. Yes that is knives in the plural form. As if keeping one of them sharp was hard enough! Yet that is precisely the reasoning behind owning multiple knives. The finishing process of a reed requires a knife with the keenest edge, and the best knives for this job are more often than not quite expensive. To extend the life of the finishing knife, it is nice to have a “blue collar” knife for scraping blanks as well.
Cutting block
Hairy tips, long tips, crooked tips, closed tips… Basically if it is tip related it will require a cutting block at some point. A larger size is most convenient because it will still fit in my tool case and because its weight keeps it in place no matter where I am clipping, whether it be at my reed desk or on my leg minutes before a performance.
 Plaques
Dentists make a living removing plaque from teeth, but reeds can’t live without it. Yes folks we have a homonym here! The oboe plaque is crucial to the formation of the thin tips that oboe reeds require. The plaque is inserted between the two pieces of cane at the tip and protects them from damage while scraping. I prefer the thinnest varieties to avoid tip separation or warping. Plaques are also helpful for removing the aforementioned dental plaque from the inner cane blades. Interesting coincidence?
Ruler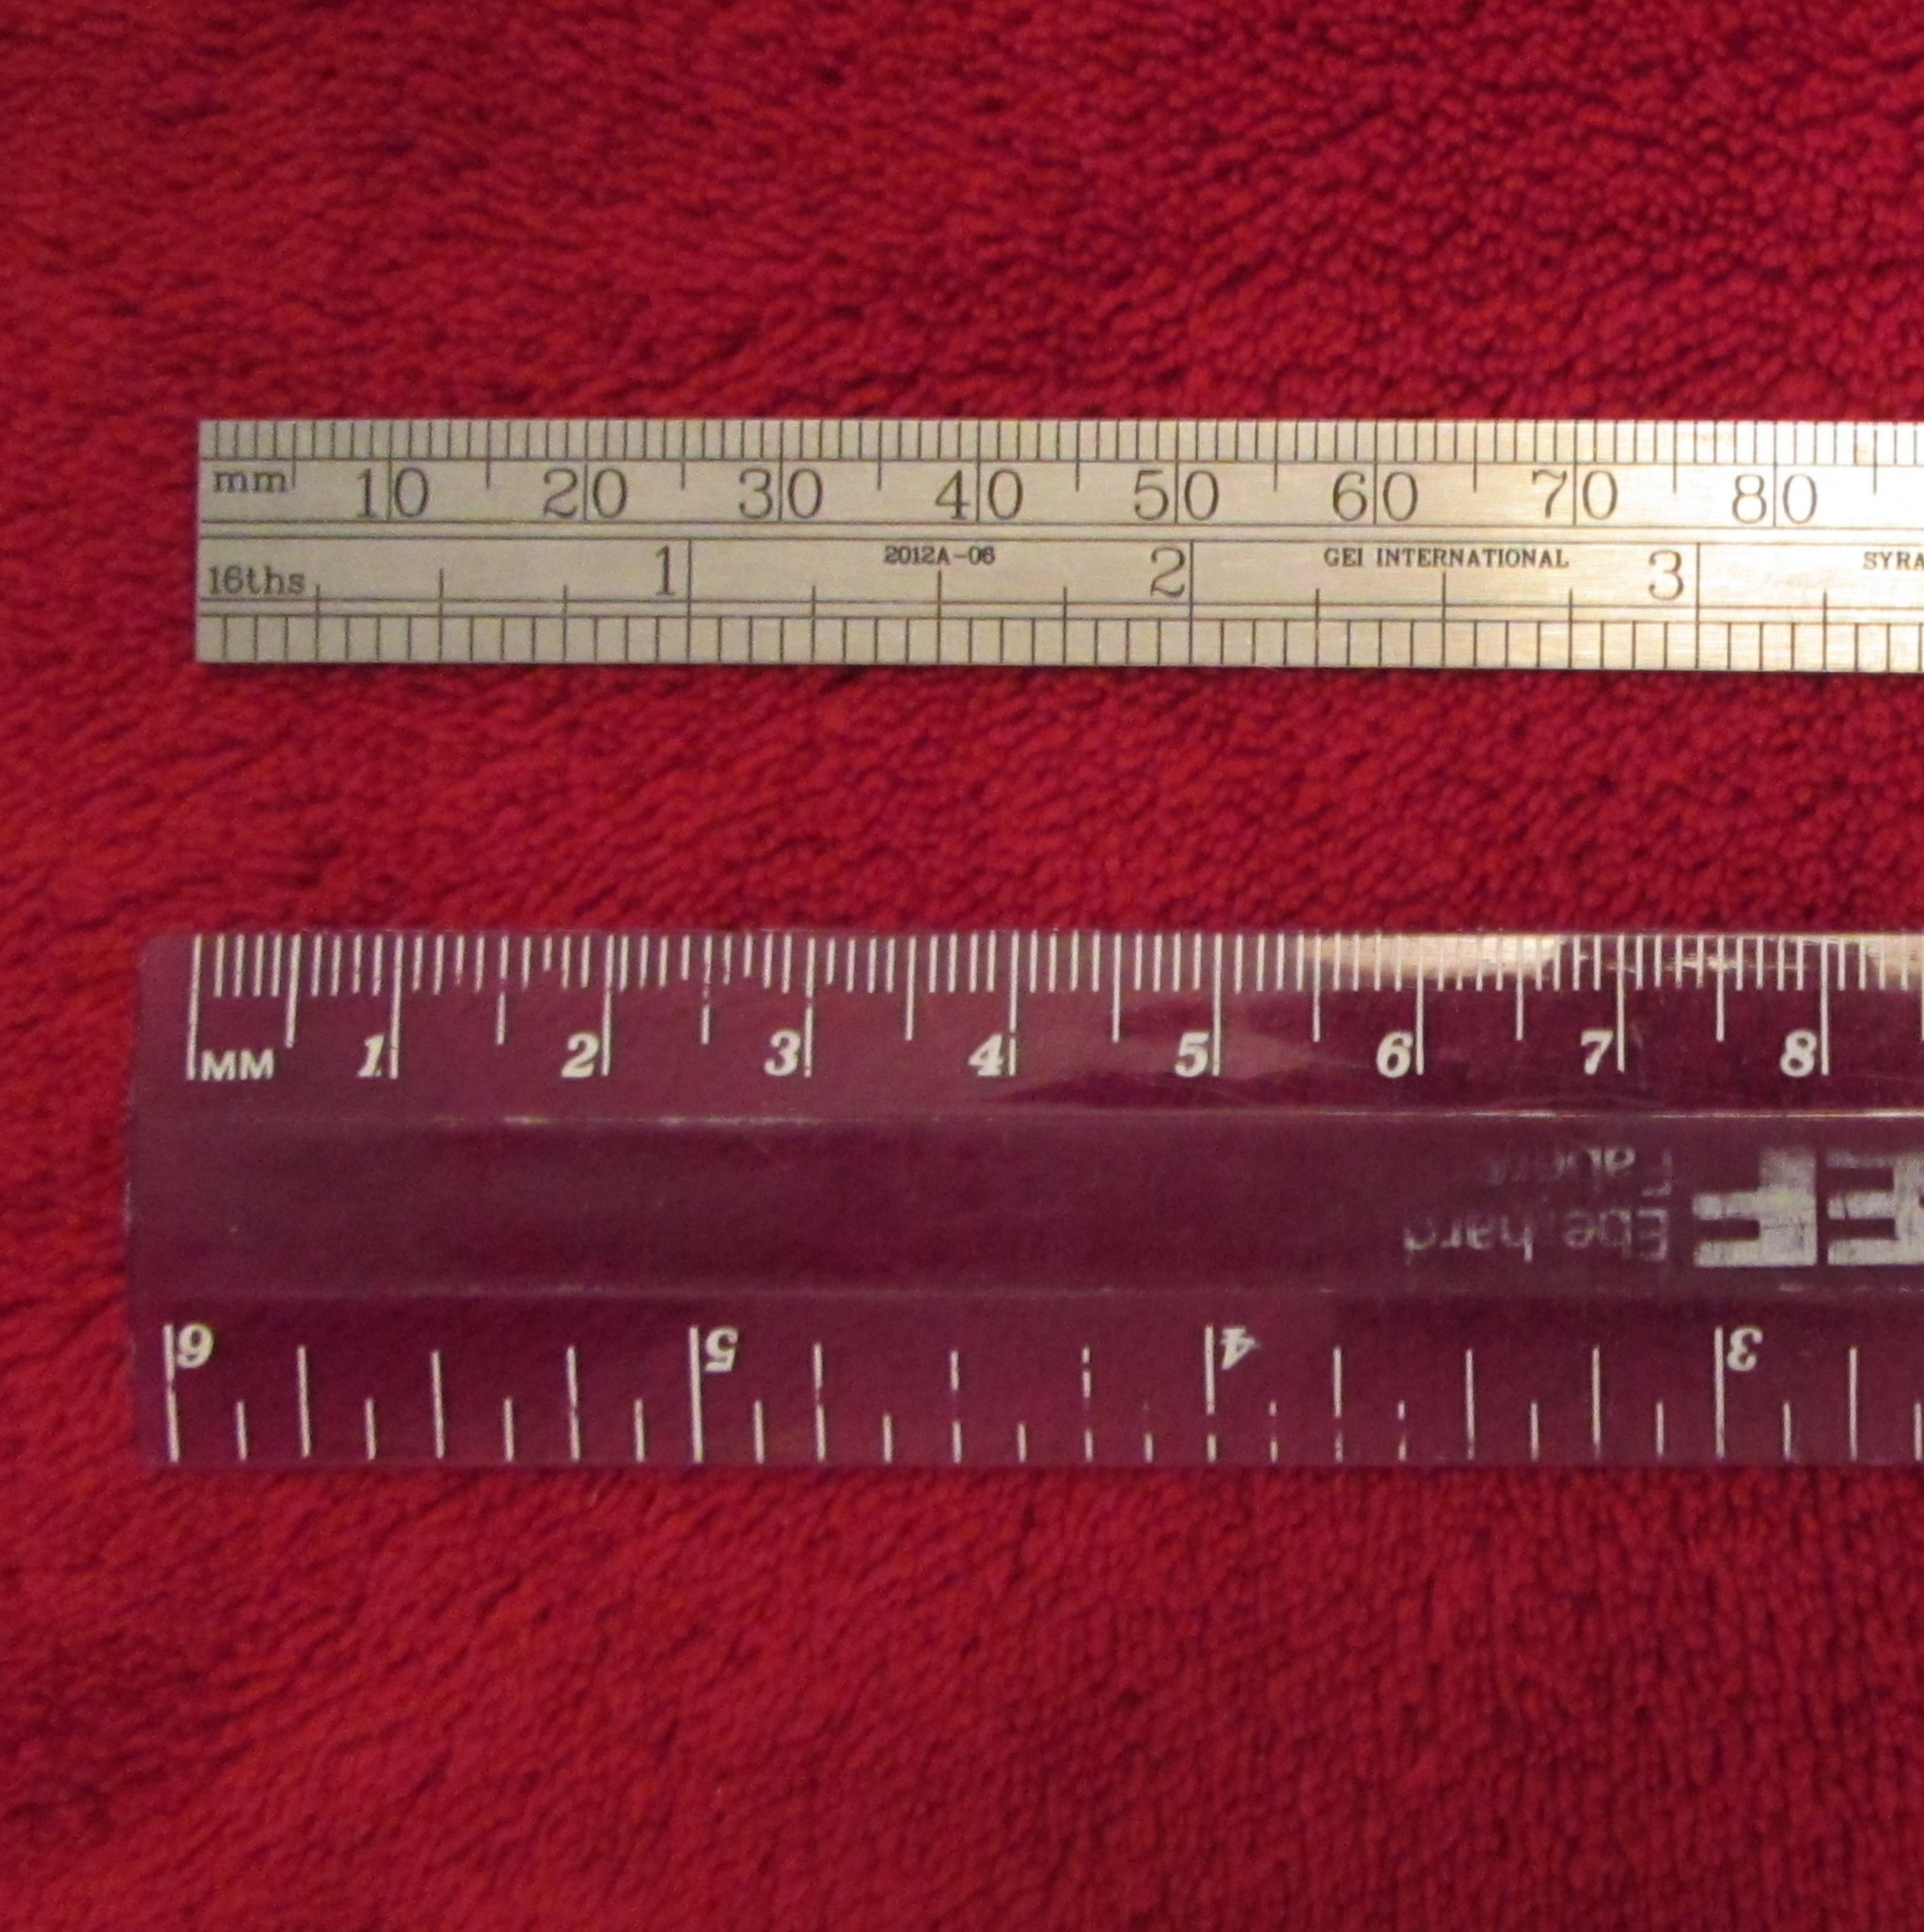
This ubiquitous tool is essential for any aspiring reedmaker. In this profession precision counts! Be sure to acquire one with millimeter markings as this is the standard unit of measurement when constructing a reed.
